PE Simple WordPress theme manual
A. GENERAL
1. Introduction
This documentation is last updated on 14th August 2017.
Thank you for purchasing PE Simple Theme . If you have any question that is beyond the scope of this documentation, Please feel free to create a support ticket using Our Support Site.
If you like this theme, Please support us by rating this theme with 5 stars.
Before you start please choose if you want :
- import demo content with plugin
- manual import demo content
- use Quickstart package
If you choose Quickstart option please skip points A2 and A3.
2. Installing the Theme
3. Install Plugins
4. Demo content import (option 1)
Follow installation steps listed here
Please note:
- If you have earlier Slider Revolution plugin installed and some sliders, please go to Appearance > Widgets. In sidebar Header open widget Revolution Slider, choose slider and click Save.
5. Demo Copy Installation (option 2)
6. Manual demo content import (option 3)
Demo Site Configuration
Import of the Revolution Slider data
Import Widgets
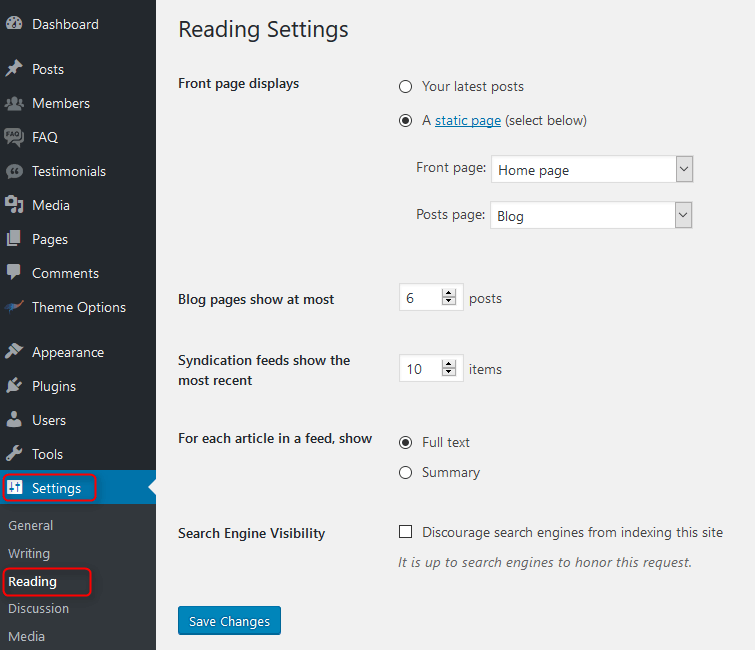
Configure WP Settings
Navigate to Settings > Reading and set options like that:
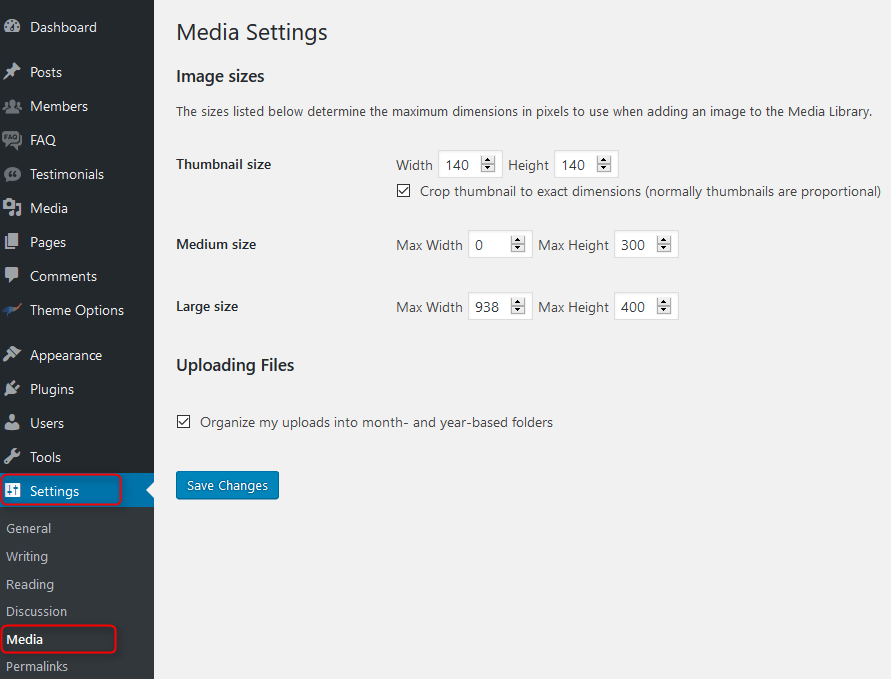
Next, set media in Settings > Media:
7. How to Update Theme
B. THEME OPTIONS
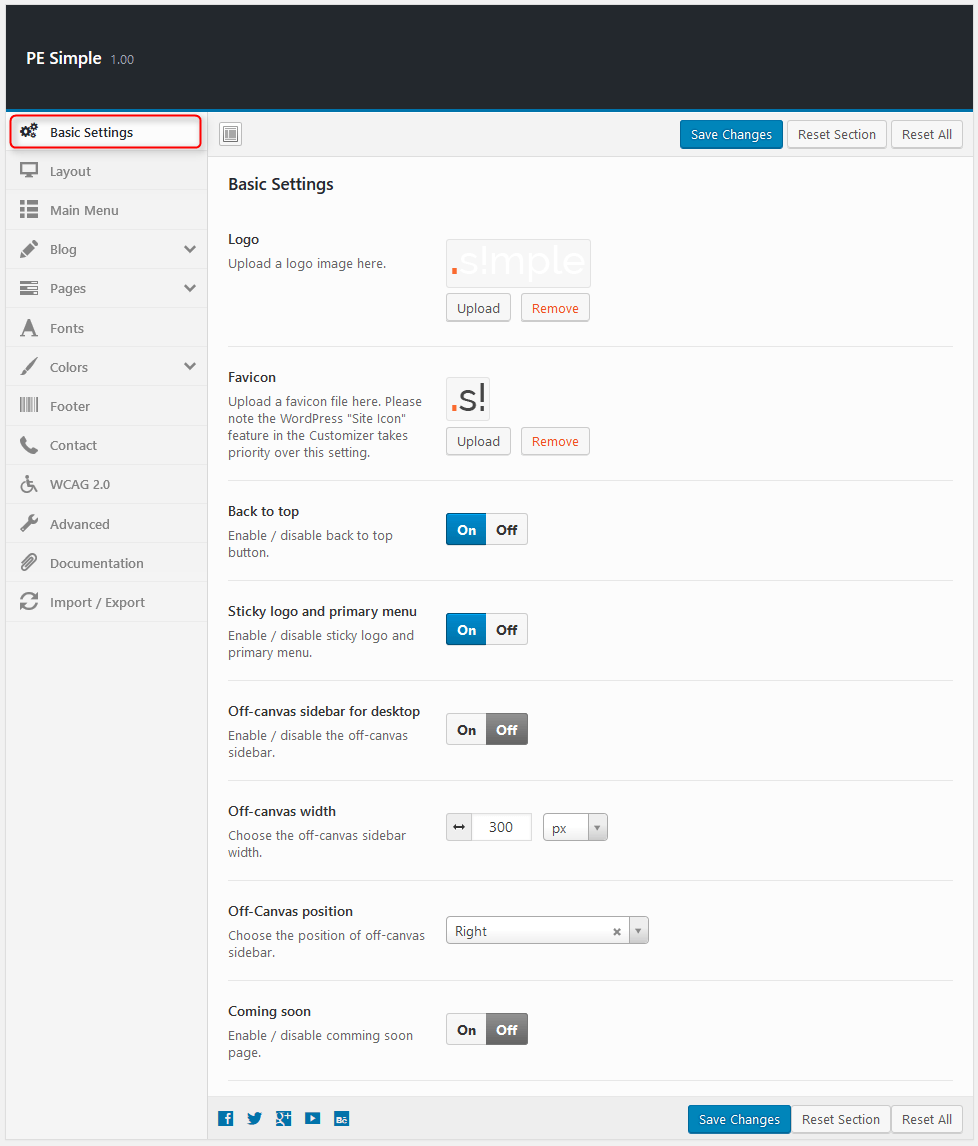
1. Basic Settings
All available settings for default version of PE Simple theme. More information about different versions you will find in Styles div.
To setup Basic Settings, navigate to Appearance > Theme Options and click on Basic Settings tab.
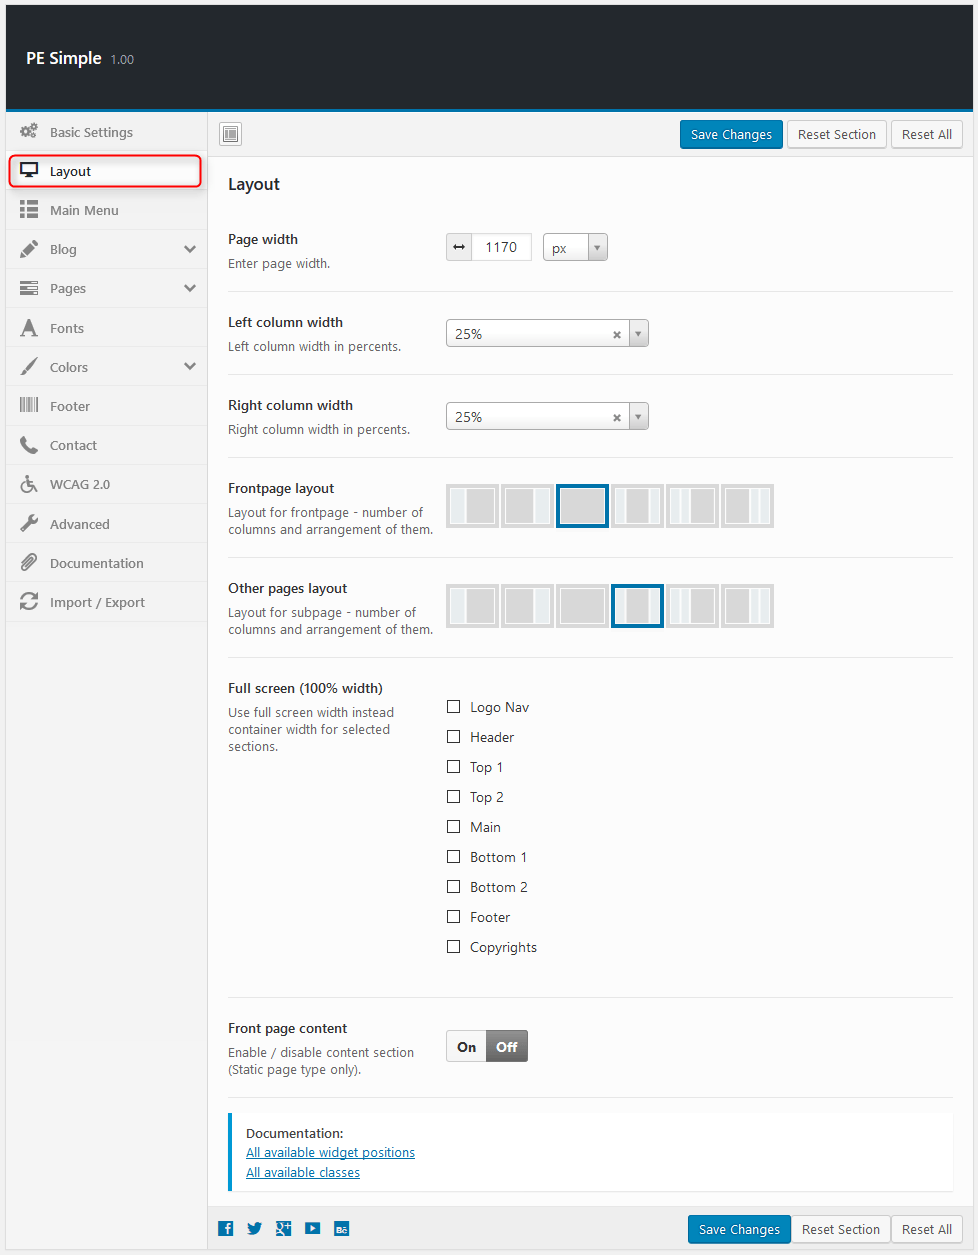
2. Layout
To setup Layout, navigate to Appearance > Theme Options and click on Layout tab.
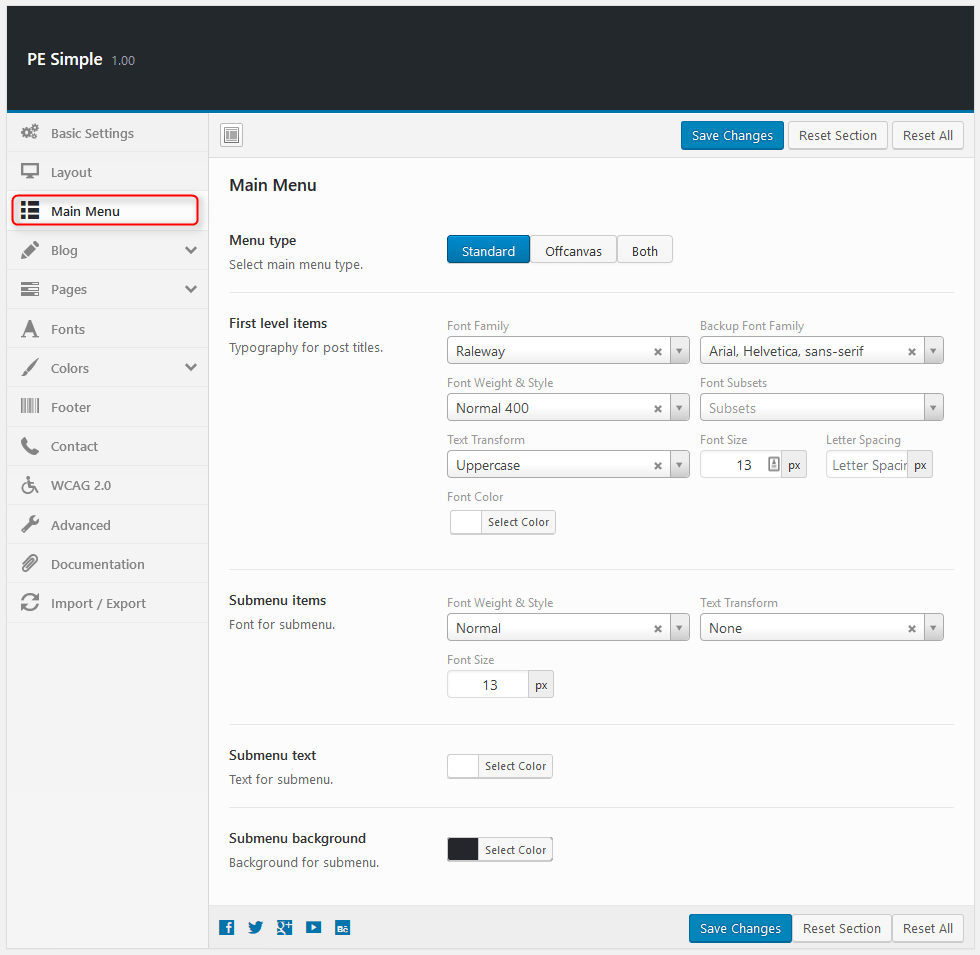
3. Main Menu
To setup Main Menu, navigate to Appearance > Theme Options and click on Main Menu tab.
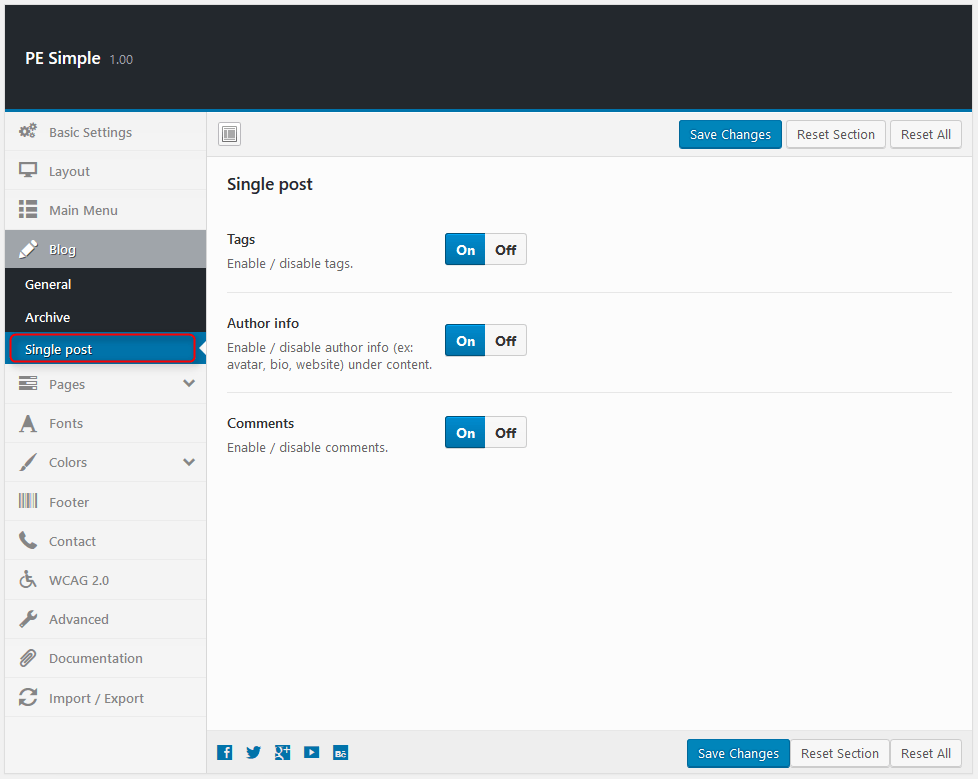
4. Blog
To setup Blog, navigate to Appearance > Theme Options and click on Blog tab.
General:

Archive:

Single Post:
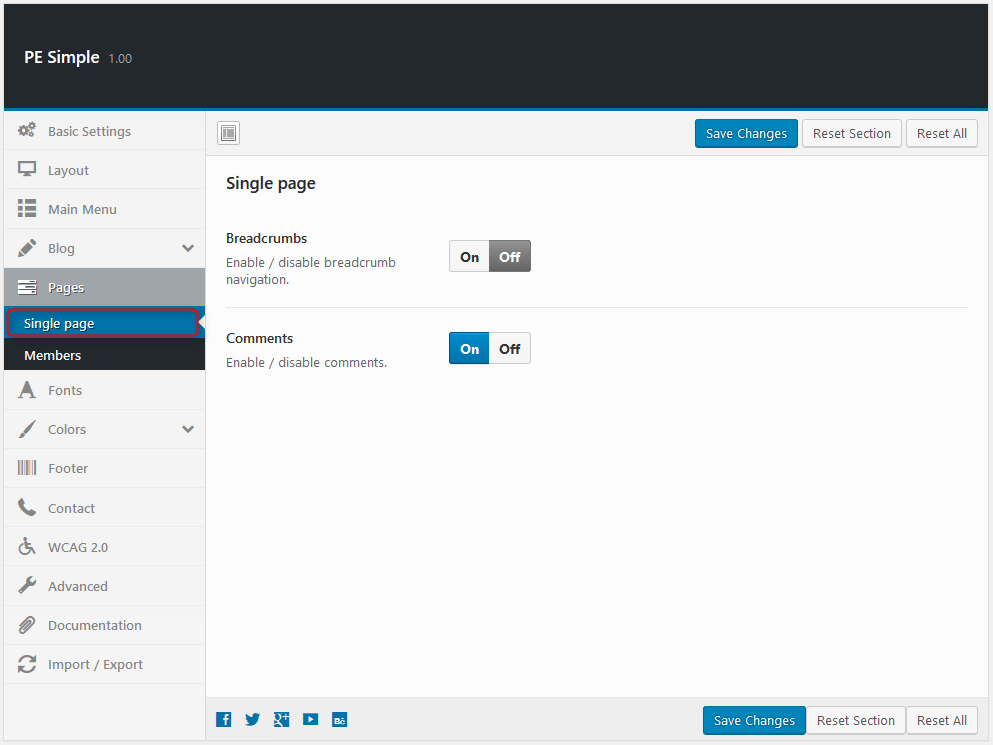
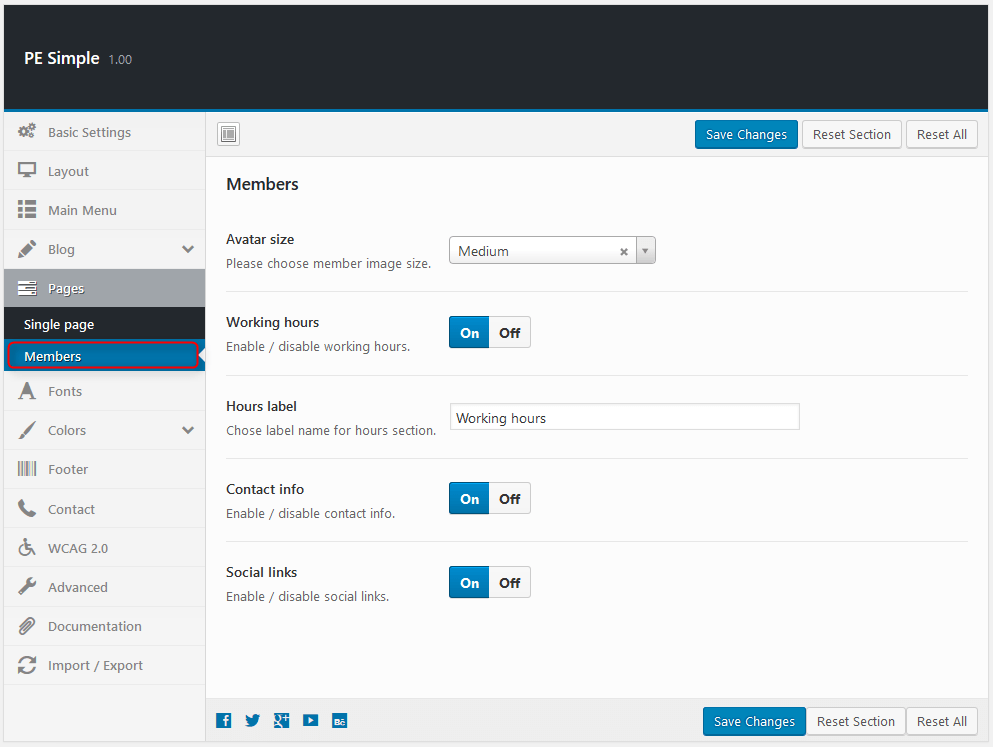
5. Pages
To setup Pages, navigate to Appearance > Theme Options and click on Pages tab.
Single Page:
Members:
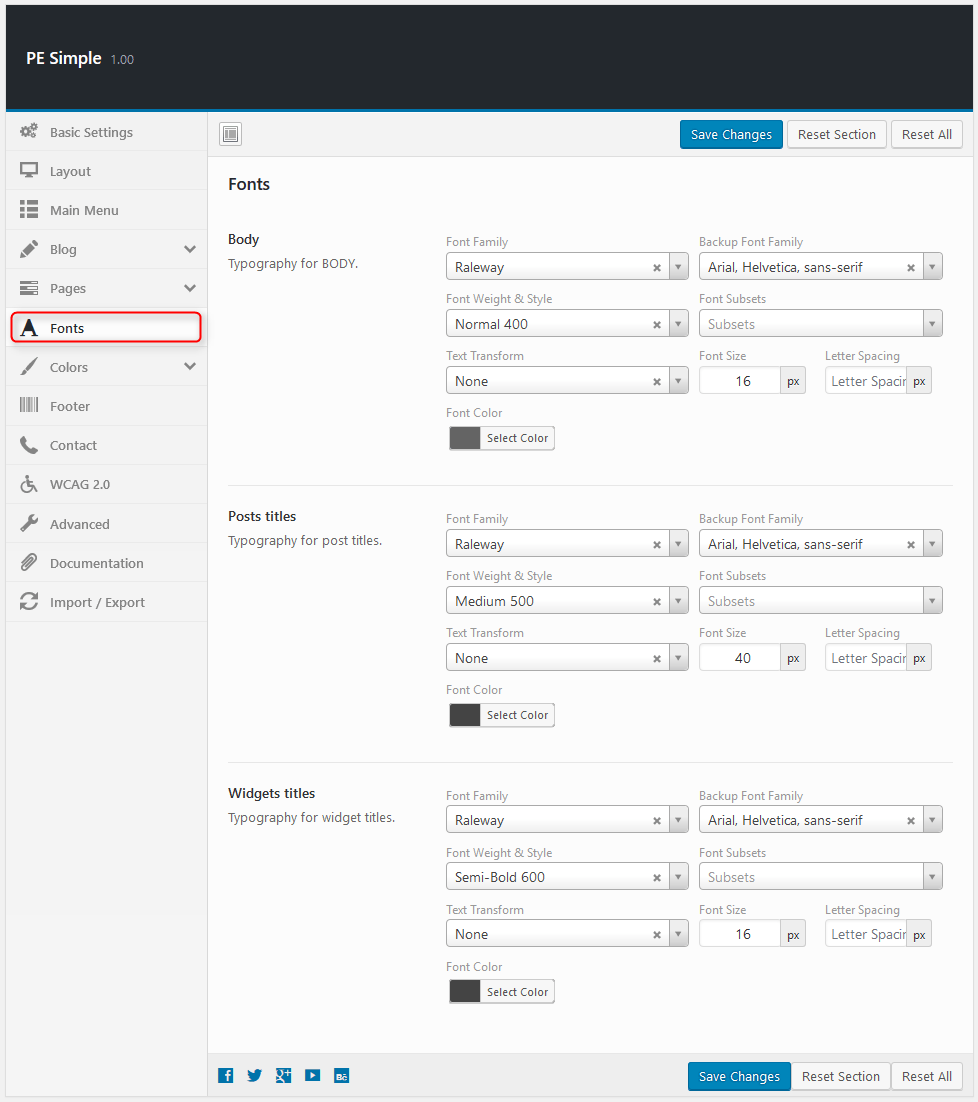
6. Fonts
To setup Fonts, navigate to Appearance > Theme Options and click on Fonts tab.
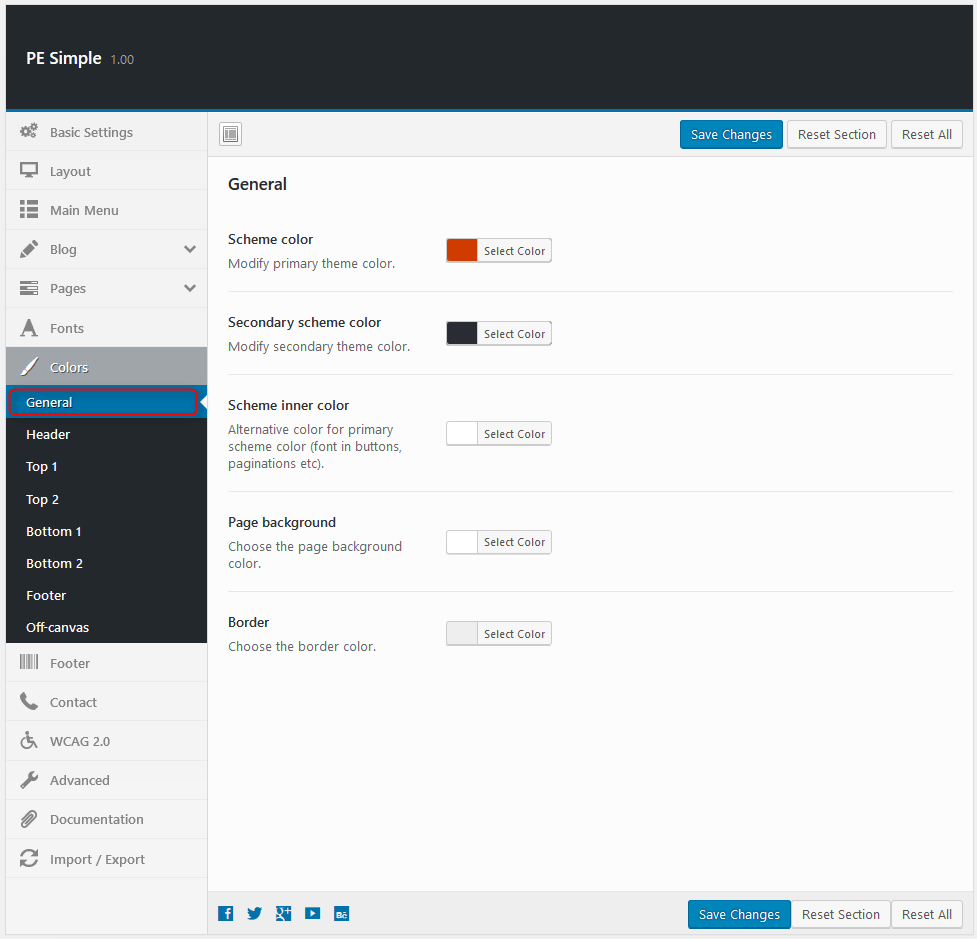
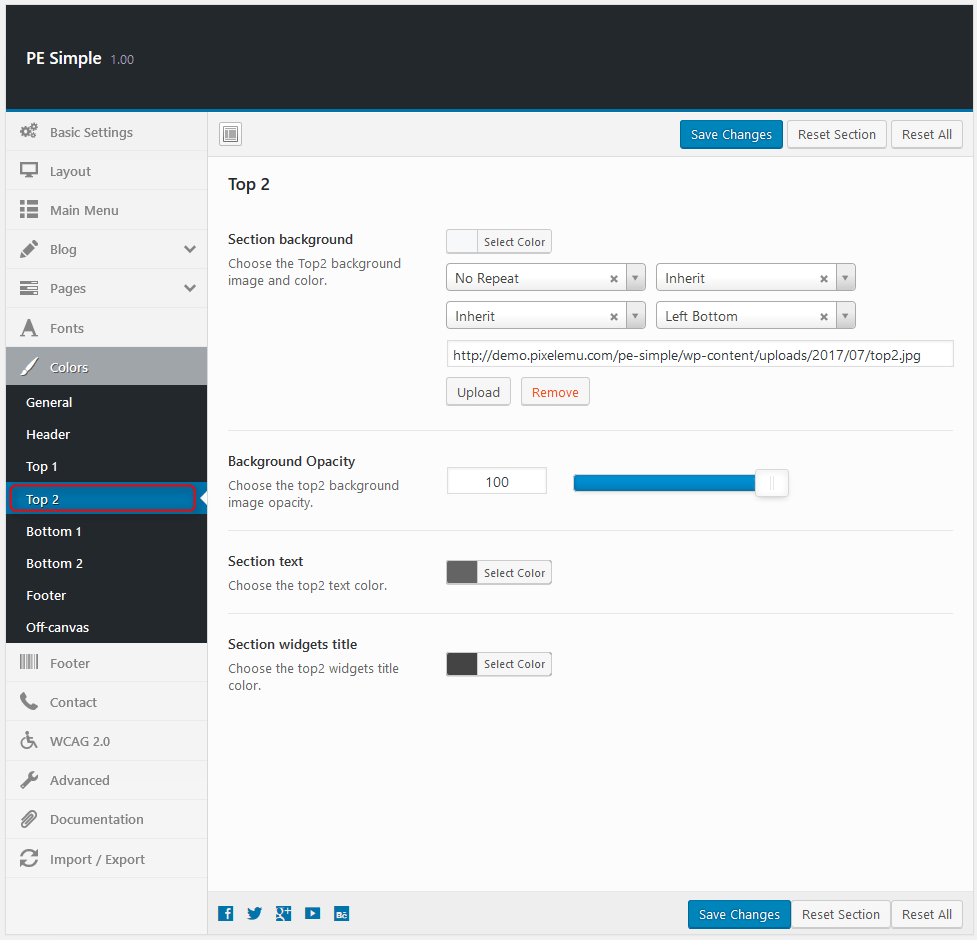
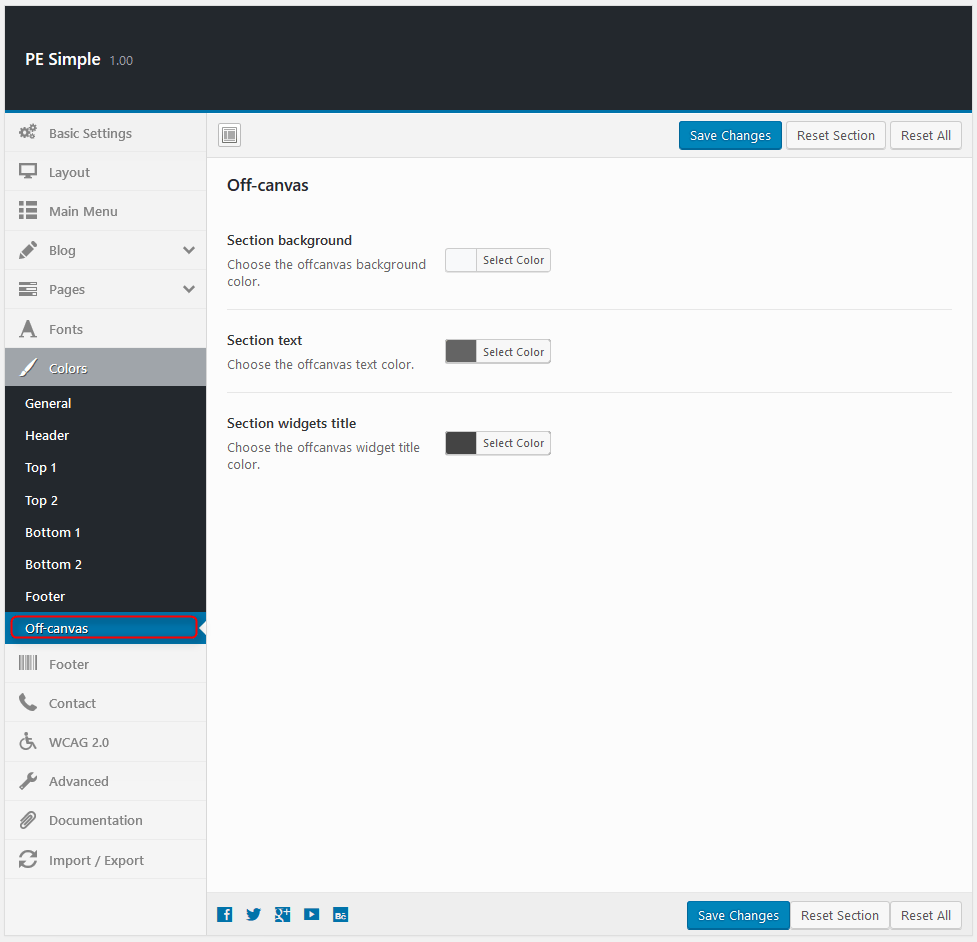
7. Colors
To setup Colors, navigate to Appearance > Theme Options and click on Colors tab.
General:
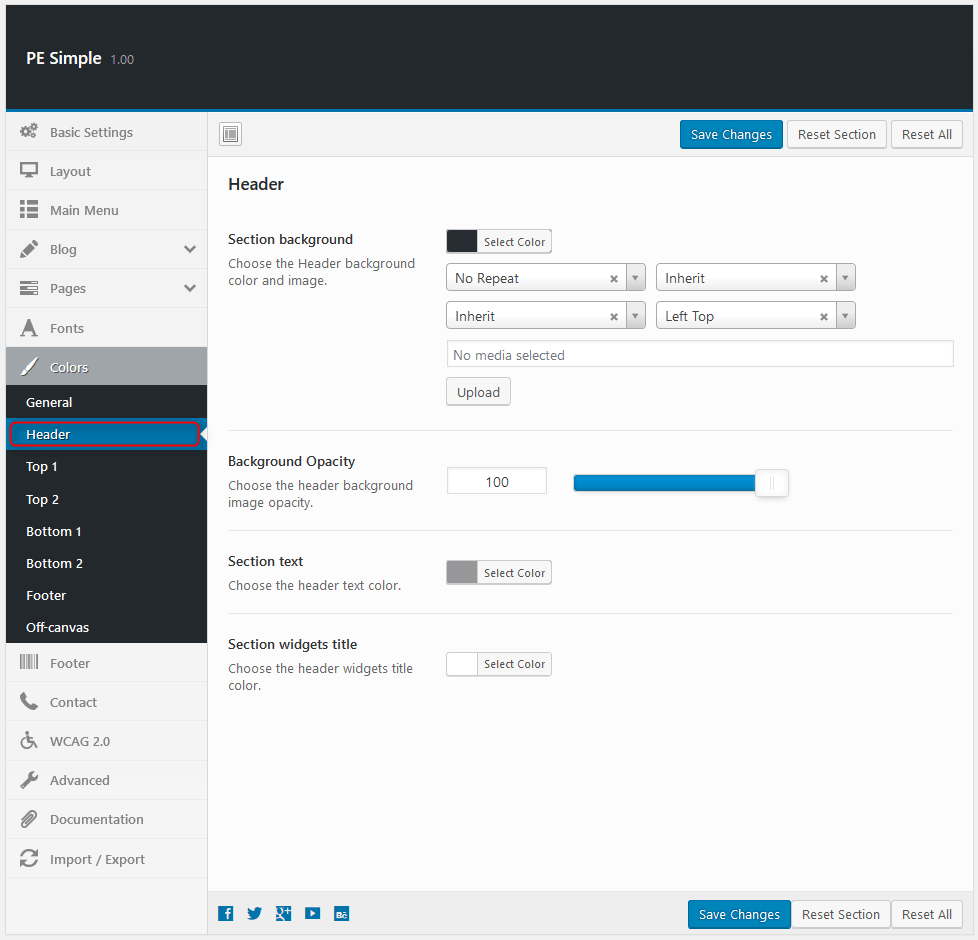
Header:
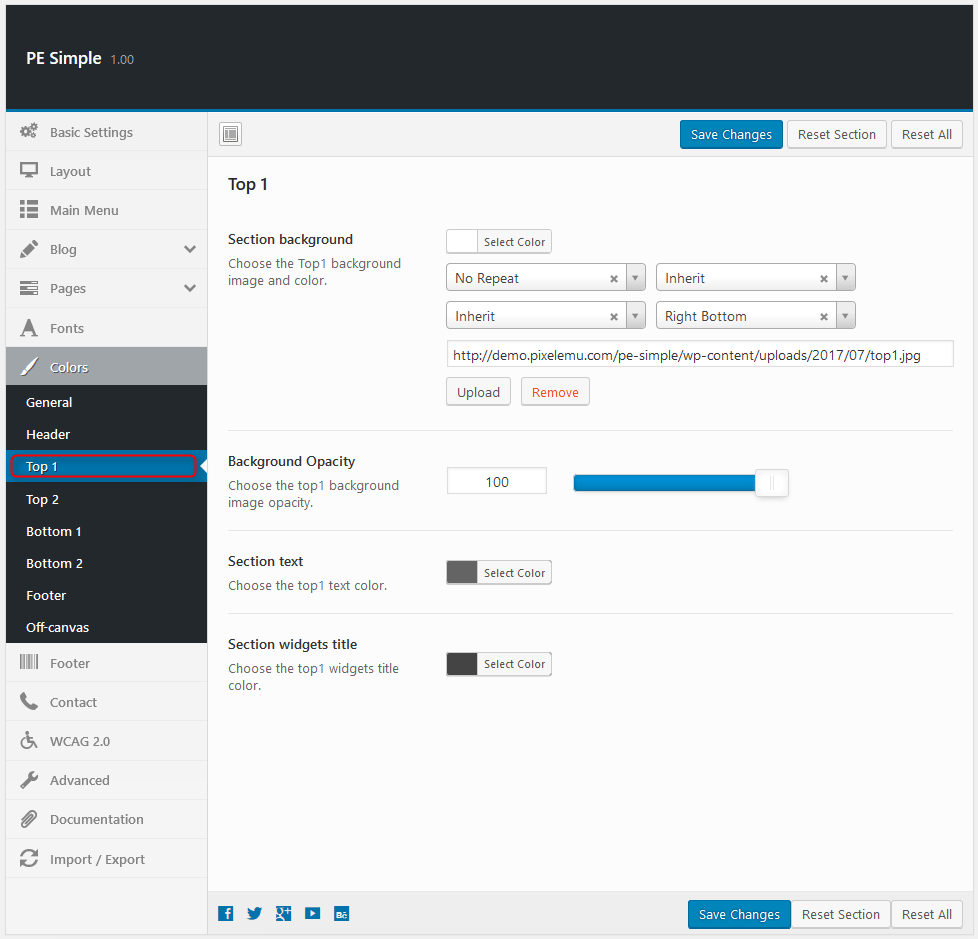
Top1:
Top2:
Bottom1:

Bottom2:

Footer:

Off-canvas:
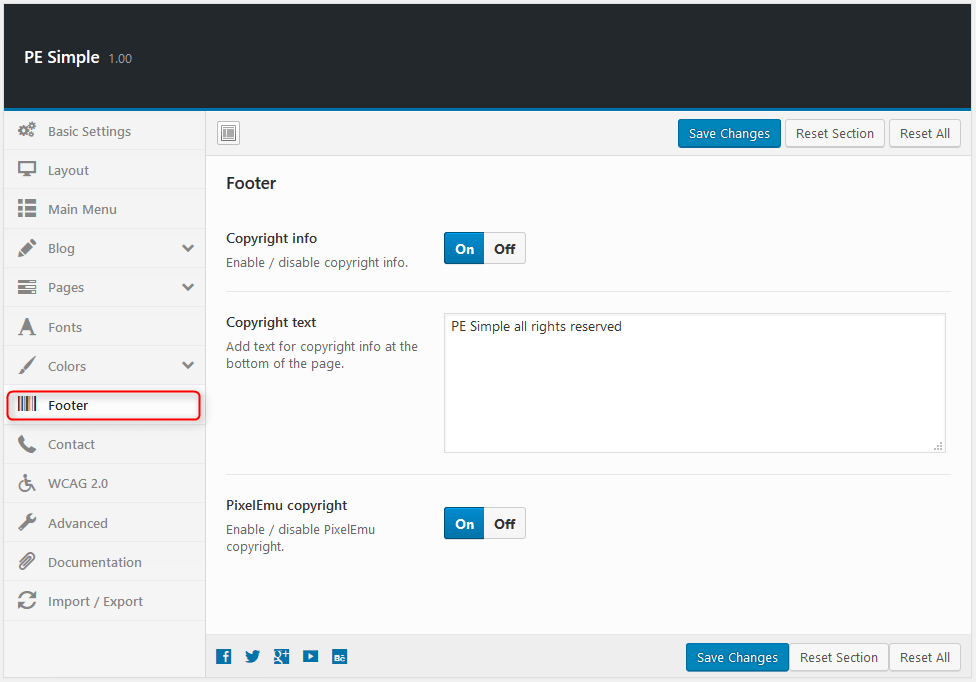
8. Footer
To setup Footer, navigate to Appearance > Theme Options and click on Footer tab.
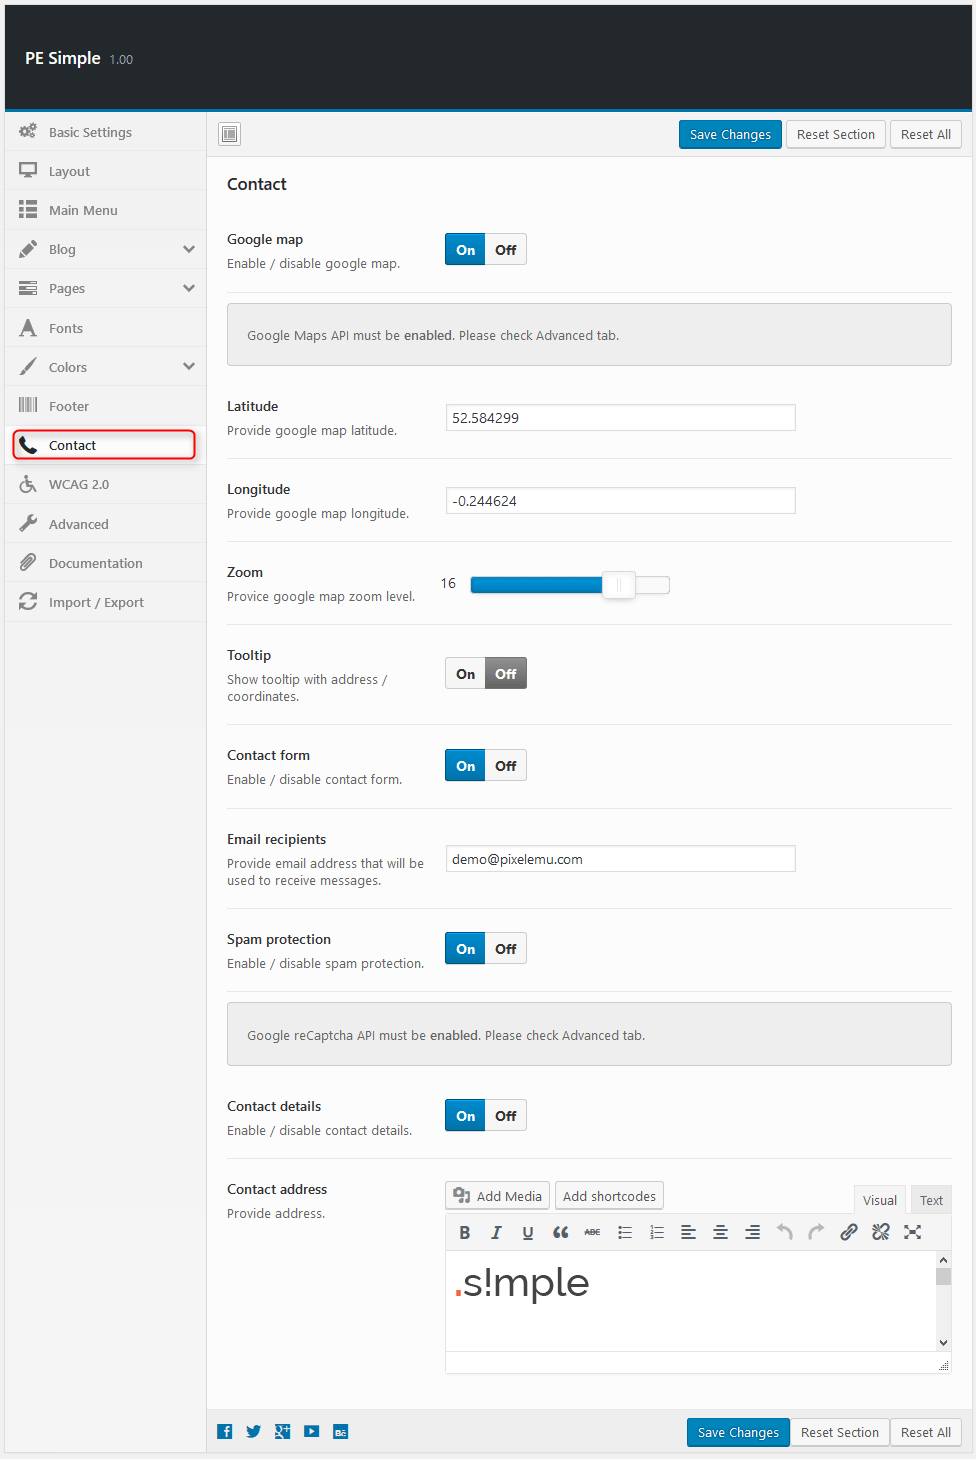
9. Contact
To setup Contact, navigate to Appearance > Theme Options and click on Contact tab.
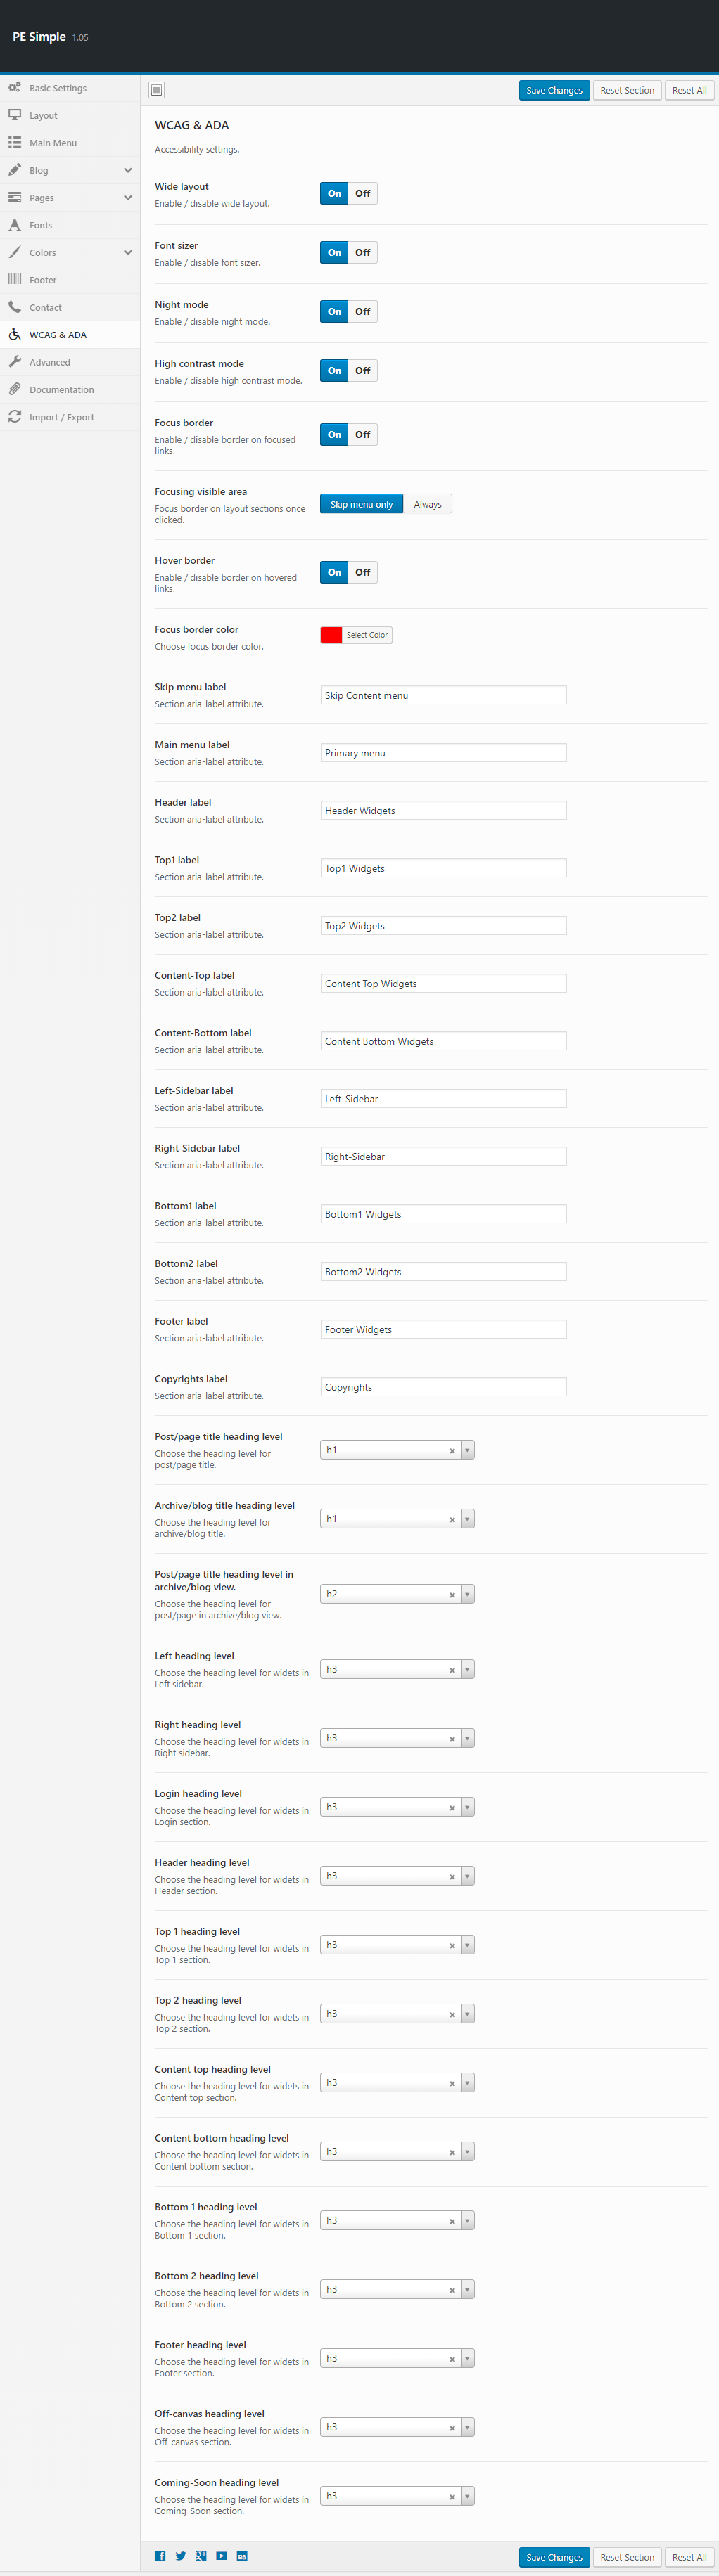
10. WCAG & ADA
To setup WCAG, navigate to Appearance > Theme Options and click on WCAG & ADA tab.
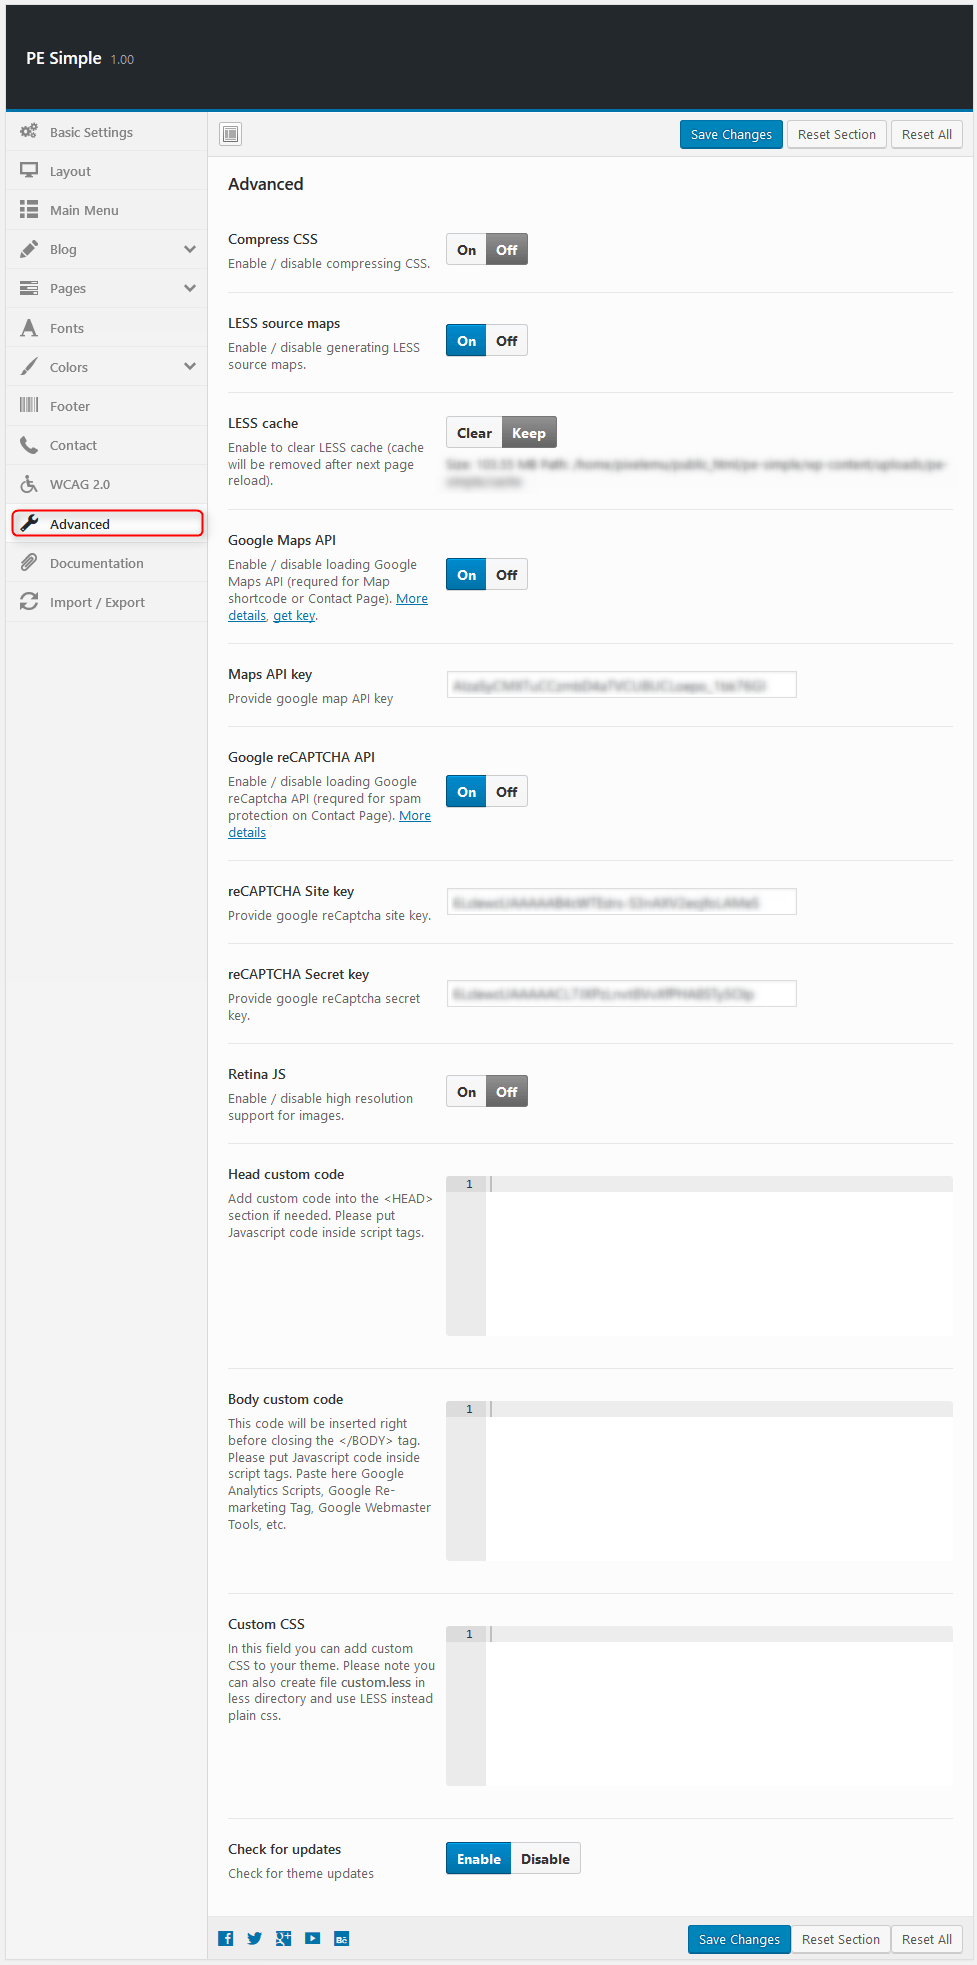
11. Advanced
To setup Advanced, navigate to Appearance > Theme Options and click on Advanced tab.
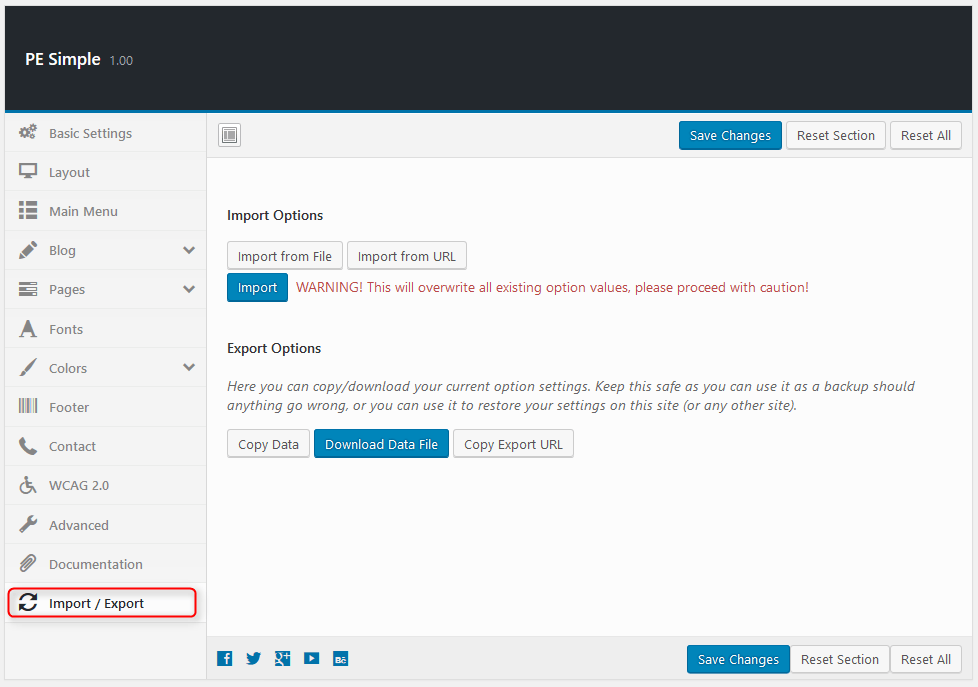
12. Import / Export
To setup Import / Export, navigate to Appearance > Theme Options and click on Import / Export tab.
You will find theme settings in files:
- / Theme Options / (version) / options.json
C. PAGES
1. Configure Contact Page
2. Configure FAQ page
3. Configure Left-Content-Right page
4. Configure Left-Right-Content page
5. Configure Left-Content page
6. Configure Content-Left-Right page
7. Configure Content-Right page
8. Configure Full Width Content page
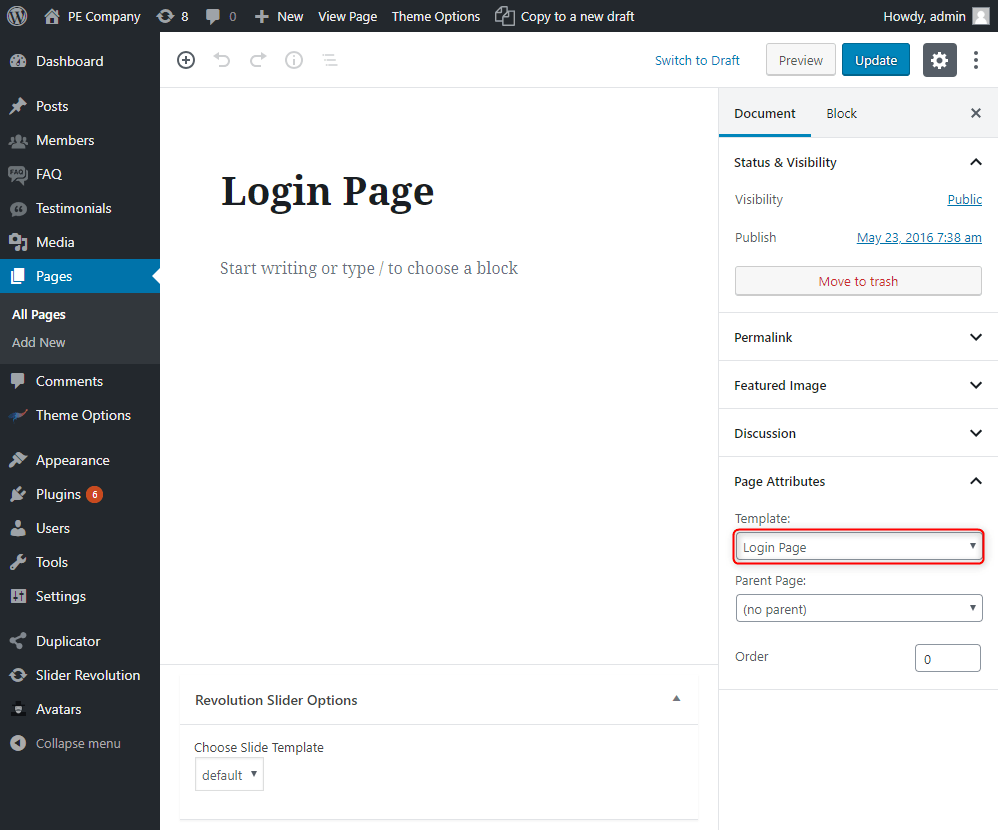
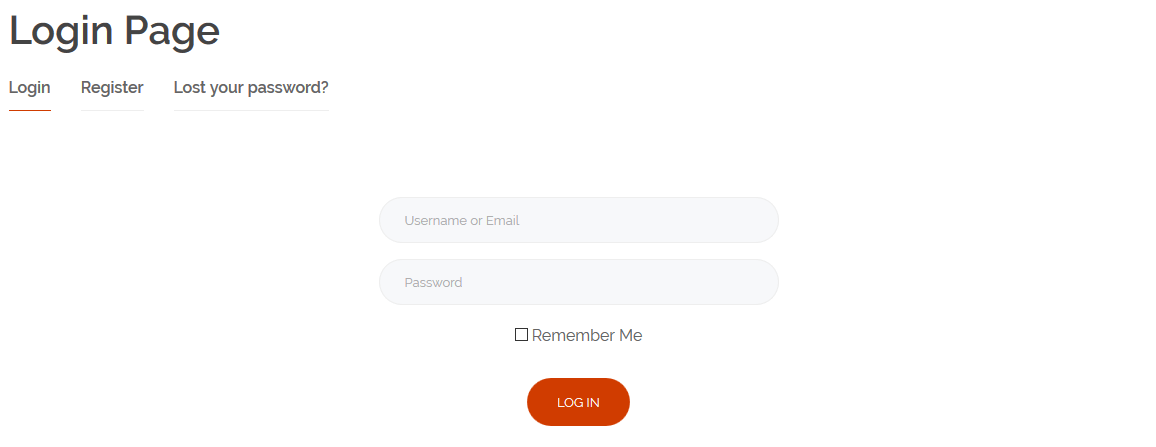
9. Configure Login Page
This page displays login page. To create that page go to Pages > Add New. Now select template Login Page and click Update/Publish.
10. Configure Registration Page
This page displays registration page. To create that page go to Pages > Add New. Now select template Registration Page and click Update/Publish.


D. PLUGINS & WIDGETS
1. Display Widgets SEO Plus
Very useful plugin that allow you to show/hide widgets on certain pages. These options are displayed on the bottom of all widgets.
You can choose:
- Display widget for everyone, only logged-in or only logged-out users.
- Show or hide widget on pages selected below.
- Pages to show/hide widget.

2. WP User Avatar
3. Revolution Slider
4. Amr shortcode any widget
The plugin allows to display a widget in another widget (text) or in a page content using a shortcode.

On demo page, we use this widget to display the PE Social widget in a text widget.
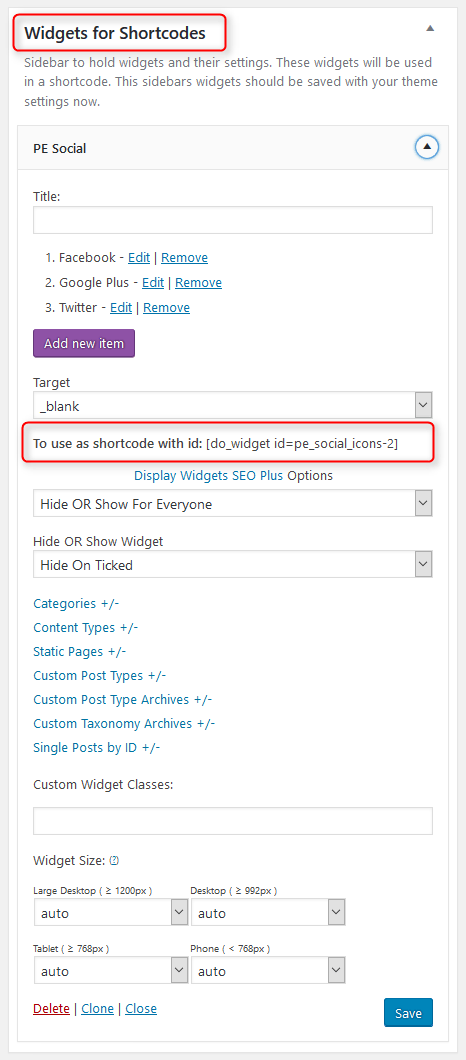
5. PE Social
Built-in widget which allows you to display social icons.
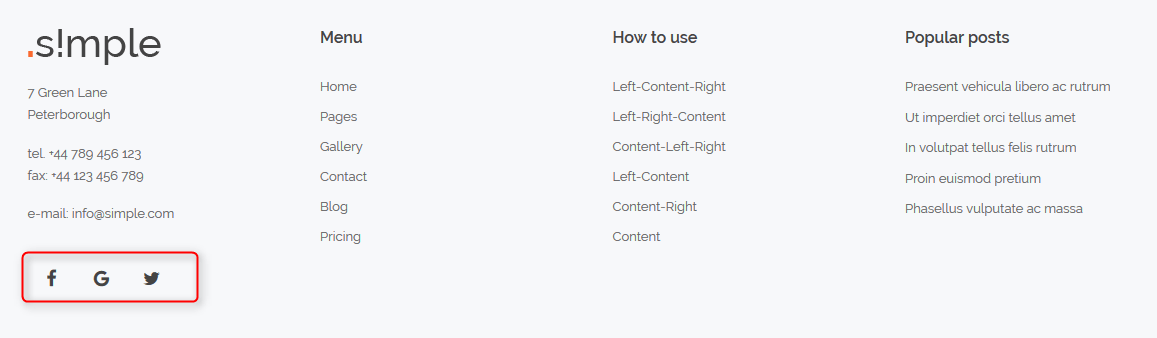
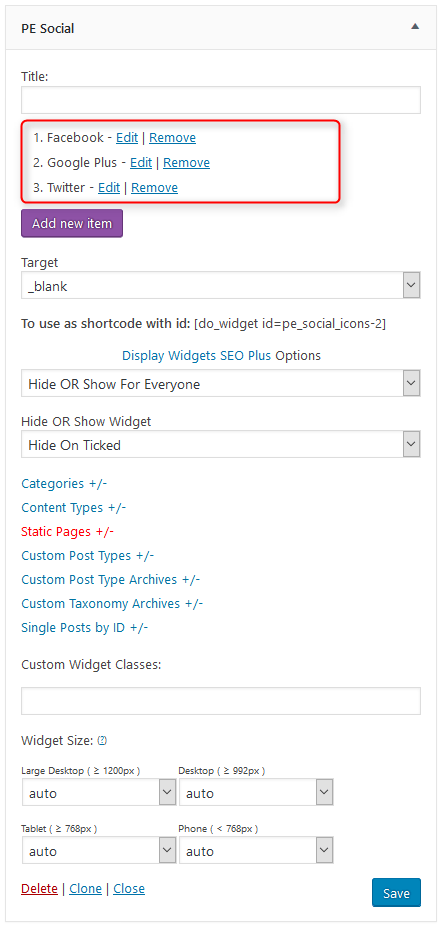
On demo page, widget is visible in 'widgets for shortcodes' sidebar. This sidebar is added by the Amr shortcode any widget widget. We use it to display the PE Social widget in a text widget on the "bottom2" widget position. Otherwise you can display it on any available widget position.
We have also a video tutorial on how to configure the PE Social widget:
6. PE Contact
Built-in widget which allows you to display contact form and Google Map.

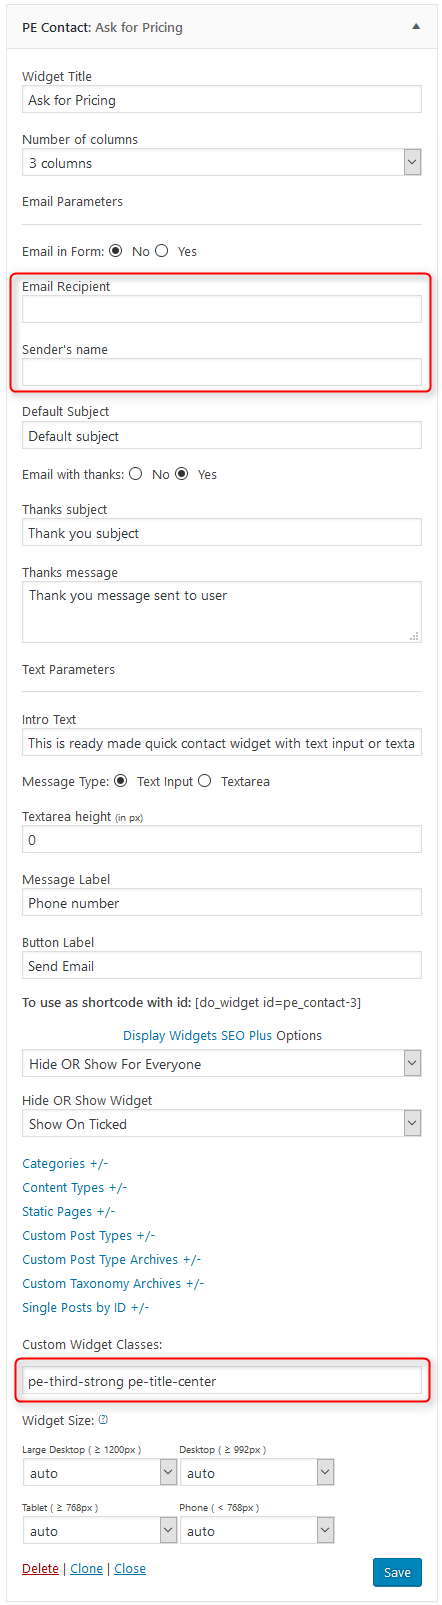
Remember to set the email recipient in the widget options.
On demo page widget is visible in 'bottom1' sidebar. We present other examples of this widget on the All ready made widgets page.
7. PE Members
Built-in widget which allows you to display members (member post type).
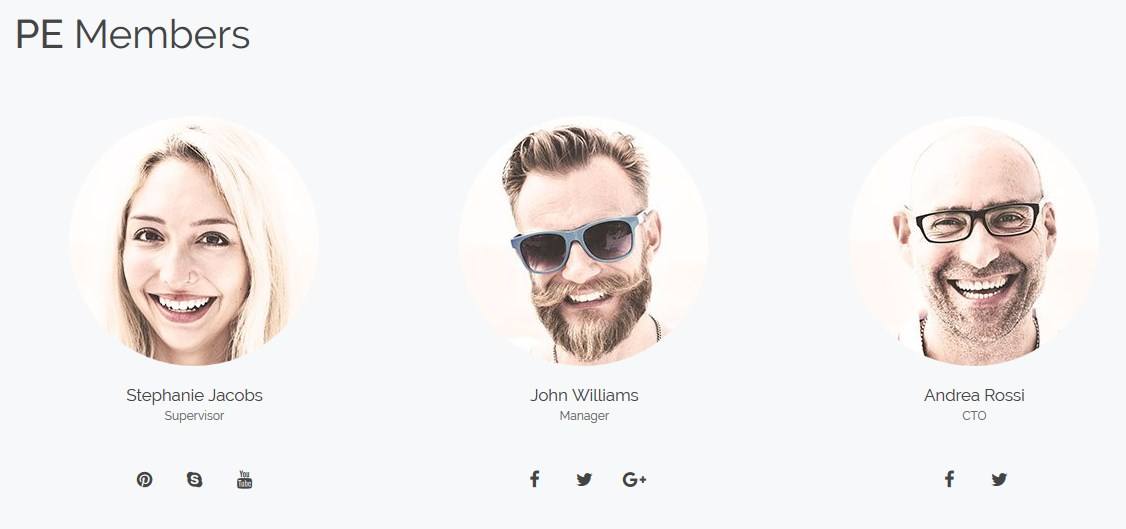
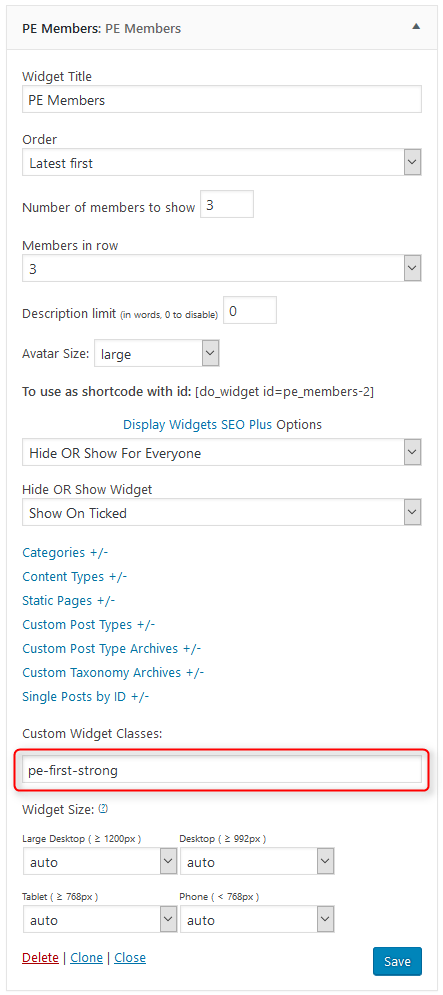
We present this widget on the All ready made widgets page.
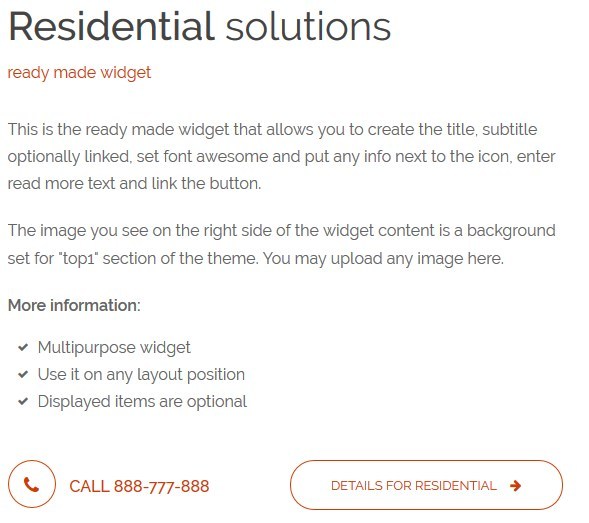
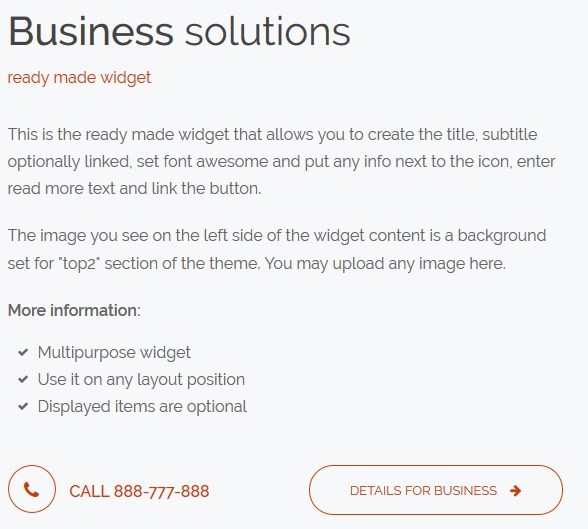
8. PE Short Info
Built-in widget which allows you to display short information.
We display the widget in "top1" sidebar:
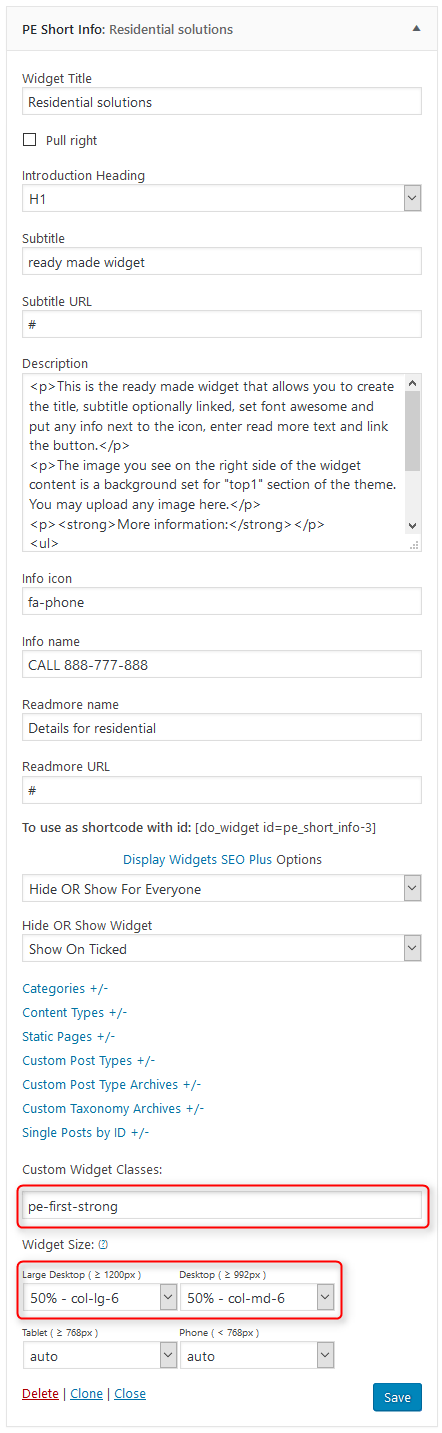
We also display the widget in "top2" sidebar:

9. PE Testimonial Carousel
Built-in widget which allows you to display testimonials (testimonial post type).
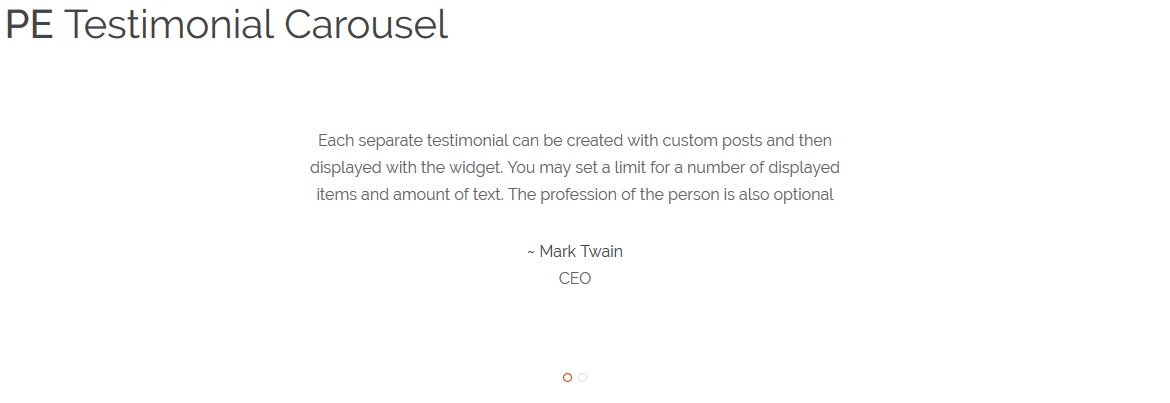
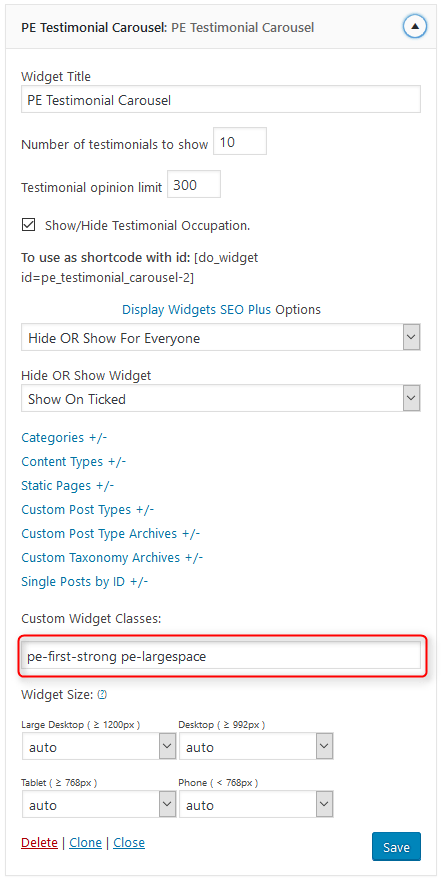
We present this widget on the All ready made widgets page.
10. PE Best Features
Built-in widget which allows you to display text with icons (font awesome) and image.
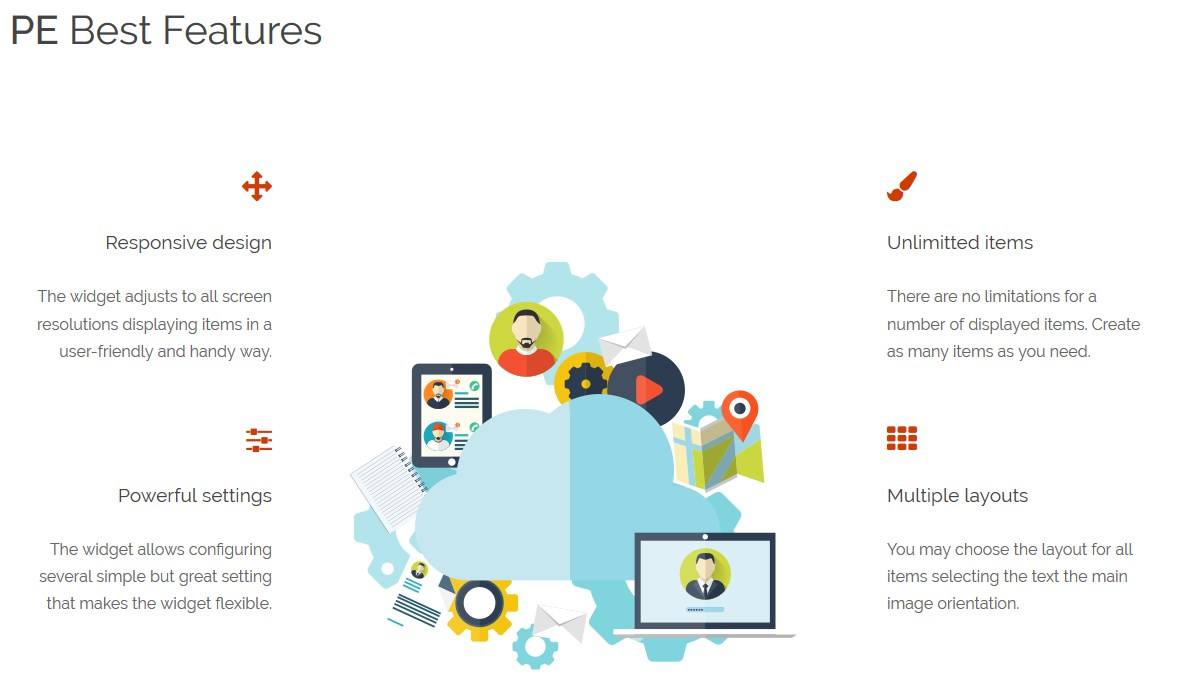

We present this widget on the All ready made widgets page.
11. PE Image Carousel
Built-in widget which allows you to display images.

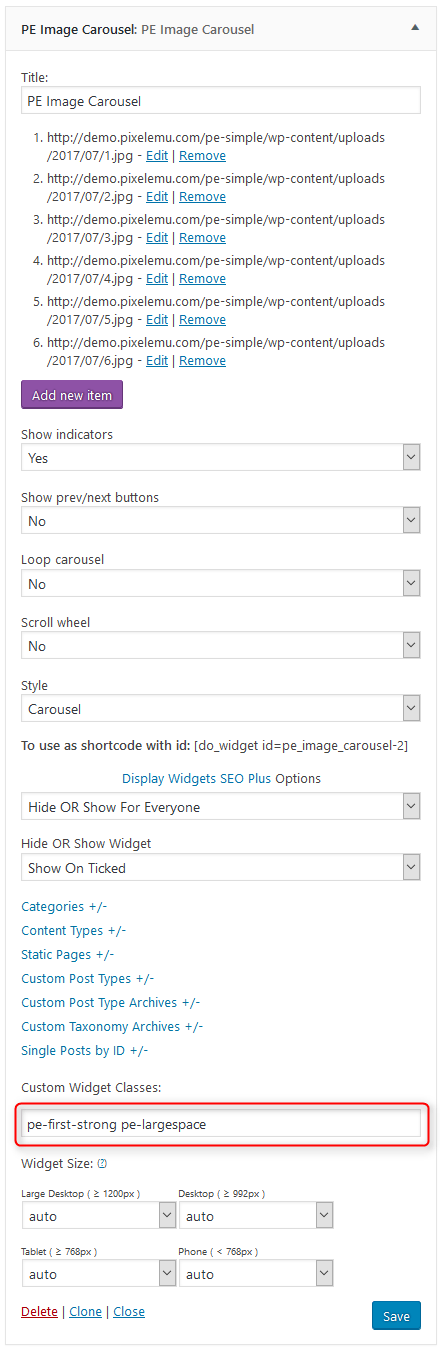
We present this widget on the All ready made widgets page.
12. PE Login Popup
Built-in widget which allows you to display a login and register page in a popup.
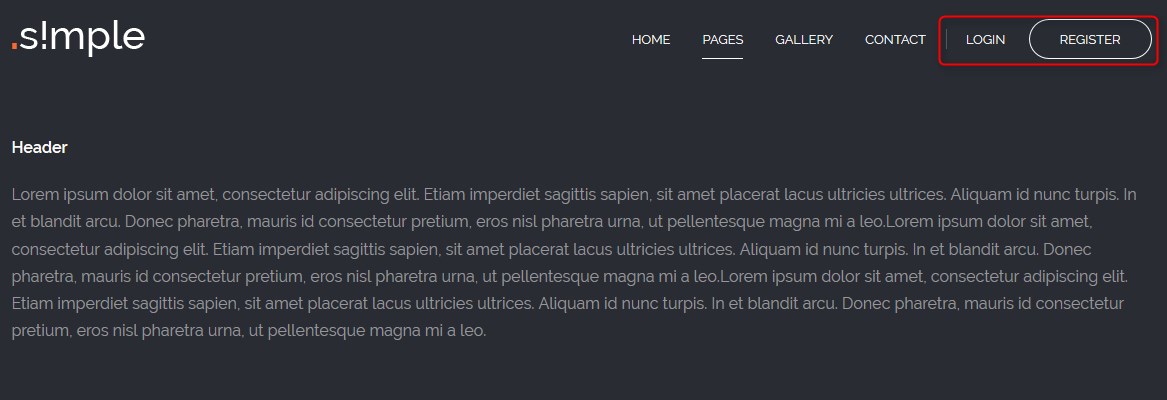
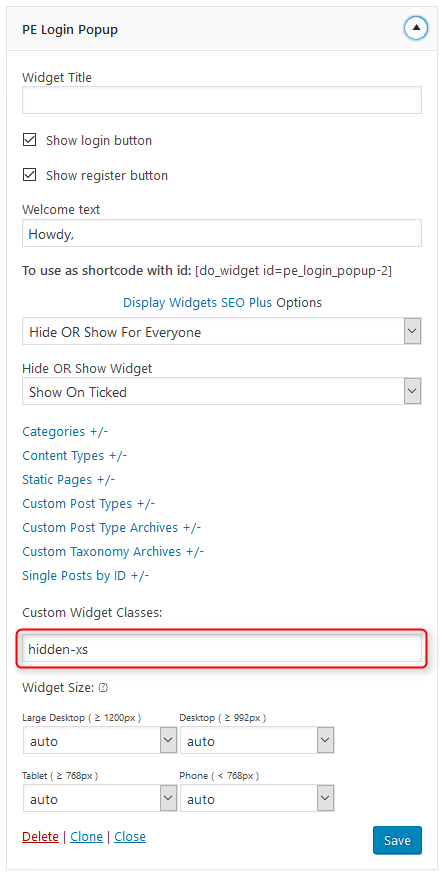
On demo page widget is visible in 'login' sidebar.
13. PE Easy Slider
The plugin which allows you to display image slides.

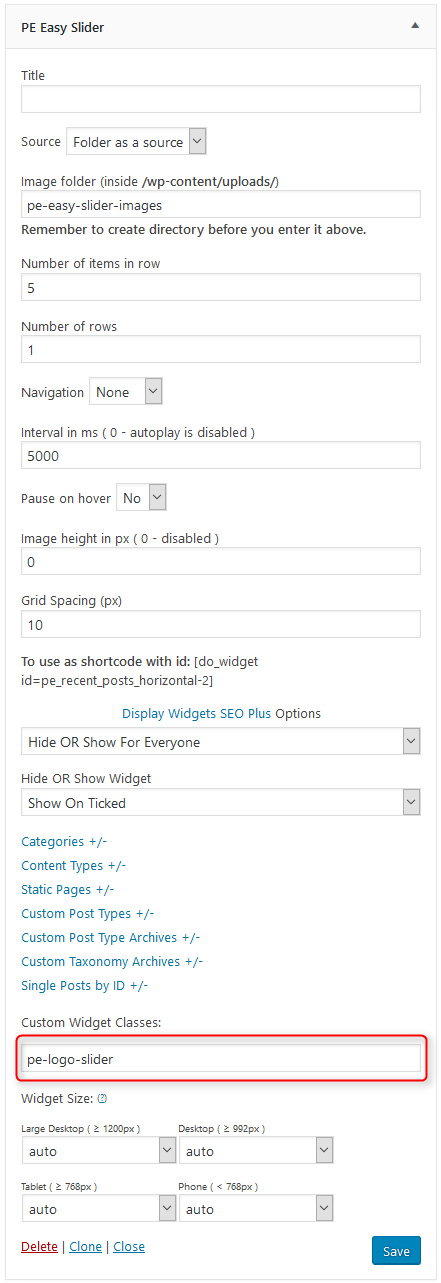
On demo page widget is visible in 'footer' sidebar.
E. ADDING CONTENT
1. Add Post
2. Add Page
3. Add Member
Navigate to Members > Add New. Enter title (member name), description and click Publish. Optionally you can choose featured image (member avatar).
You can also provide:
- Proffesion
- Phone
- Social links
- Working hours
- Member color

4. Add FAQ
5. Add Testimonial
Navigate to Testimonials > Add New. Enter title, description and click Publish. Optionally you can choose the occupation and avatar image.

F. WPML
1. Purchase WPML
2. Initial Setup
3. Translating Pages, Posts and other post types
4. Translating custom post types
5. Translating theme texts and other strings
G. OTHER
1. Classes for widgets
2. Available classes
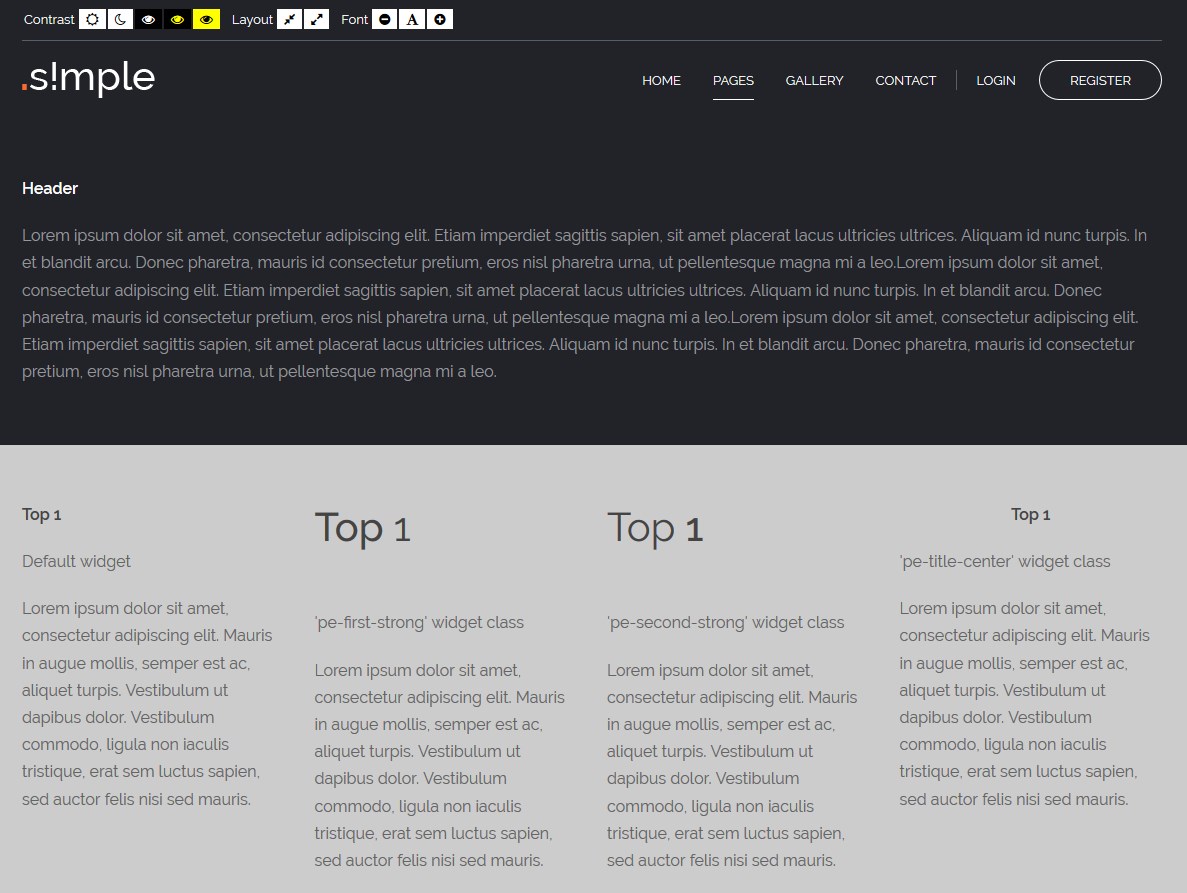
pe-first-strong - provides different widget layout. The first word in title is bolded.
pe-second-strong - provides different widget layout. The second word in title is bolded.
pe-third-strong - provides different widget layout. The third word in title is bolded.
pe-fourth-strong - provides different widget layout. The fourth word in title is bolded.
pe-fifth-strong - provides different widget layout. The fifth word in title is bolded.
pe-title-center - provides different widget layout. The title is centered.
pe-margin - removes all margins for widget.
text-right - aligns text right
text-left - aligns text left
text-center - aligns text center
pe-clean - for Tabs shortcode
pe-section-space - removes space above and below section.
pe-section-space-top - removes space above section.
pe-section-space-bottom - removes space below section.
no-bold - removes bold font weight from string.
3. Bootstrap 3 Grid classes to specify each widget width
4. Available shortcodes
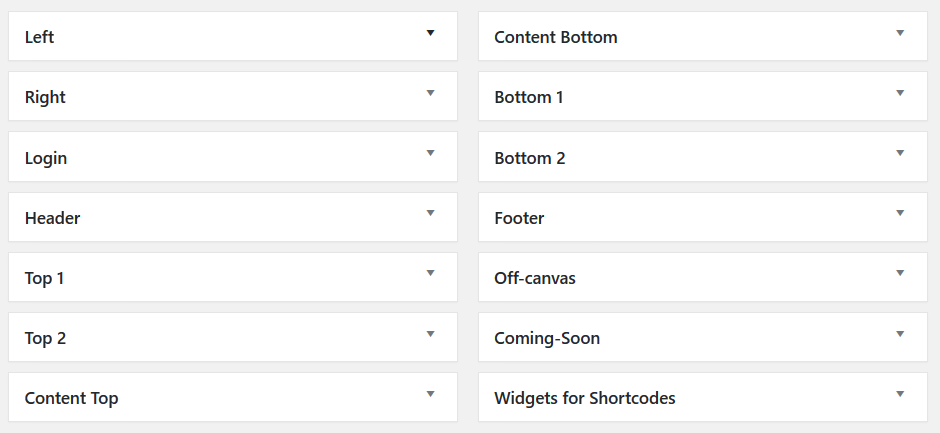
5. All widget positions
All available widget positions in theme:

We have also a video tutorial on how to manage the theme layout in WordPress themes:
6. Typography
Typography article you will find here.
On above page you will find some examples of custom classes which you can use in articles.
H. STYLES
Theme PE Simple is available in 2 different versions. Each version have own settings and content.

You can import settings in Theme Options using provided in package file options.json
- Go to Theme Options > Import / Export
- Click Import from File

- Open options.json file with Code or Text Editor and copy content.

- Paste content in input.
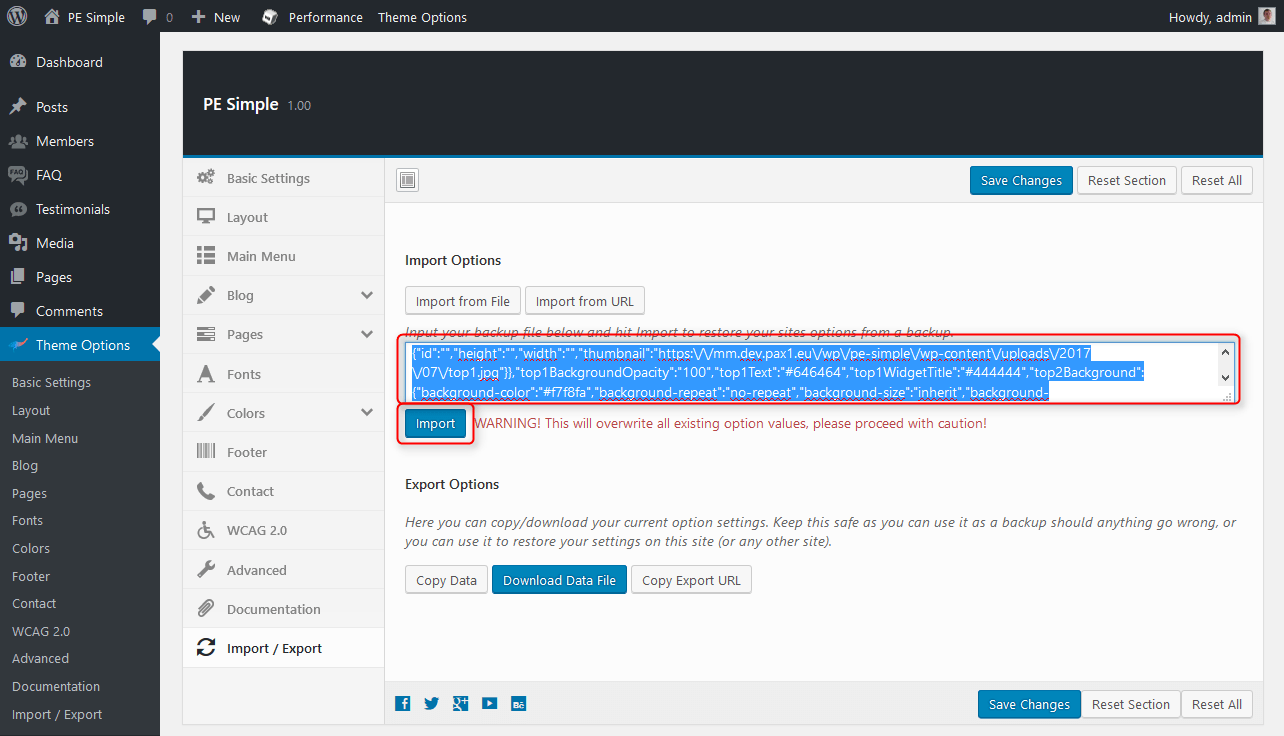
- Click Import
Remeber: All of your previous settings will be overrided.
Content can be imported in Tools > Import. More details in Demo Site Configuration
I. WCAG
What is WCAG?
WAI is Web Accessibility Initiative - an initiative established by the W3C, defining the standards for creating web pages, which have to be available for many users - in the project participate companies such as IBM, Microsoft, Google, Apple (the author of WCAG). Web Content Accessibility Guidelines is a collection of documents relating to the availability of Internet services, Since 2012 has the status of international standard ISO.
WCAG in theme
- Page navigation by using keyboard - you don’t need to use a computer mouse to navigate through the relevant divs of the website, just keyboard will be enough
- Skip to the following Menu items is possible with the Tab key, so we can quickly move through the page
- Avoidance of animated elements (facilities for people suffering from epilepsy) stable graphics, no garish animated effects is one of the advantages of our theme
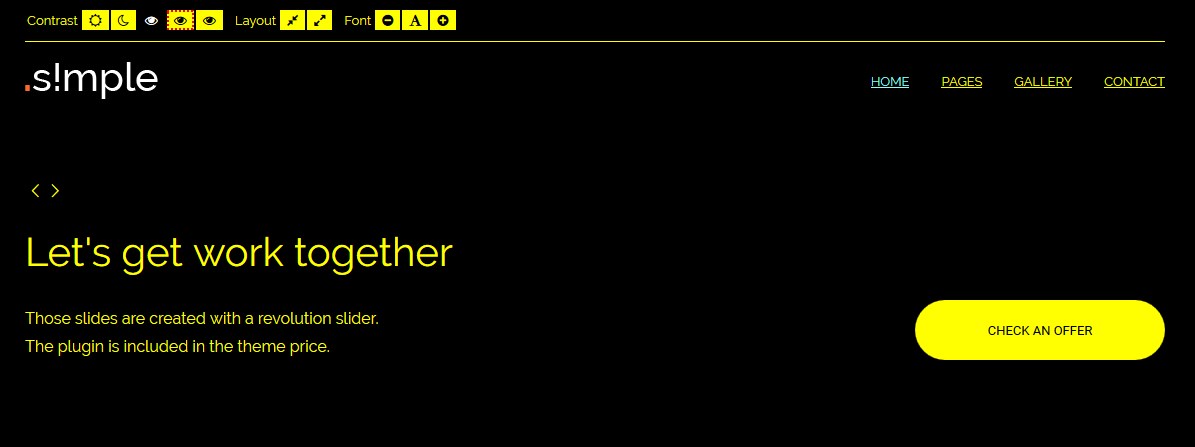
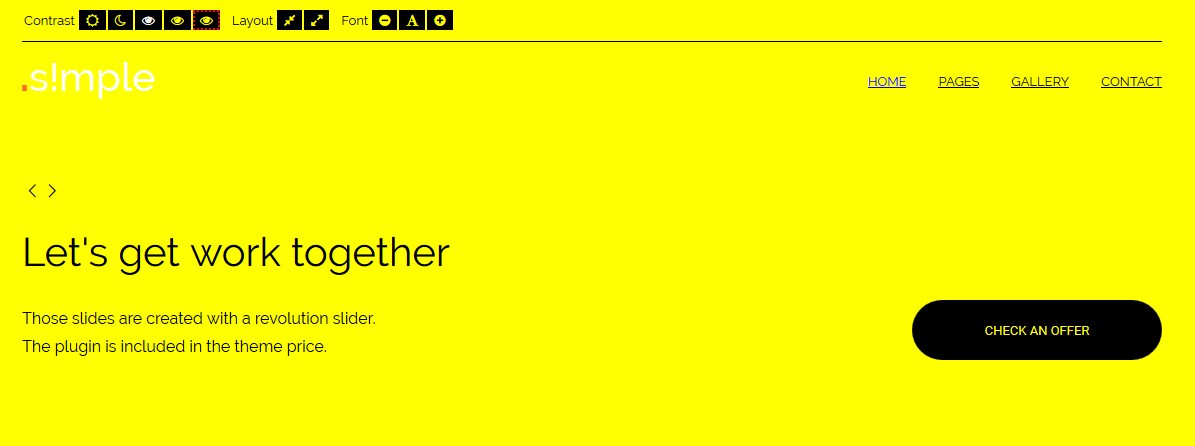
- High contrast mode: ensure optimal readability of the text ( Black/White Mode, Black/Yellow Mode, Yellow/Black Mode)

- Night mode - lets you avoid eyestrain. If your eyes get tired quickly, don’t strain them and to use night mode color version
- Width switcher (fixed/fluid) adjust the width of the screen to fit your needs
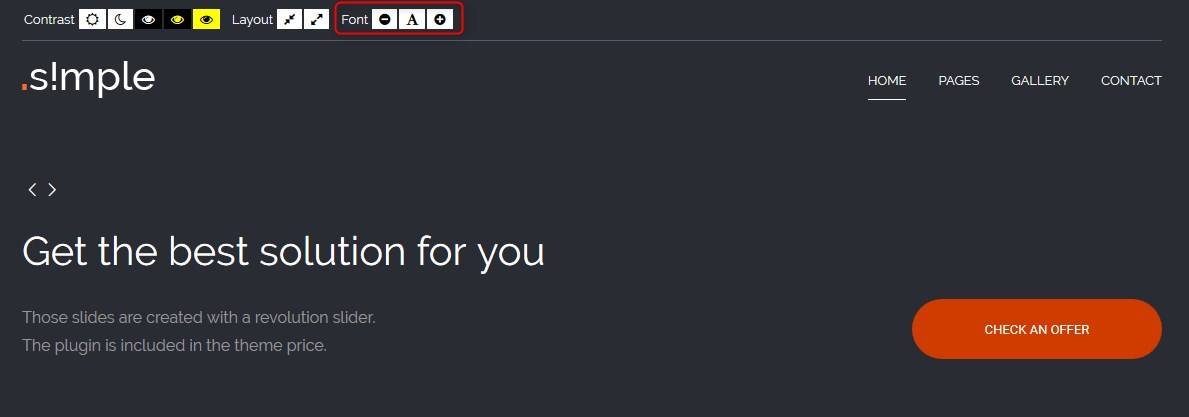
- Font size switcher (3 degrees of font size, which are fixed as a percentage)
You can easily customize all of the available facilities (disable and enable mods depending on your requirements) in Theme Options
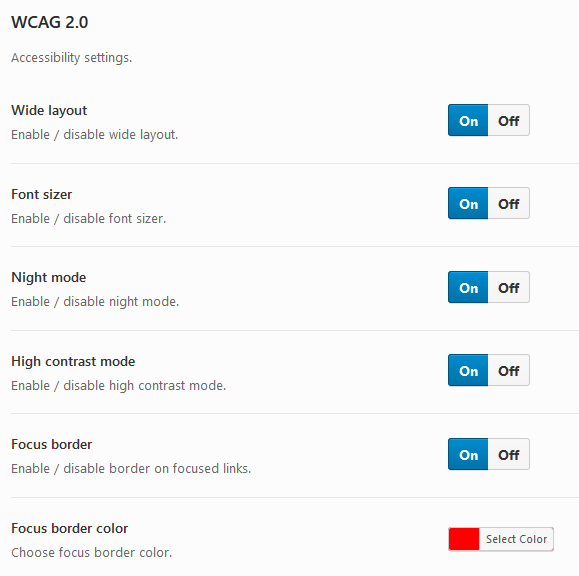
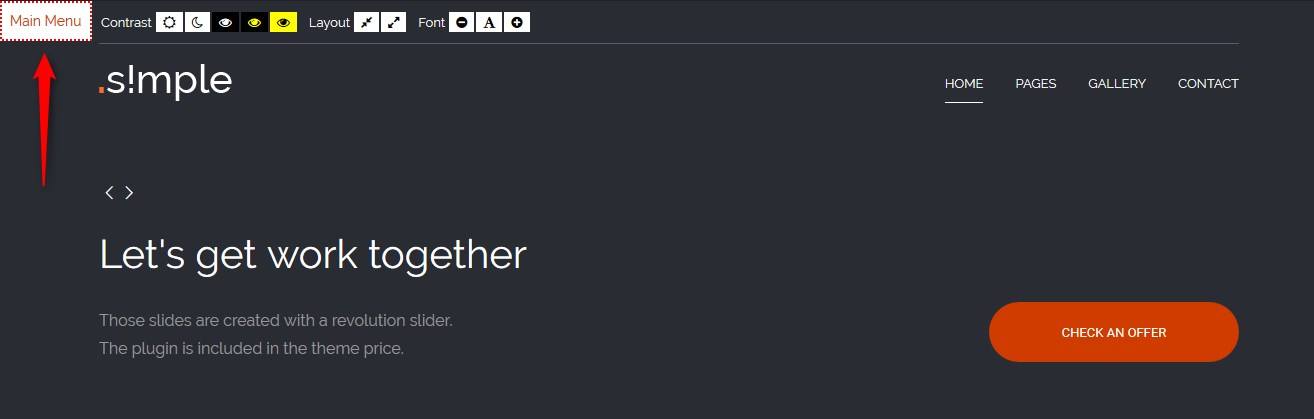
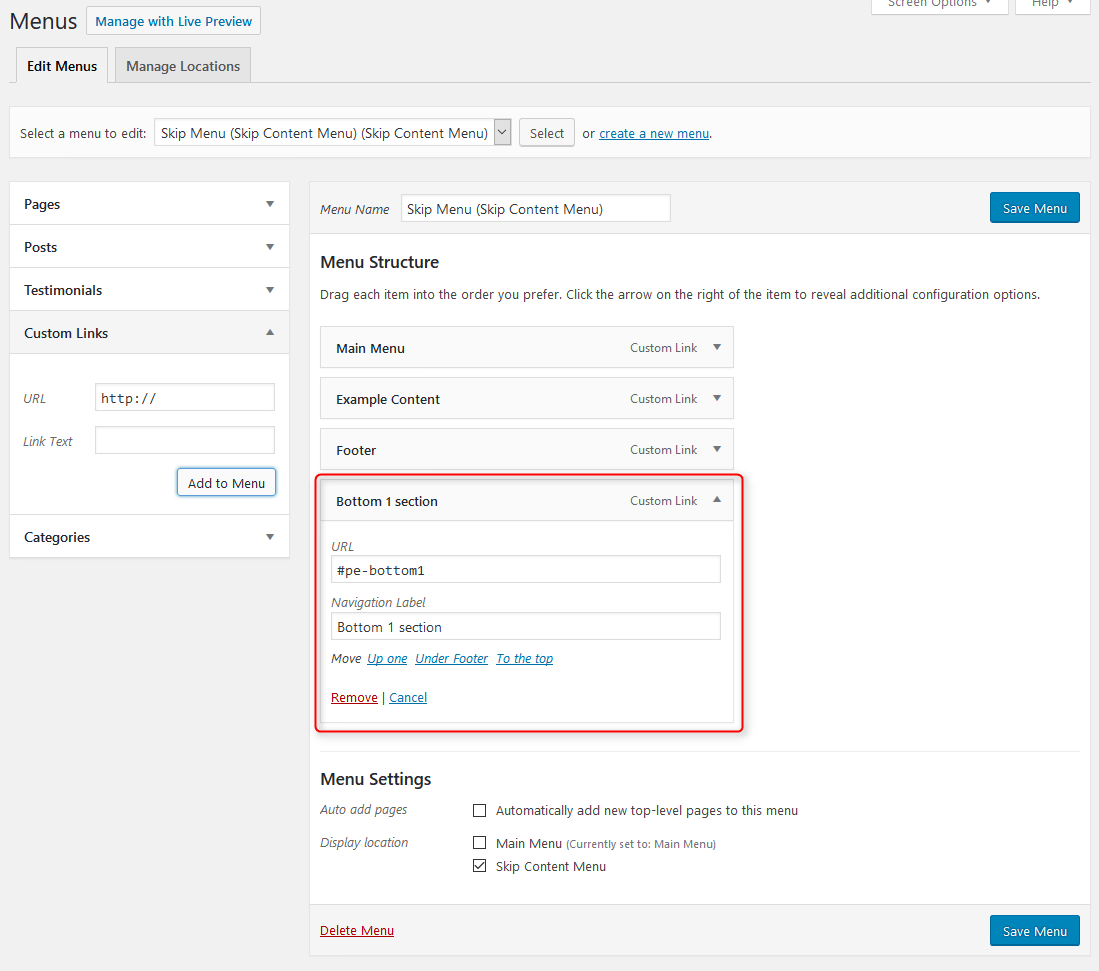
Shortcut menu configuration
Shortcut menu in the top left corner of screen is visible when you use keyboard to navigate on the site (use TAB key). It allows for quick access to interesting or important content parts.
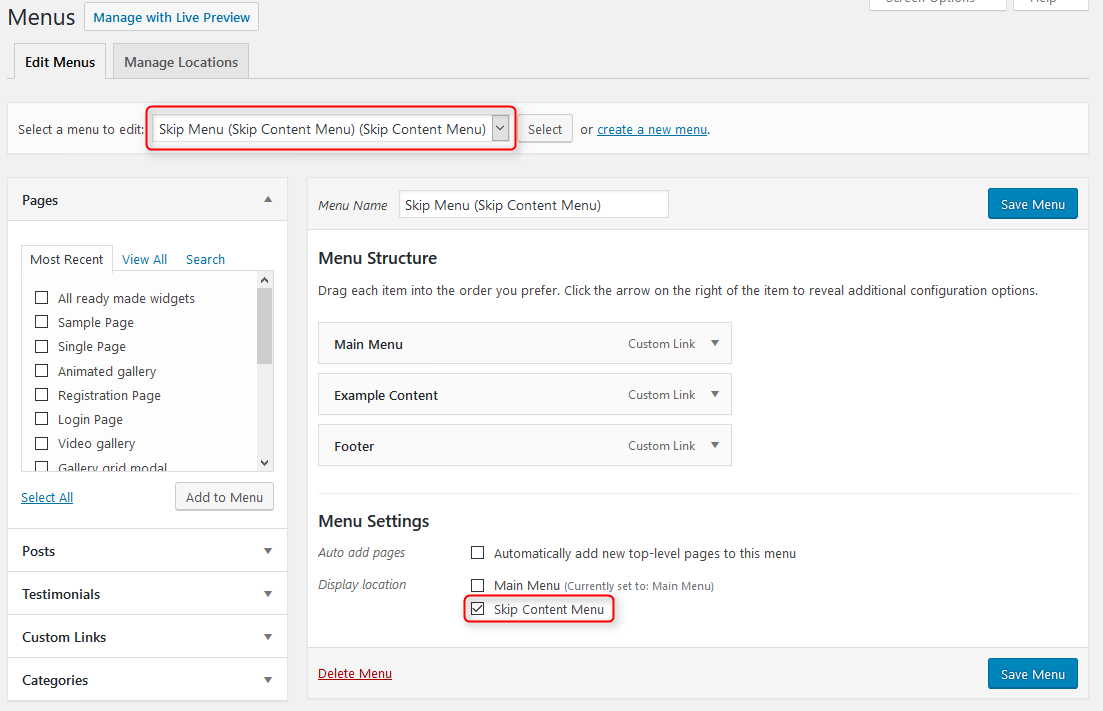
You can manage links and items in WordPress backend Appearance > Menus > Select 'Skip Menu' if exists or create new menu in 'Skip Menu' theme location.
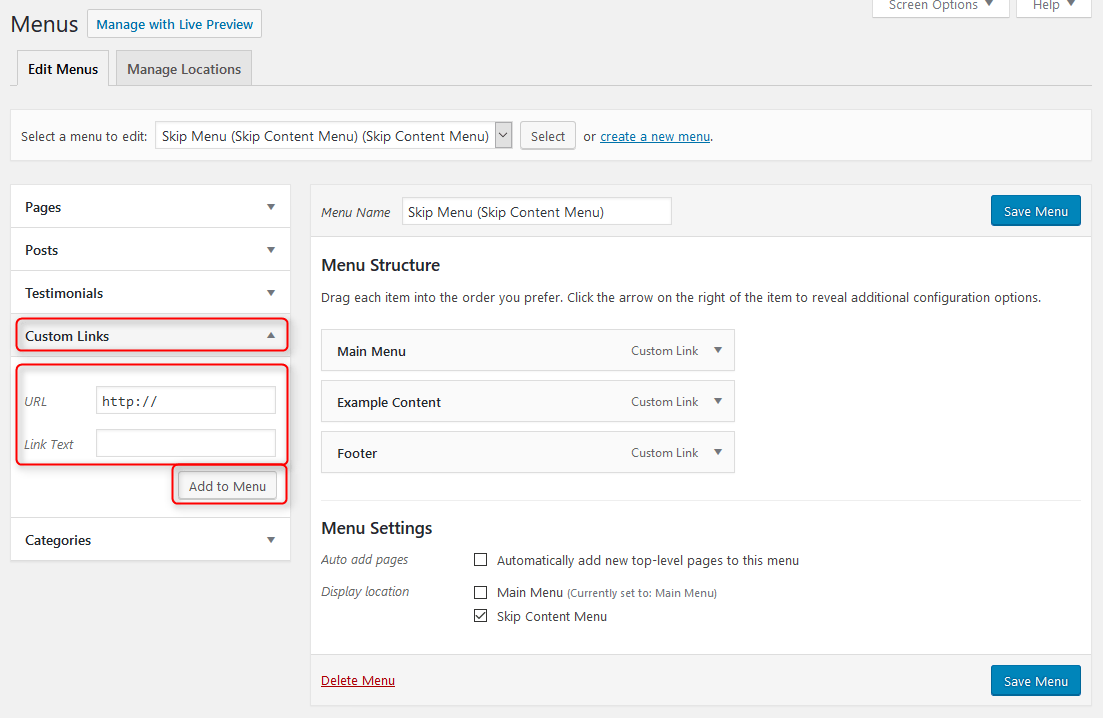
If you want create a new link in menu, simply chose Custom Links type.
As URL you should set div ID where you want to link. You can check document divs ID with any Code inspector in your browser. Example in Chrome (F12 button) :
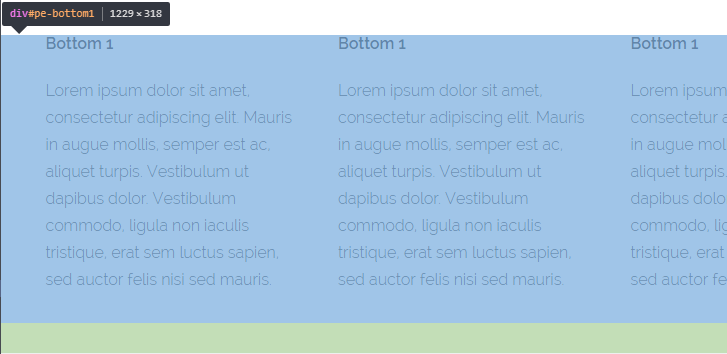

Id of Bottom 1 div in example is 'pe-bottom1' which means we can add Custom Link in Skip menu with URL : #pe-bottom1

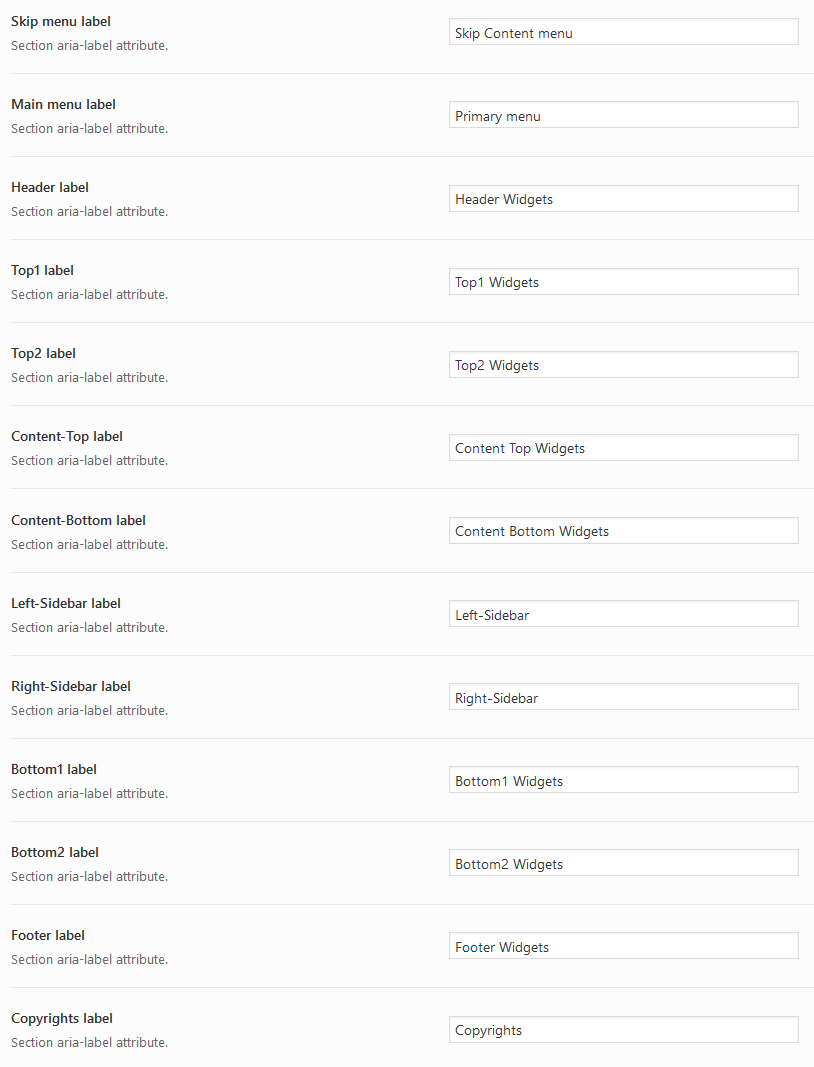
Content headings configuration
All main divs in theme have its own headings for users who use screen readers. It is helpful to browse the site and correctly recognize each part of site.
You can easly change labels in Theme Options > WCAG & ADA
J. OPTIMIZE YOUR SITE
K. SOURCES AND CREDITS
Plugins:
- Duplicator (Create a backup of your WordPress files and database. Duplicate and move an entire site from one location to another in a few steps. Create a full snapshot of your site at any point in time.) http://lifeinthegrid.com/
- Display Widgets SEO Plus (Adds checkboxes to each widget to show or hide on site pages.) http://stallion-theme.co.uk/
- Amr shortcode any widget https://wordpress.org/plugins/amr-shortcode-any-widget/installation/
- Option Tree https://github.com/valendesigns/option-tree
- Redux Framework https://reduxframework.com/
- Revolution Slider (Revolution Slider - Premium responsive slider) http://themepunch.com/
- W3 Total Cache http://www.linkedin.com/in/w3edge
- WordPress Importer https://profiles.wordpress.org/wordpressdotorg/
- WP User Avatar http://wordpress.org/support/plugin/wp-user-avatar/
Commercial images used on the demo page:
- https://www.dreamstime.com/stock-images-assertive-business-partners-working-computer-image12975184#res700000
- https://depositphotos.com/33031623/stock-photo-teacher-training-with-student.html?ref=3830419
- https://depositphotos.com/42522679/stock-photo-market-analysis.html?ref=3830419
- https://depositphotos.com/41679925/stock-photo-image-of-human-hand-pointing.html?ref=3830419
- https://depositphotos.com/151250856/stock-photo-businessmen-discussing-contract.html?ref=3830419
- https://depositphotos.com/12765263/stock-photo-proud-businessman.html?ref=3830419
- https://depositphotos.com/77158225/stock-illustration-airport-icon-flat.html?ref=3830419
- https://depositphotos.com/70842145/stock-illustration-living-room-furniture-set.html?ref=3830419
- https://depositphotos.com/45470595/stock-illustration-collection-of-flat-and-colorful.html?ref=3830419?ref=3830419
- https://depositphotos.com/69393055/stock-illustration-railway-flat-set.html?ref=3830419
- https://depositphotos.com/55462327/stock-illustration-store-building-flat-set.html?ref=3830419
Other images comes from: