PE Terraclassic WordPress theme manual
A. GENERAL
1. Introduction
This documentation is last updated on 16th October 2018.
Thank you for purchasing PE Terraclassic Theme . If you have any question that is beyond the scope of this documentation, Please feel free to create a support ticket using Our Support Site.
If you like this theme, Please support us by rating this theme with 5 stars.
Before you start please choose if you want :
- import demo content with plugin
- manual import demo content
- use Quickstart package
If you choose Quickstart option please skip points A2 and A3.
2. Installing the Theme
You must have a working version of WordPress already installed. For information in regard to installing the WordPress CMS, please see the WordPress Codex Installing WordPress Once you have a working version of WordPress, you need to download All Files and extract the downloaded zip to get various files including pe-terraclassic.zip.
Install Theme Via WordPress Dashboard

- Go to Appearance > Themes
- Click Add New and select the Upload Theme option
- Choose the pe-terraclassic file and press Install Now
- Once the theme is uploaded you need to activate it.
Install Theme Via FTP
- Access your hosting server using an ftp client.
- Go to the wp-content/themes folder of your WordPress installation
- Upload pe-terraclassic directory from downloaded package in wp-content/themes/.
- Go to WordPress Dashboard > Appearance > Themes to activate the theme
3. Install Plugins
- Once the theme is activated Go to Plugins
- Click Begin installing plugins

- Check all plugins.
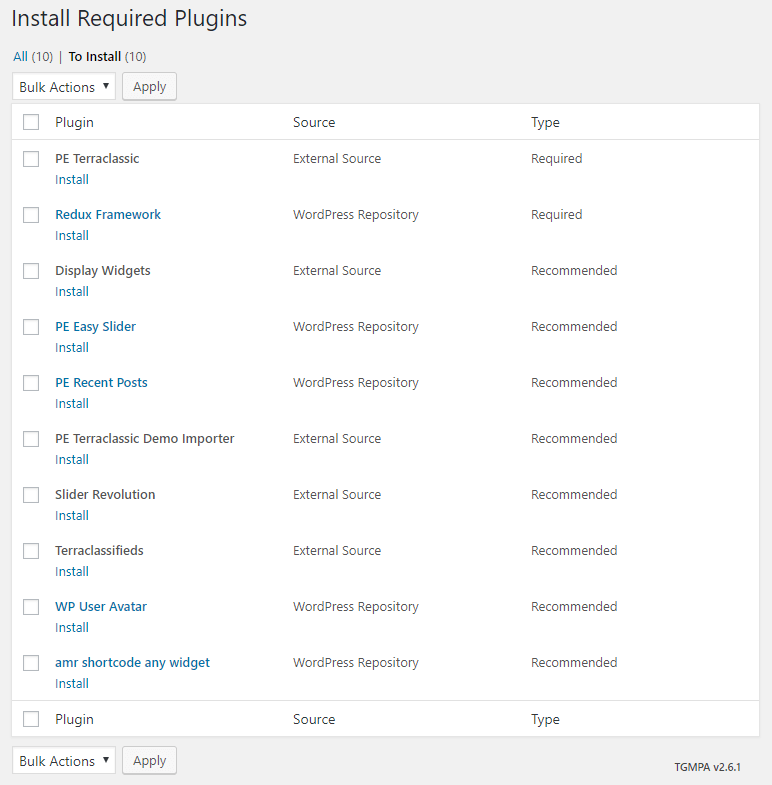
- Select Install and click Apply

- After installation click Return to Required Plugins Installer
- Check all plugins.
- Select Activate and click Apply
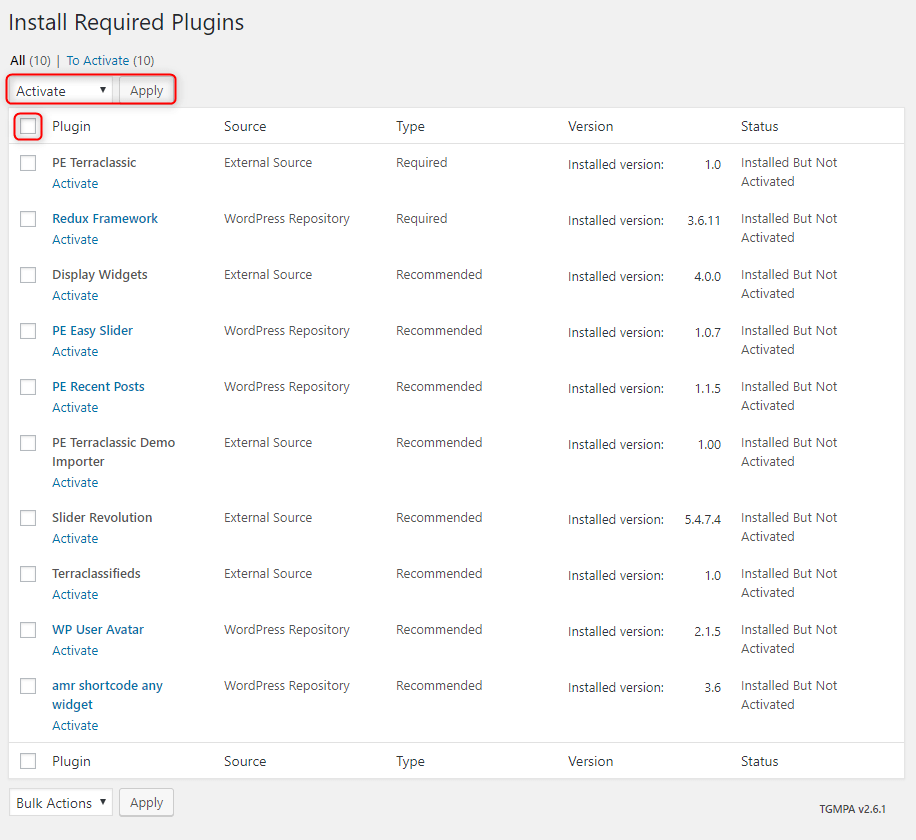
- Now you should see message similar to this:

4. Demo content import (option 1)
One of the plugins recommended for the theme is PE Terraclassic Demo Content Importer - this plugin will help you import demo content with just one click.
Please take a look at these notes before you do anything further.
- Run Demo Importer on a clean WordPress installation.
- Use Wordpress Database Reset plugin before running the importer. Click Database Reset to reset (at least remove all default widgets which are inserted on clean Wordpress in sidebar Header)
- Ensure that PE Terraclassic theme is installed & activated.
- Ensure that required and recommended plugins are installed and activated.
- Do not refresh your browser during the operation.
- Do not run the Demo Import multiple times, one after the other. This will result in some duplicate content.
Go to PE Terraclassic Demo Content Importer.
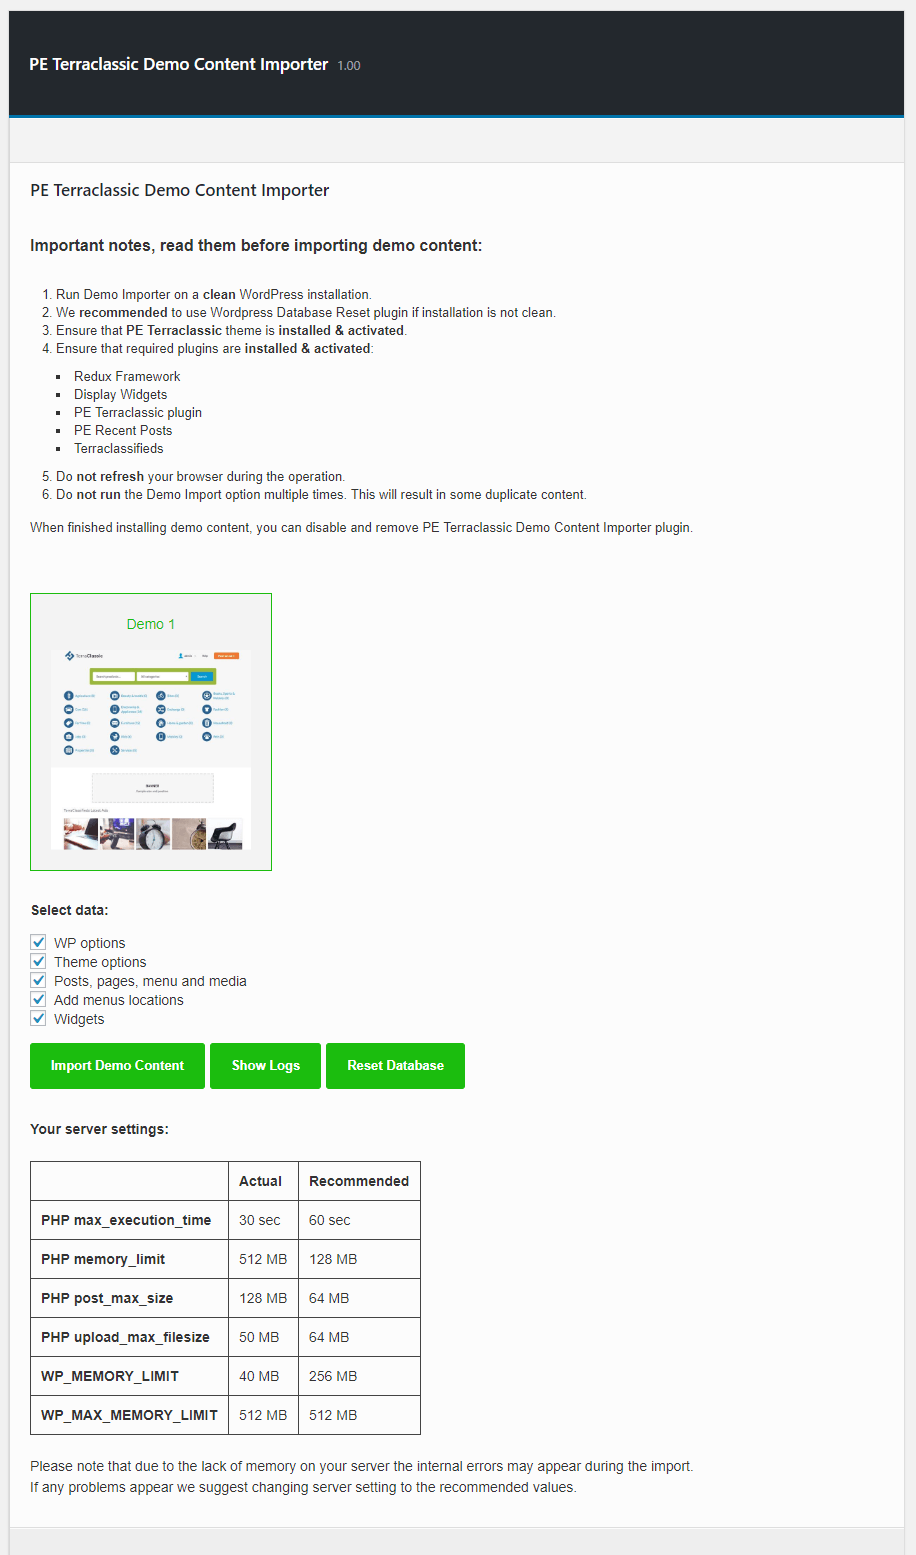
If you are ready to import please click Import Demo Content.
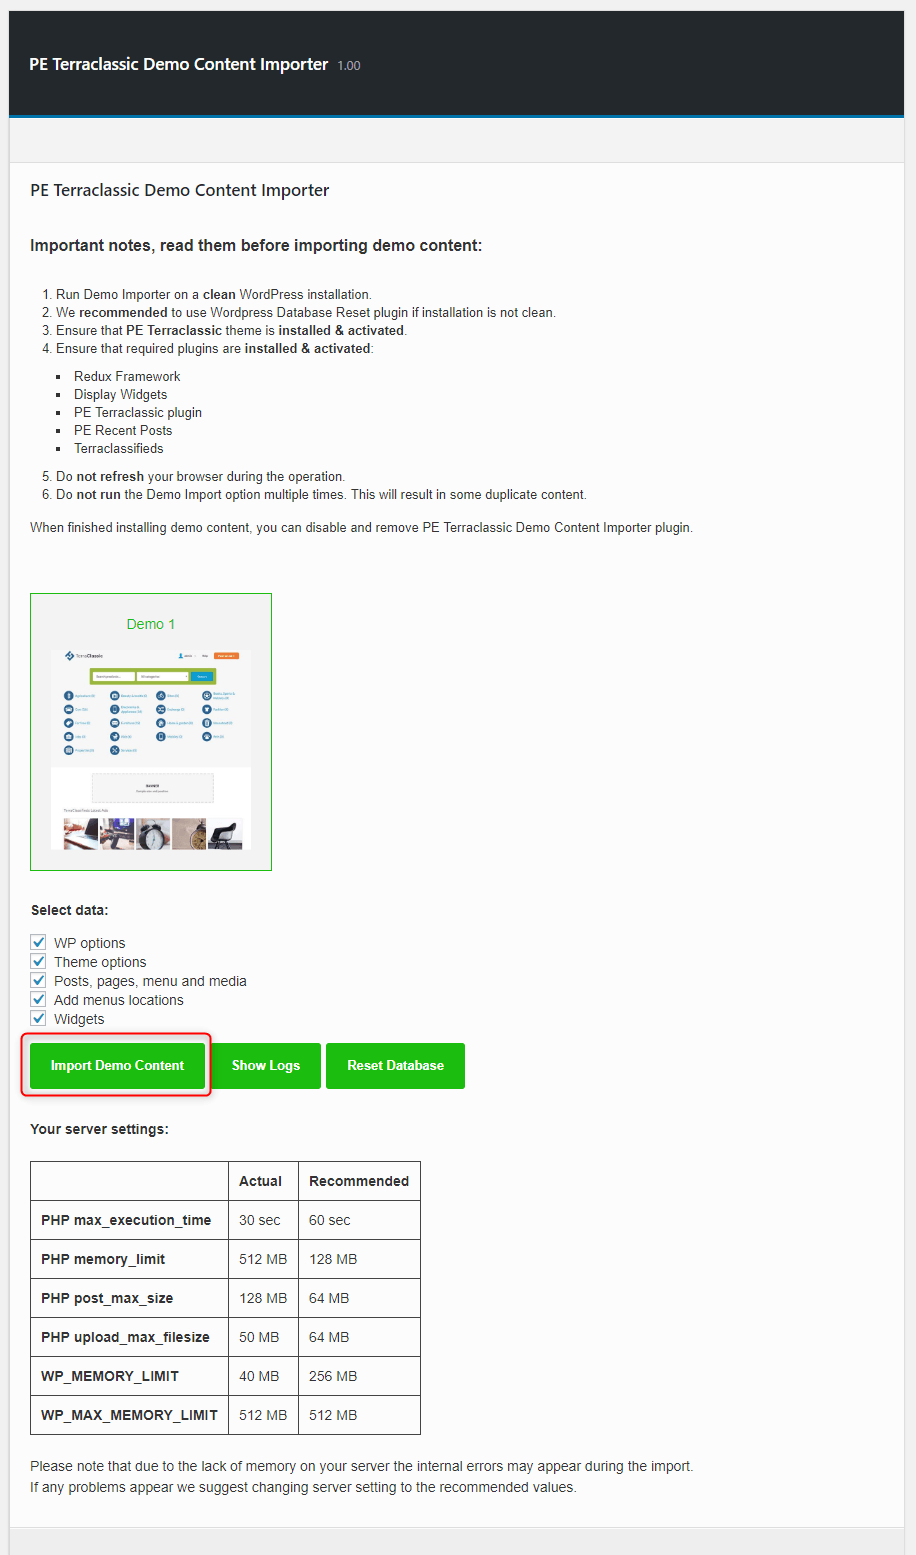
When import will be finished you will see similar screen:

When finished installing our demo content, you can disable and delete PE Terraclassic Demo Content Importer plugin.
5. Demo Copy Installation (option 2)
- To install quickstart you need to have ZipArchive module enabled on your server.
- After install quickstart you can login to admin panel using login: admin and password: pixelemu
- Copy files from directory quickstart (installer.php and quickstart.zip) to your server.
- Type in browser address to your server and installer.php, ex. www.yourwebsite.com/installer.php
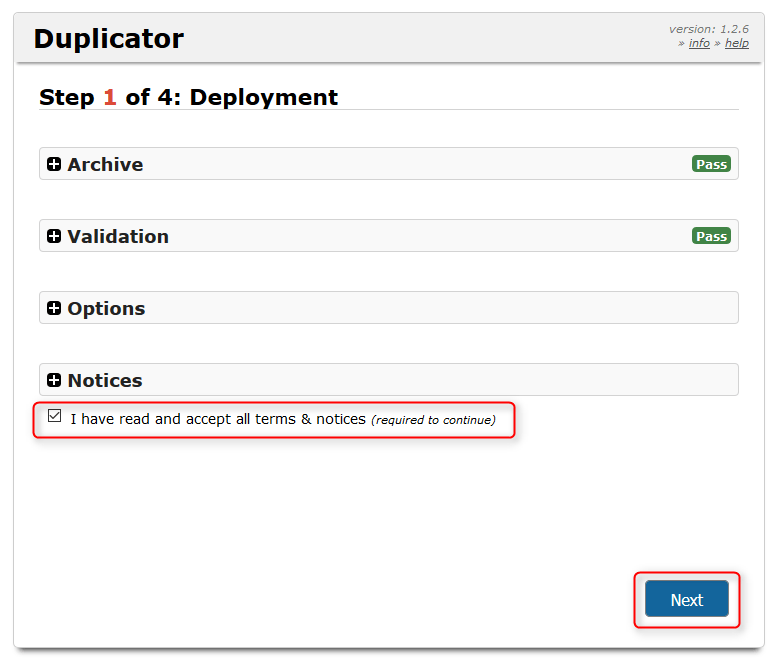
- Select I have read and accept all terms & notices and click Next
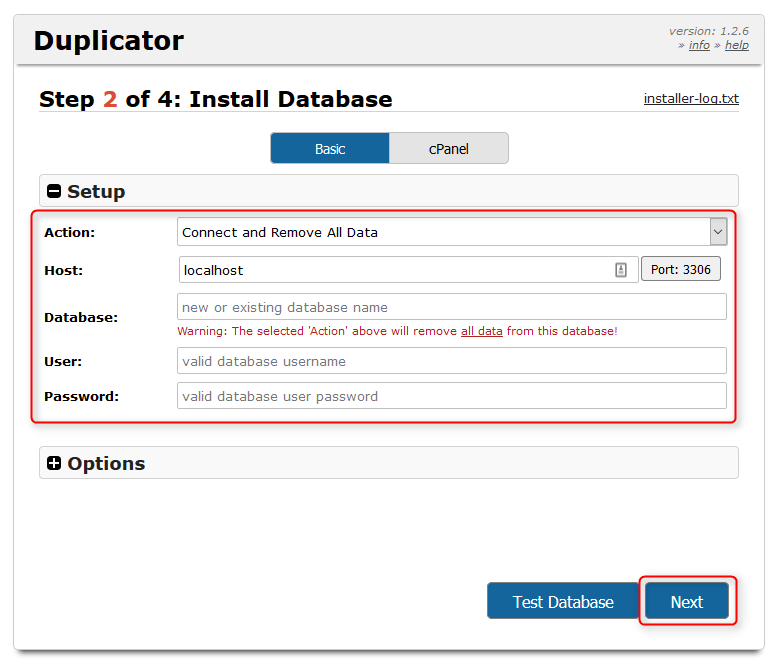
- Select Connect and Remove All Data, type your database host, name, user, passsword. Now you can click Next.
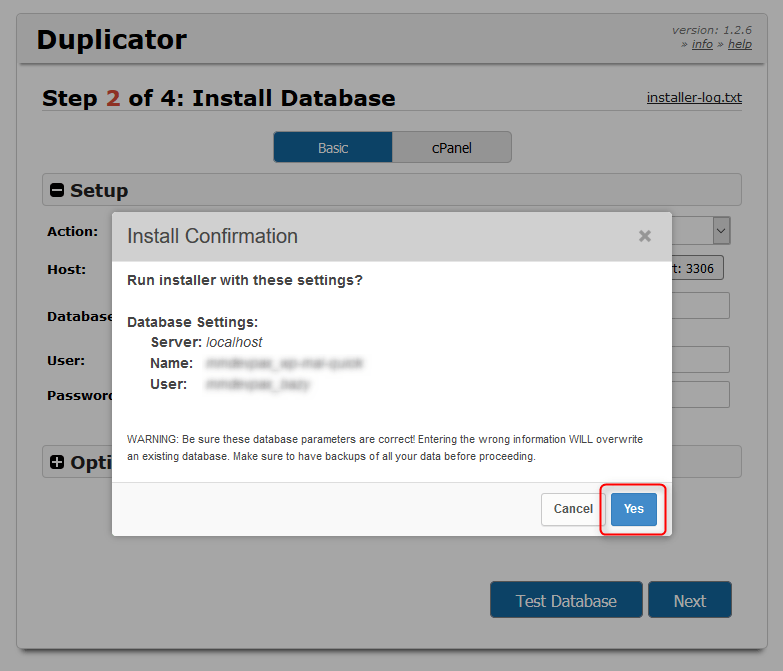
- Click Yes when you will see this warning.
- Now you can change old paths to new ones. Installer will do that for you. Don't change anything, just click Next.

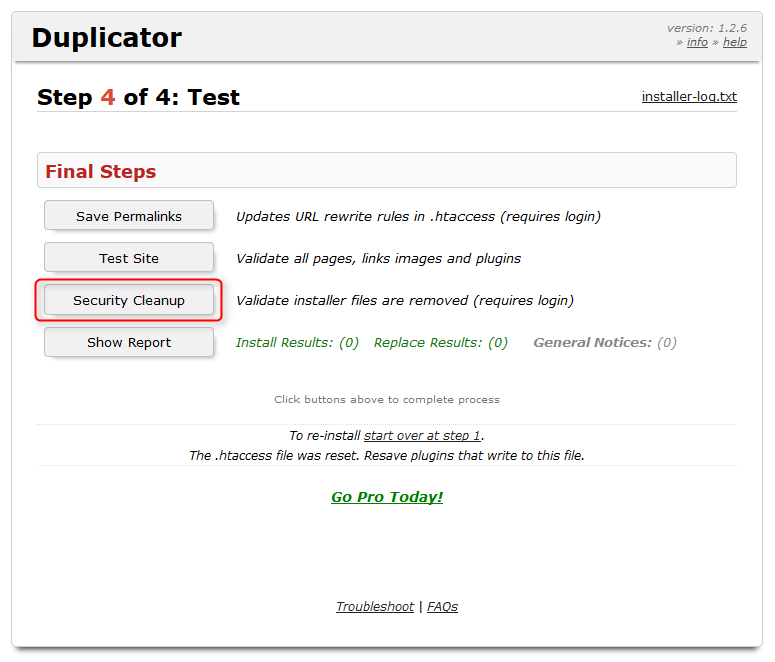
- Done. Now you can enter site by clicking Test Site. You can also see install report, save permalinks or cleanup files.

- To cleanup files click Security Cleanup
- Click OK when you will see this warning.
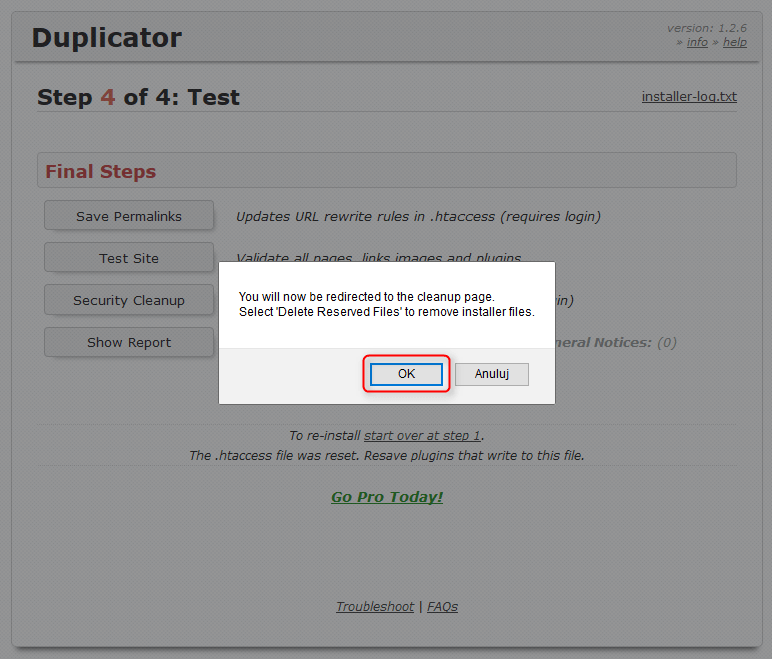
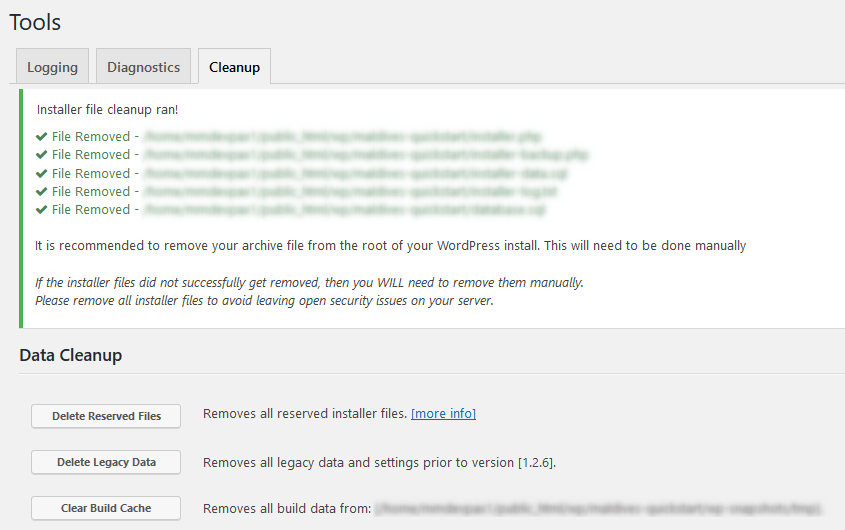
- You will be redirected to admin panel. Now click Delete Reserved Files

- Remember to delete quickstart.zip manually.
6. Manual demo content import (option 3)
Demo Site Configuration
Look for Import XML folder in unzipped package and use the XML within it.
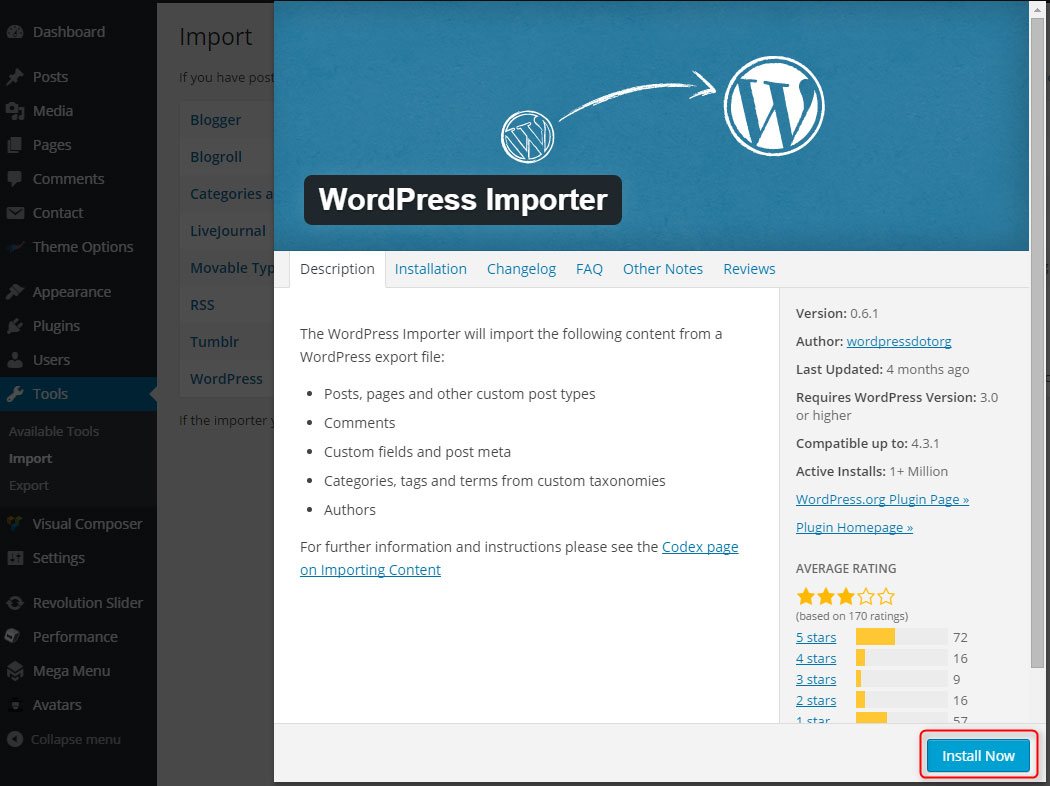
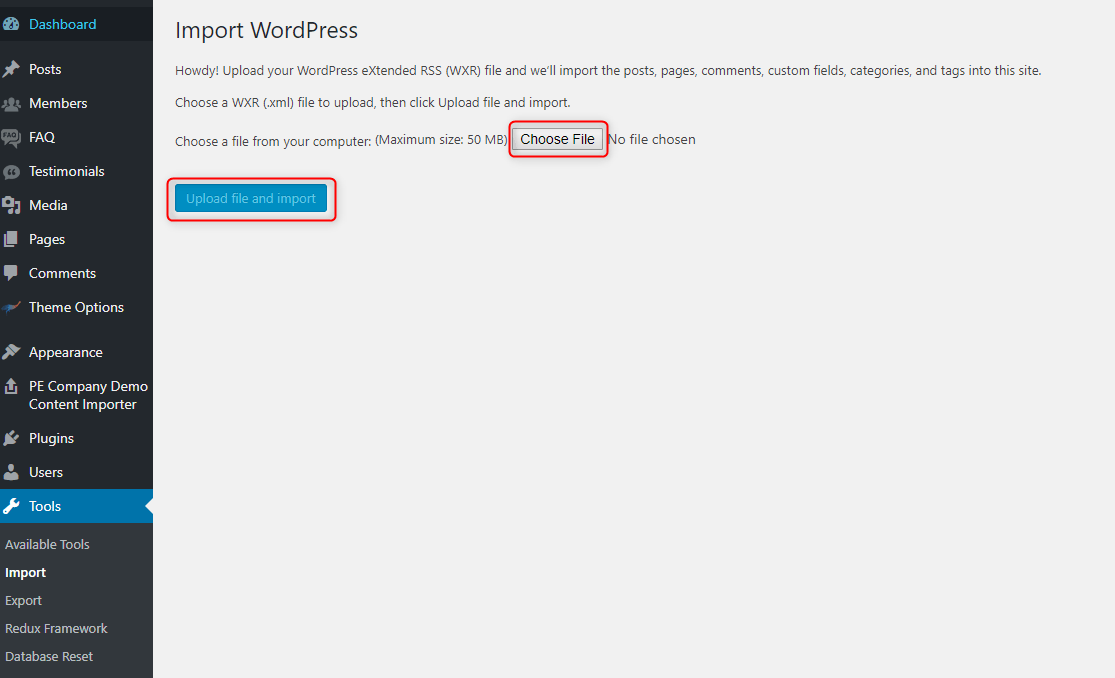
Go to the WordPress Admin > Tools > Import and click WordPress as displayed in image below.
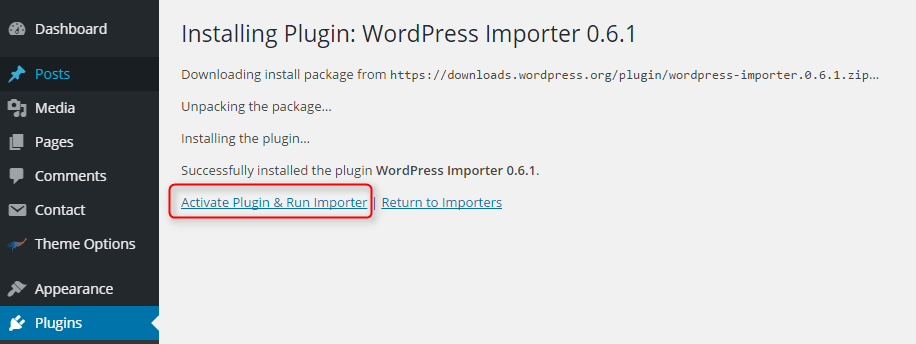
At 1st time you need to install WordPress importer plugin

Once installed you need to activate the plugin and run the importer.
Click the Choose File button, navigate to demo content, select the content.xml file and click Upload File and Import.
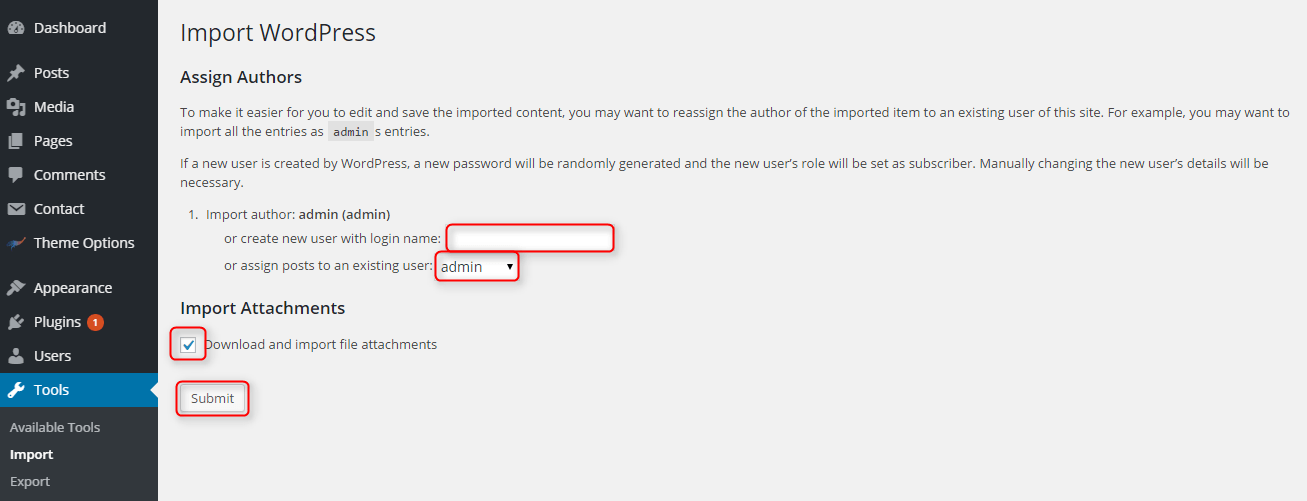
After importing XML file.
- Assign content to an existing author or create the new one.
- Mark the checkbox to download and import file attachments
- Click Submit button
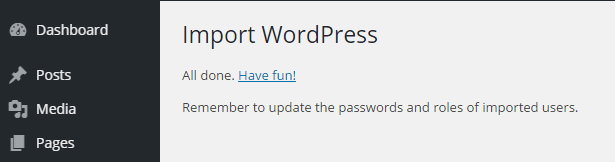
After that is done, you will have bunch of demo content.
Configure Main Menu
Navigate to Appearance > Menus and use the Already Imported Menu from XML and assign it to theme location "Main Menu" from Menu Settings div below menu. After that save the menu.

Post an Ad menu button
Navigate to Appearance > Widgets and add a Navigation Menu widget to a sidebar Top Bar 2.
Then select Ads menu and save changes.

NOTE: The orange button is created using class button-link. Please take a look here.
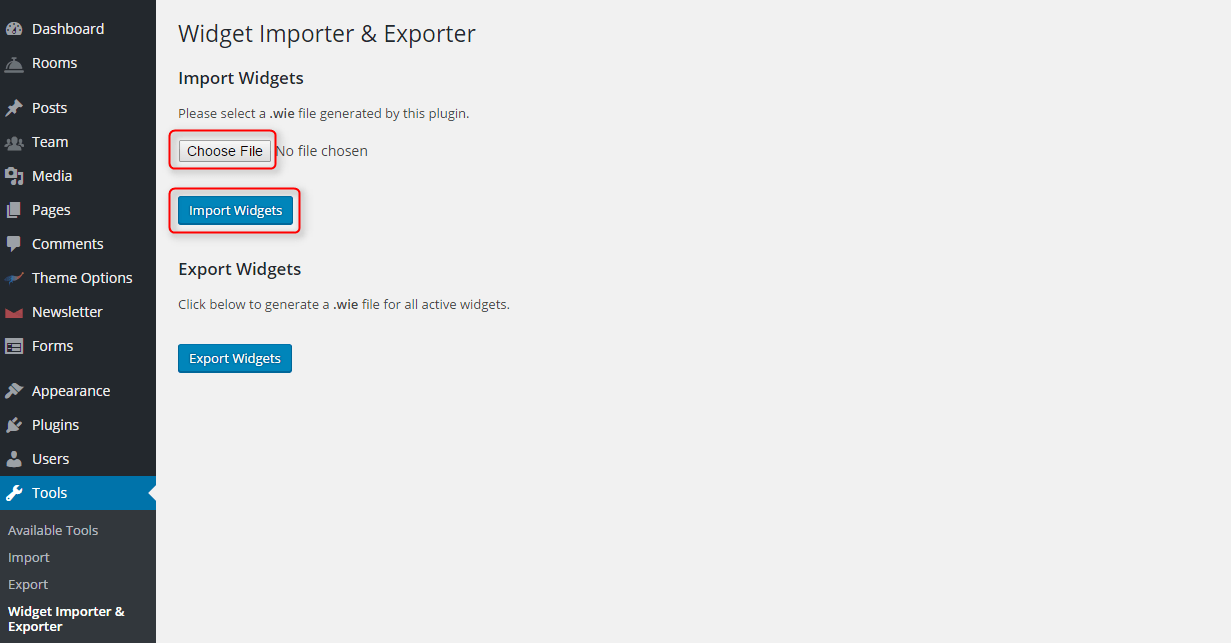
Import Widgets
Unfortunatelly WordPress does not handle the import or export of widget data natively. You need to install and activate free plugin: Widget Importer & Exporter.
Once done, in the admin dashboard, navigate to Tools > Widget Importer & Exporter. Click the Choose File button, navigate to the widgets folder, and then the widgets folder. Inside is the widgets.wie or .json file. Select that file.
Finally, click Import Widgets.
Configure WP Settings
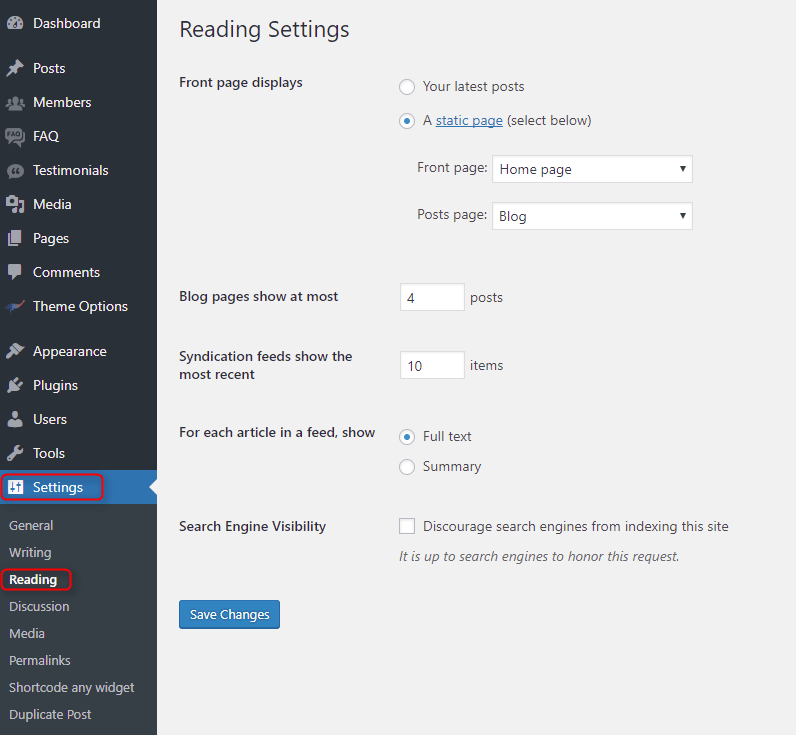
Navigate to Settings > Reading and set options like that:
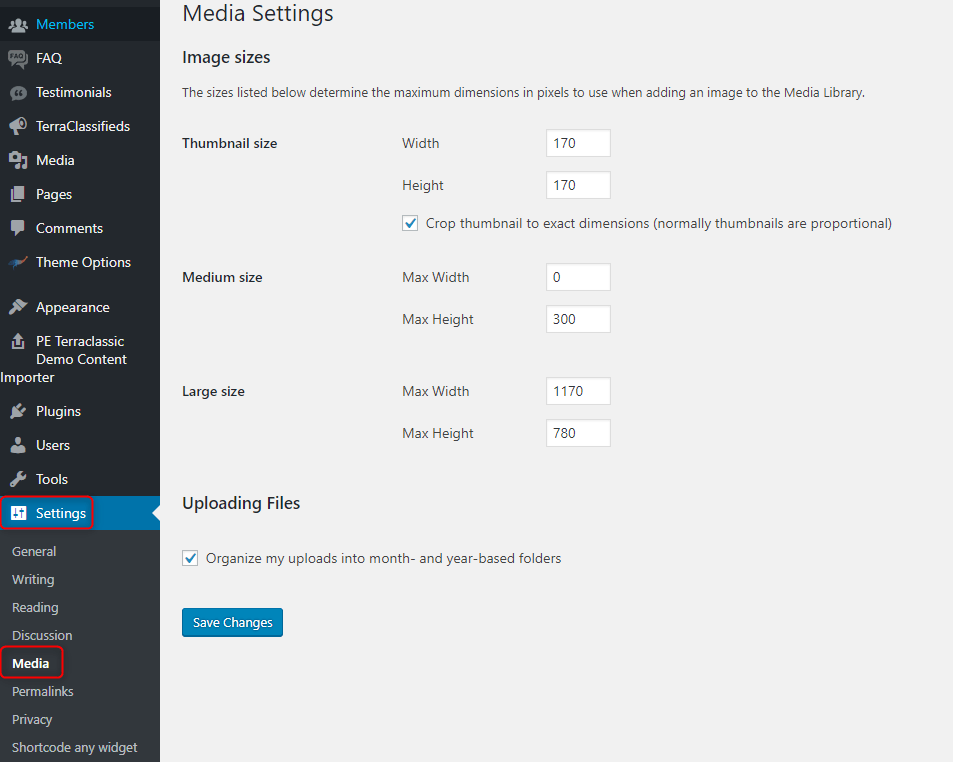
Next, set media in Settings > Media:
7. How to Update Theme
Do it before update:
1. First of all, please make a backup of your website. We recommend plugin Duplicator.
2. Download updated theme package pe-terraclassic.zip and unpack it.
3. Download updated theme plugin pe-terraclassic-plugin.zip and unpack it.
4. Open your FTP client and navigate to your website root folder.
Update theme:
1. Go to wp-content/themes and upload unzipped theme folder pe-terraclassic (override all files).
2. Go to wp-content/plugins and upload unzipped theme plugin folder pe-terraclassic-plugin (override all files).
B. THEME OPTIONS
1. Basic Settings
All available settings for default version of PE Terraclassic theme. More information about different versions you will find in Styles div.
To setup Basic Settings, navigate to Appearance > Theme Options and click on Basic Settings tab.

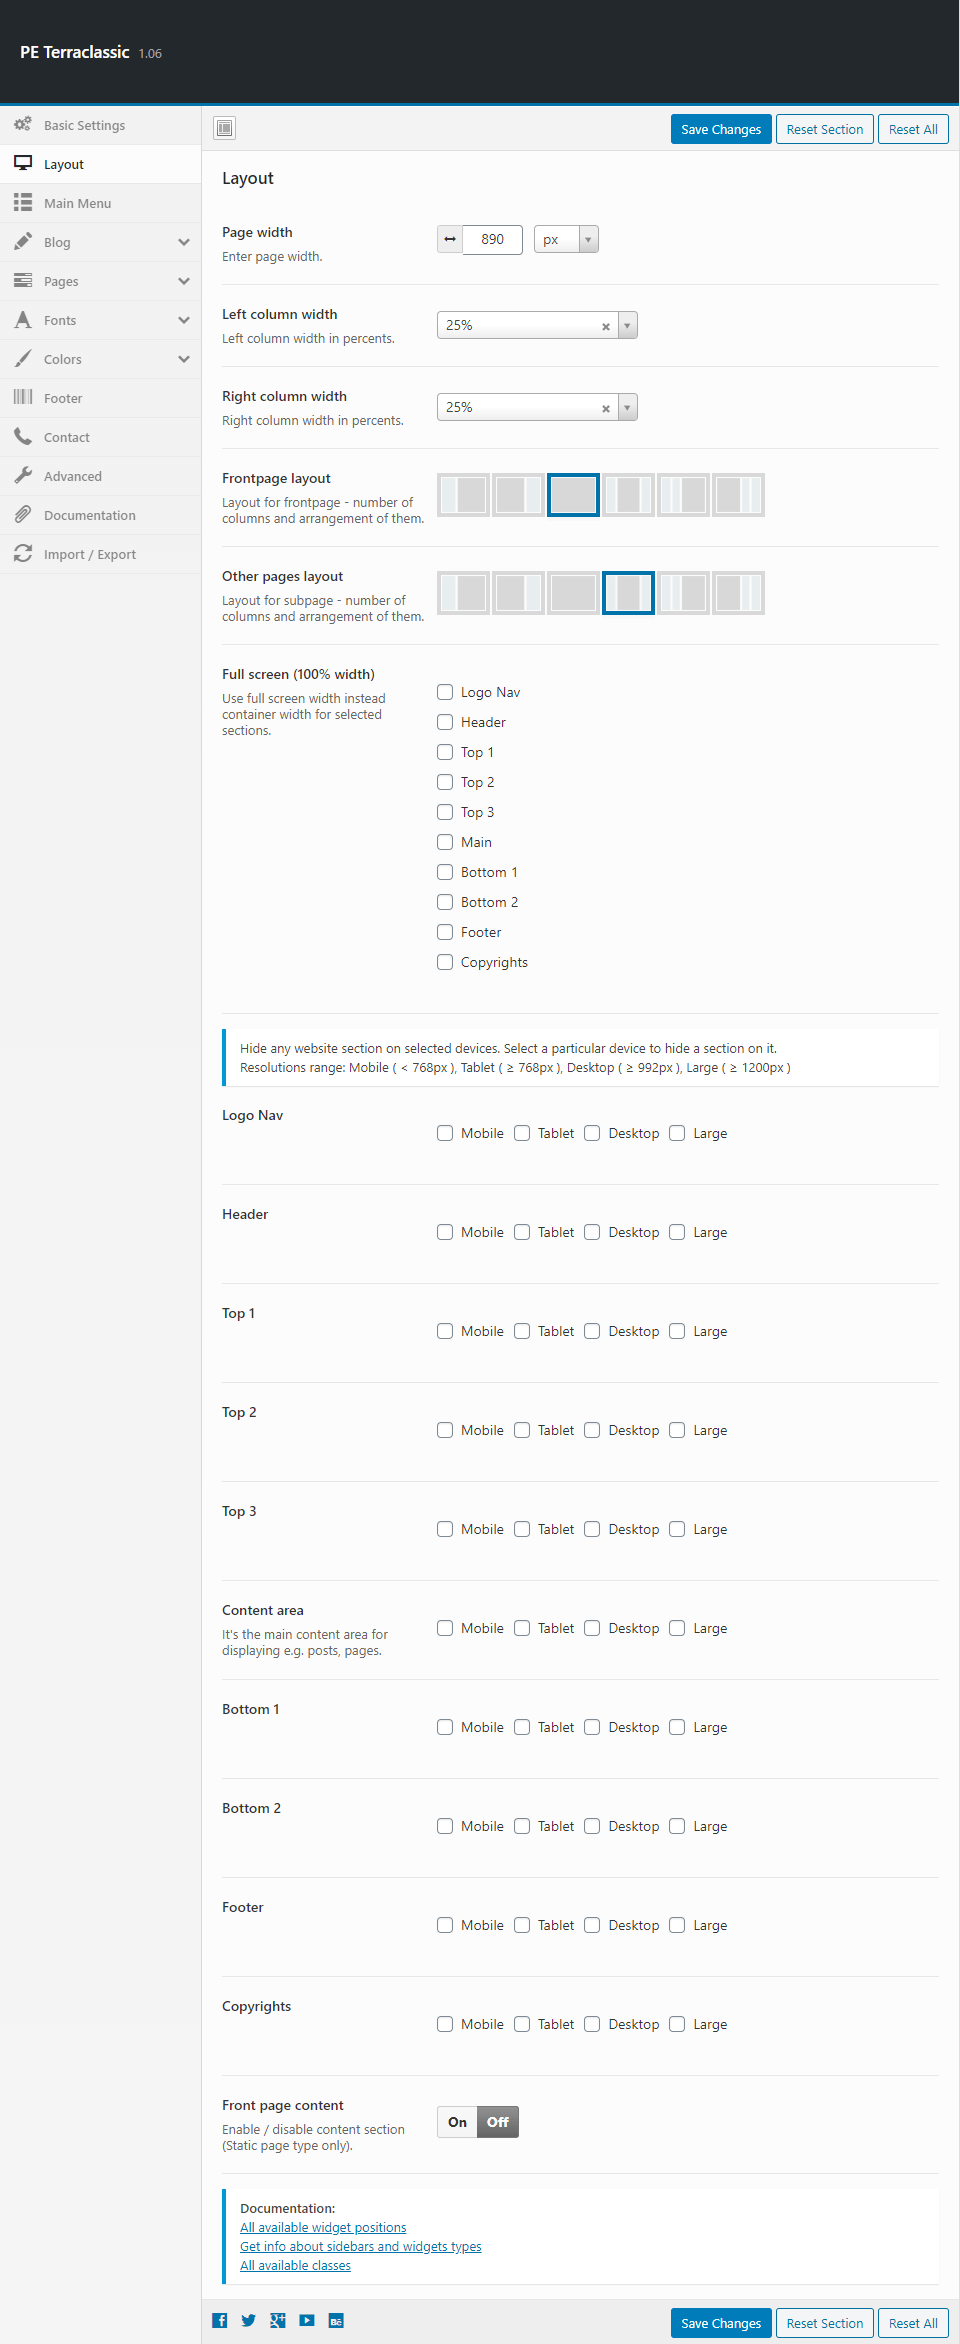
2. Layout
To setup Layout, navigate to Appearance > Theme Options and click on Layout tab.
3. Main Menu
To setup Main Menu, navigate to Appearance > Theme Options and click on Main Menu tab.

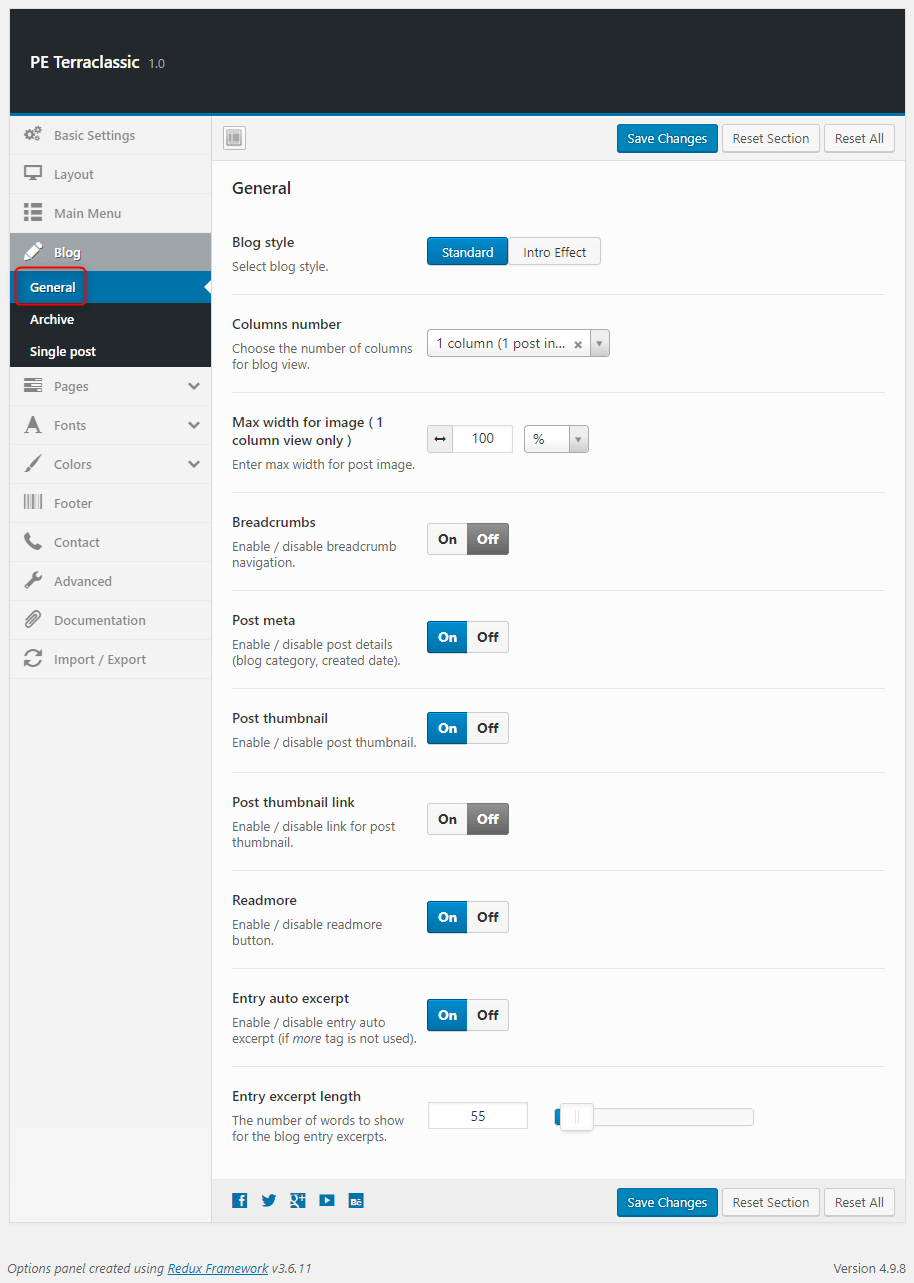
4. Blog
To setup Blog, navigate to Appearance > Theme Options and click on Blog tab.
General:
Archive:

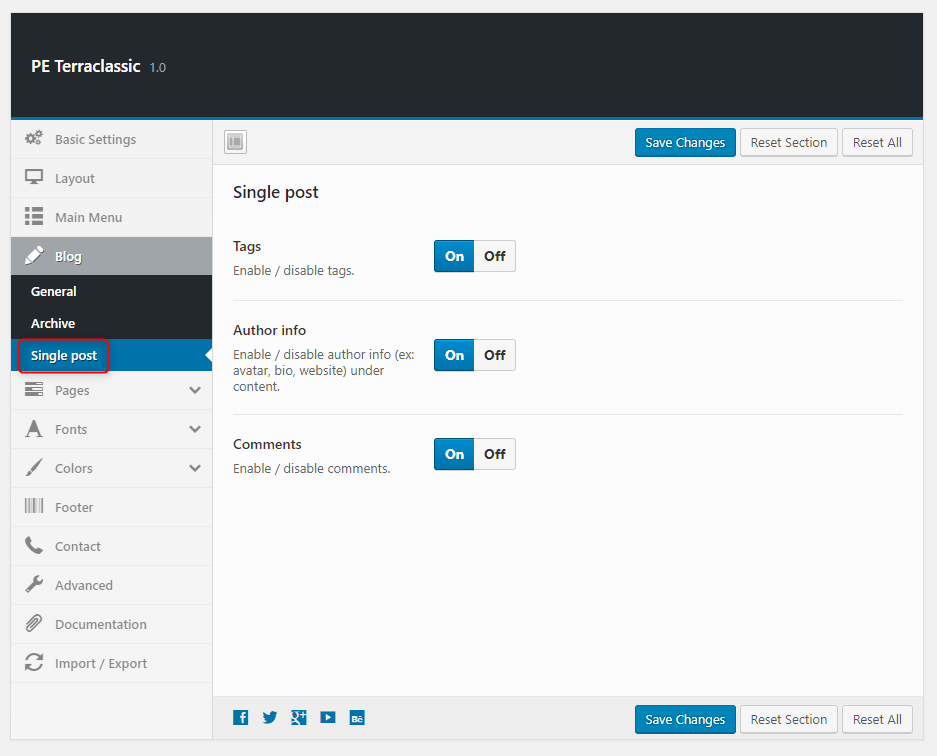
Single Post:
5. Pages
To setup Pages, navigate to Appearance > Theme Options and click on Pages tab.
Single Page:

6. Fonts
To setup Fonts, navigate to Appearance > Theme Options and click on Fonts tab.
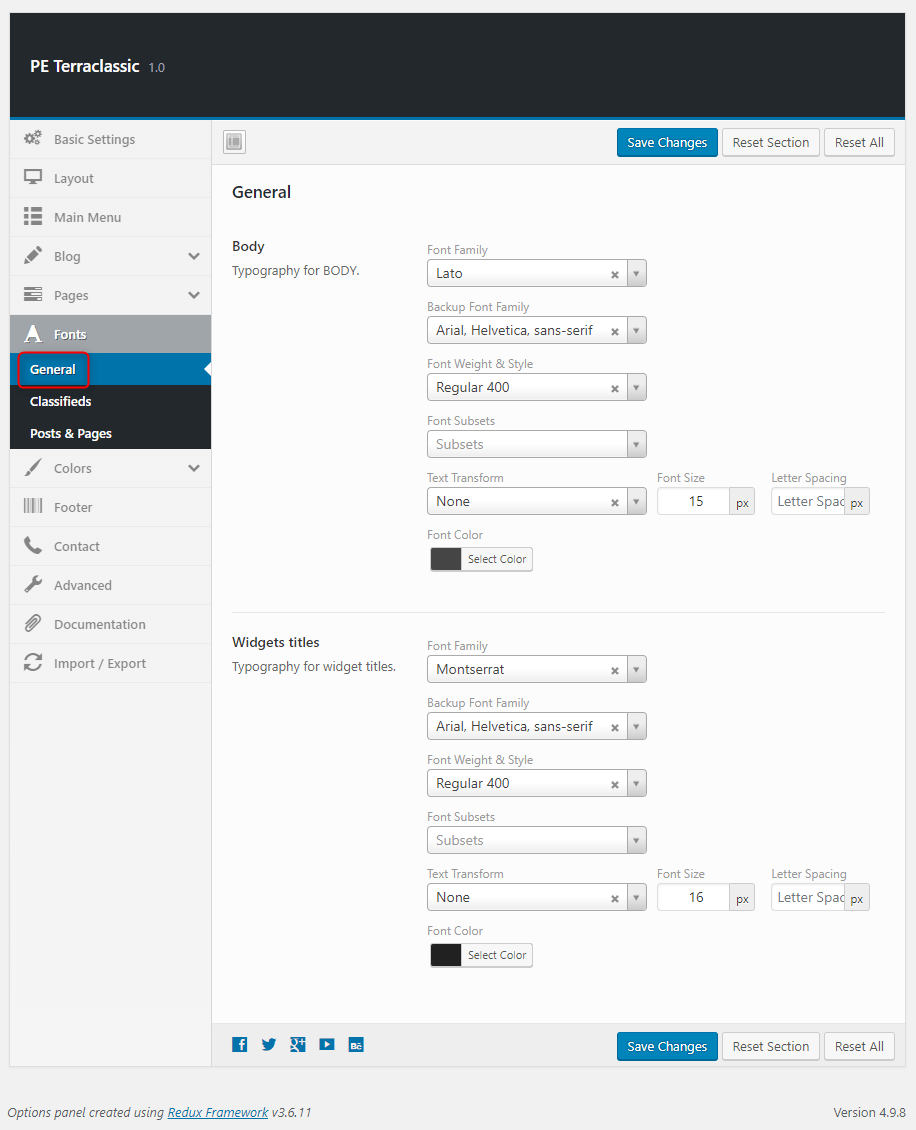
General:
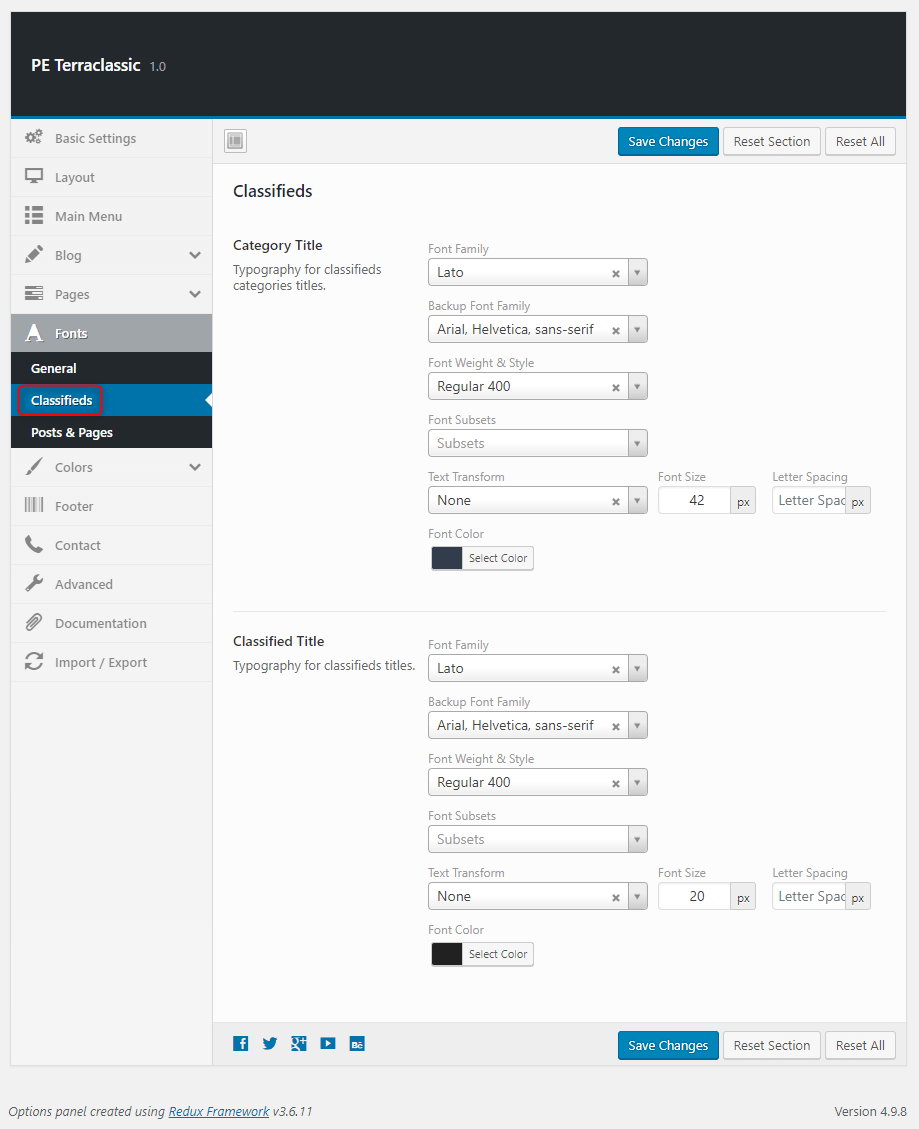
Classifieds:
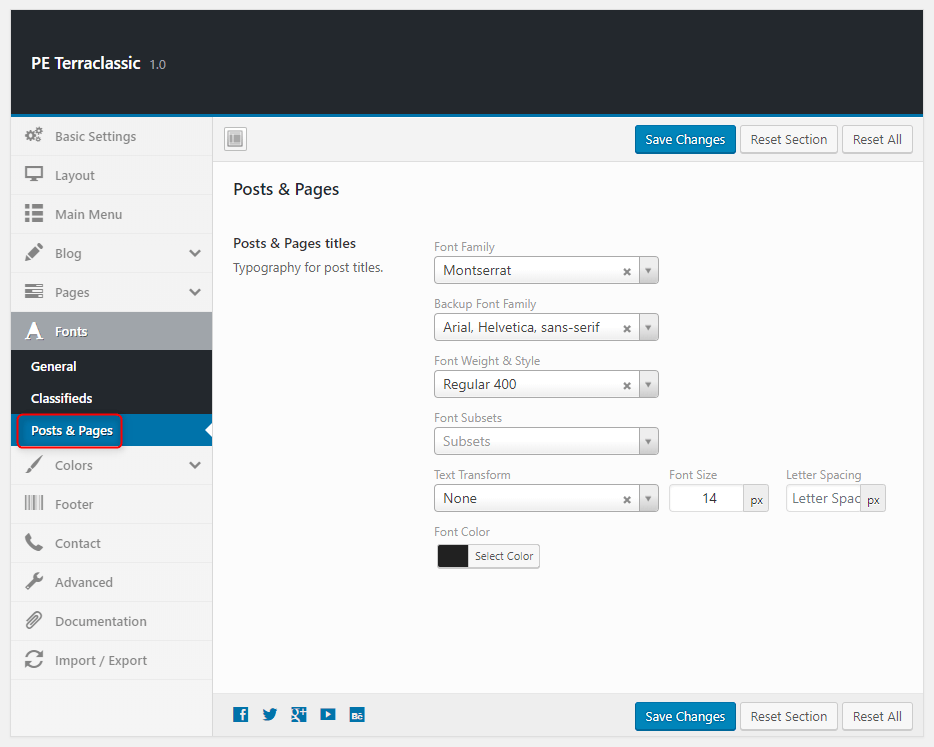
Post & pages:
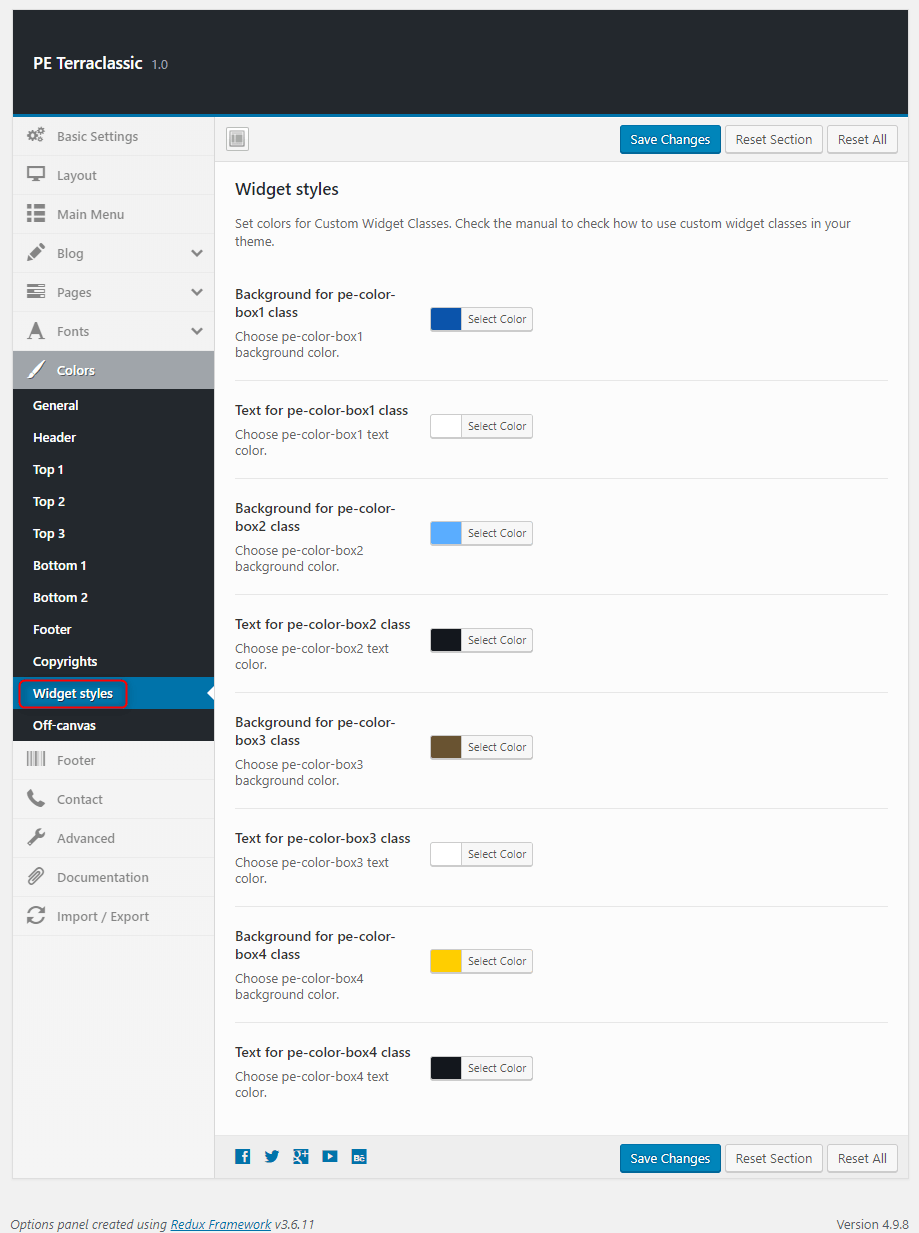
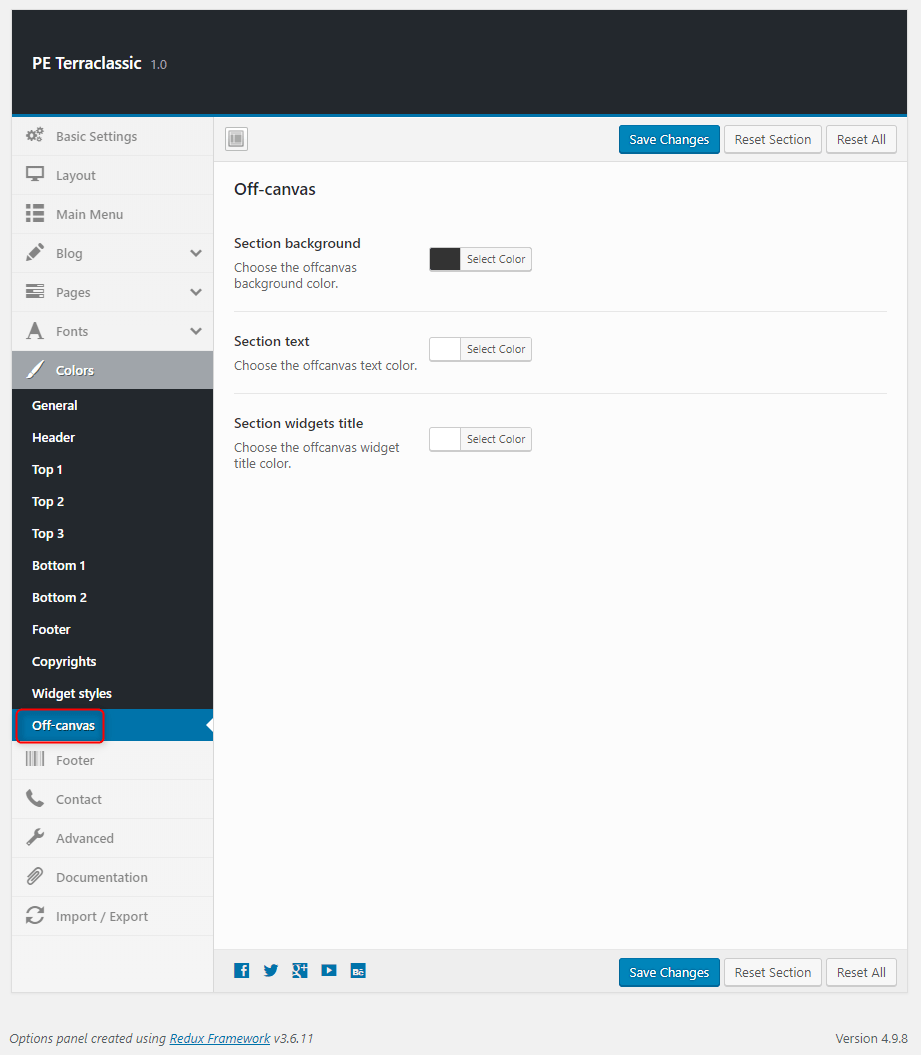
7. Colors
To setup Colors, navigate to Appearance > Theme Options and click on Colors tab.
General:

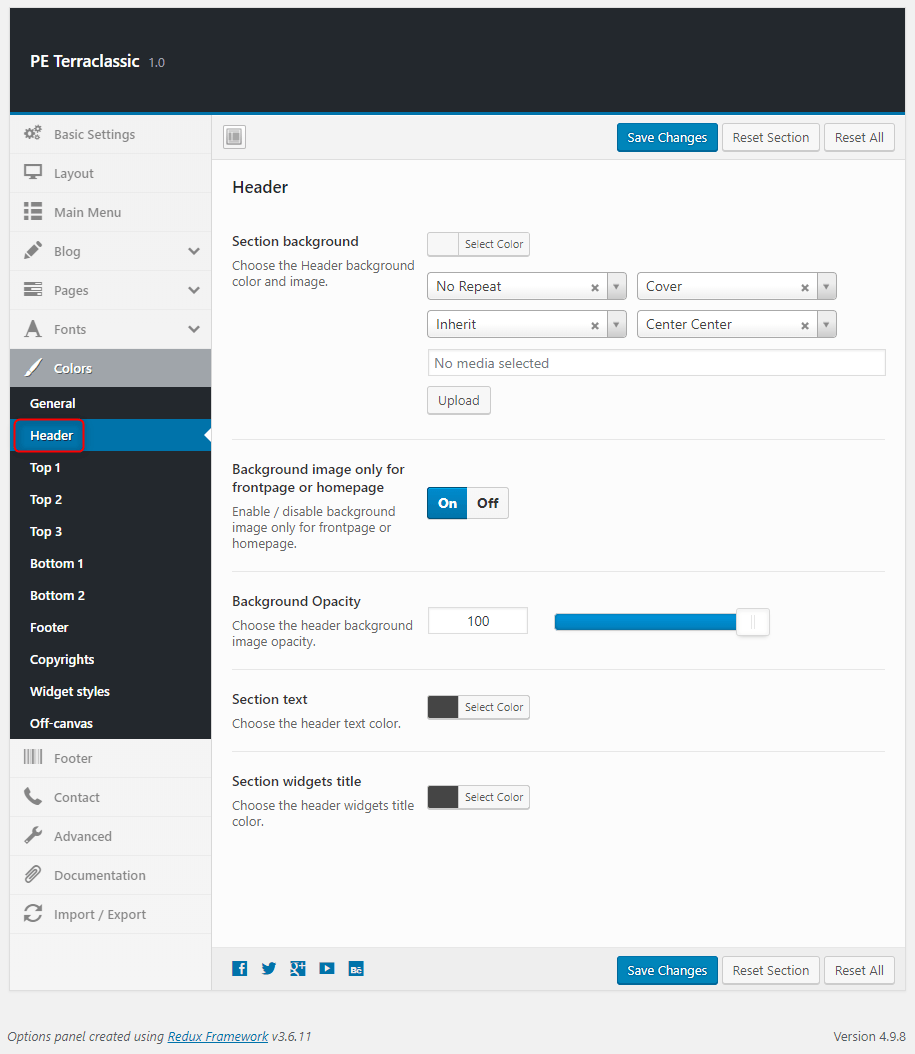
Header:
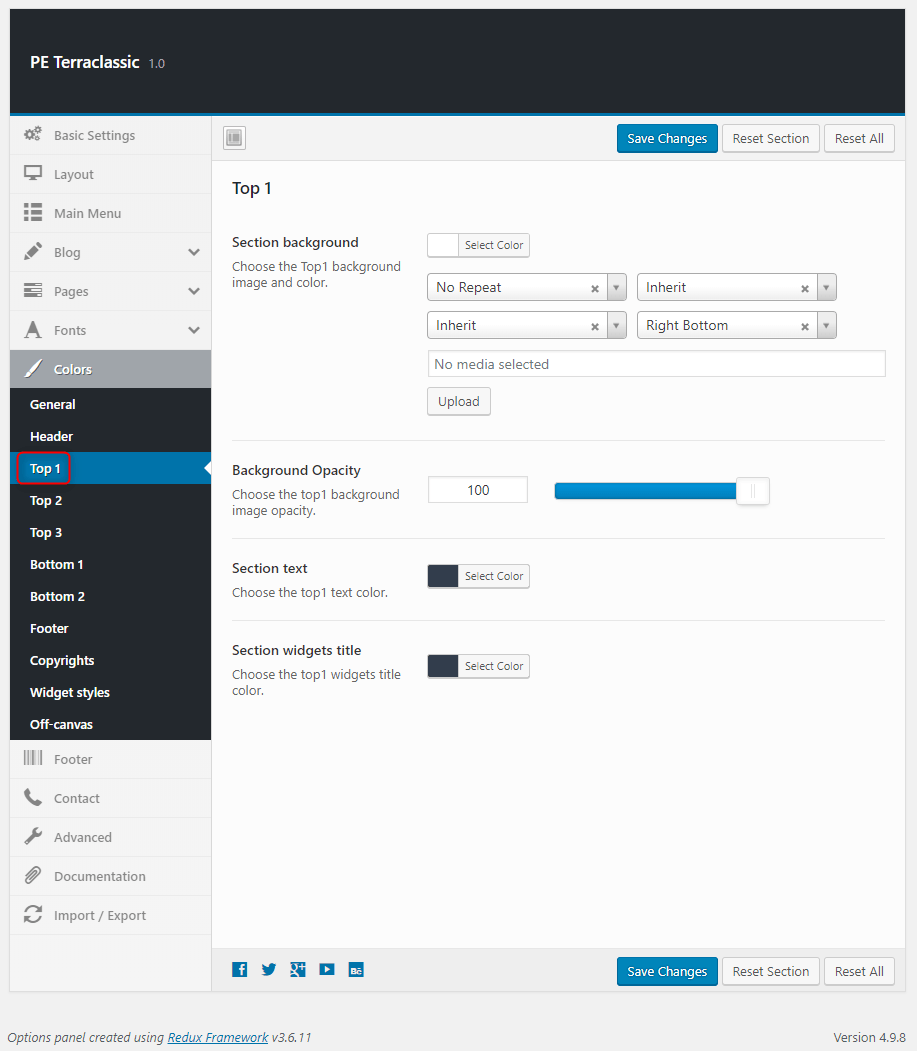
Top1:
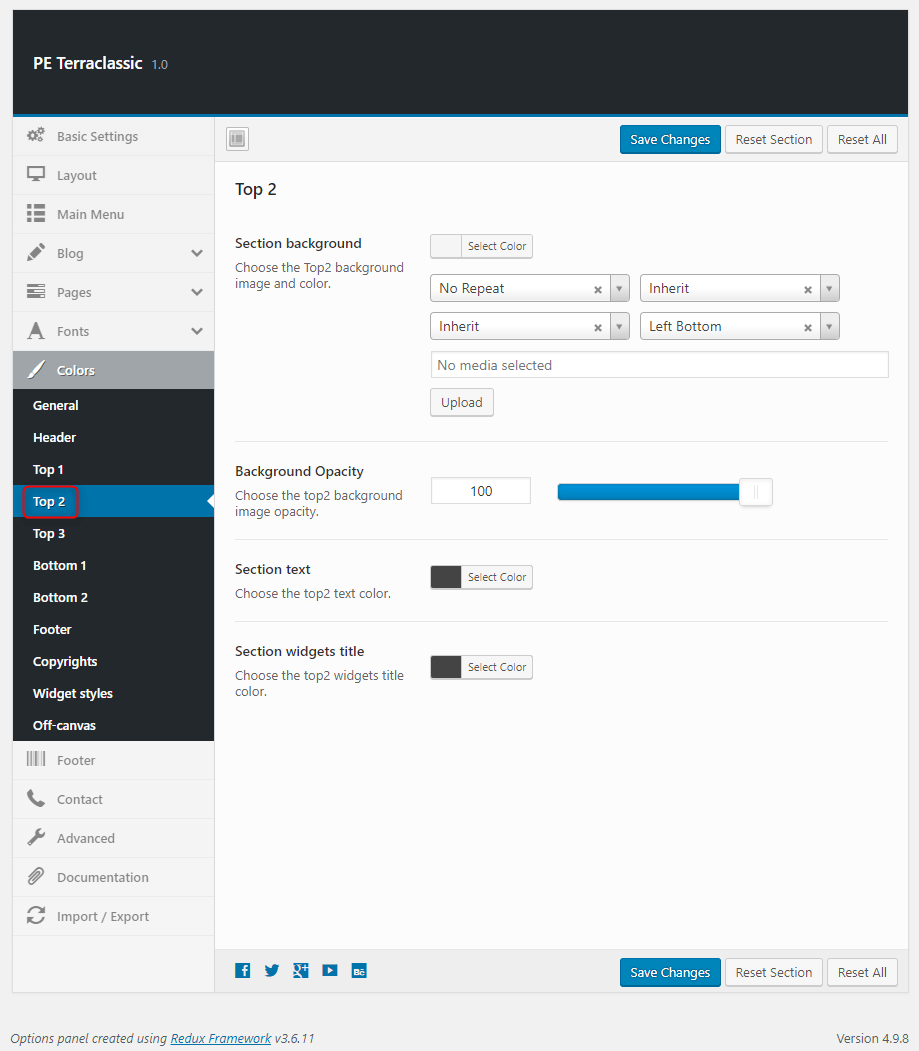
Top2:
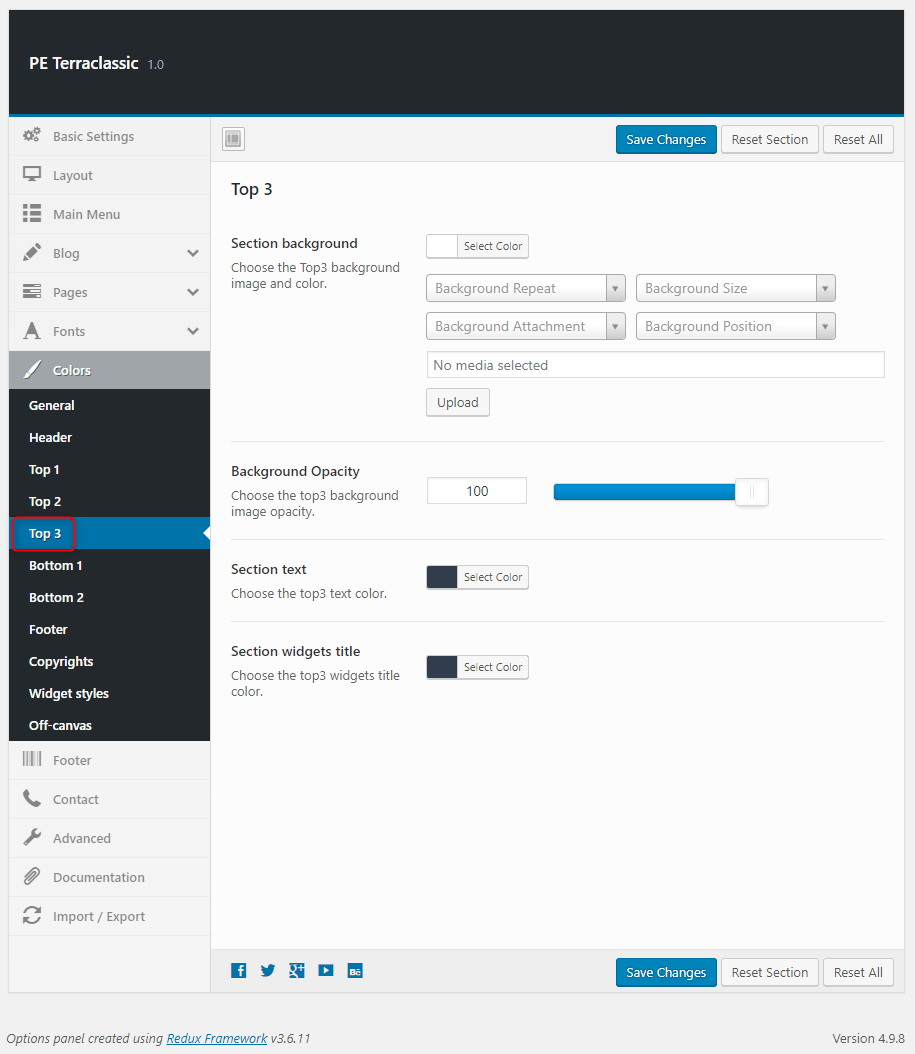
Top3:
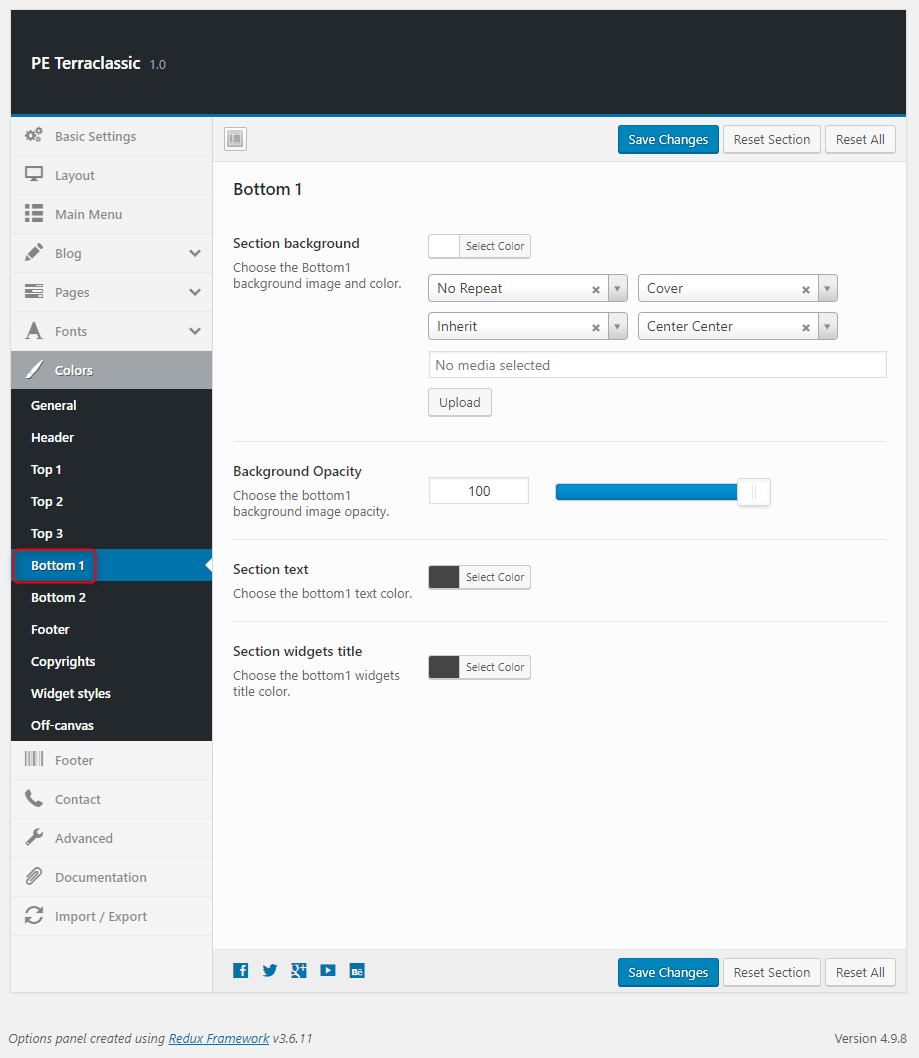
Bottom1:
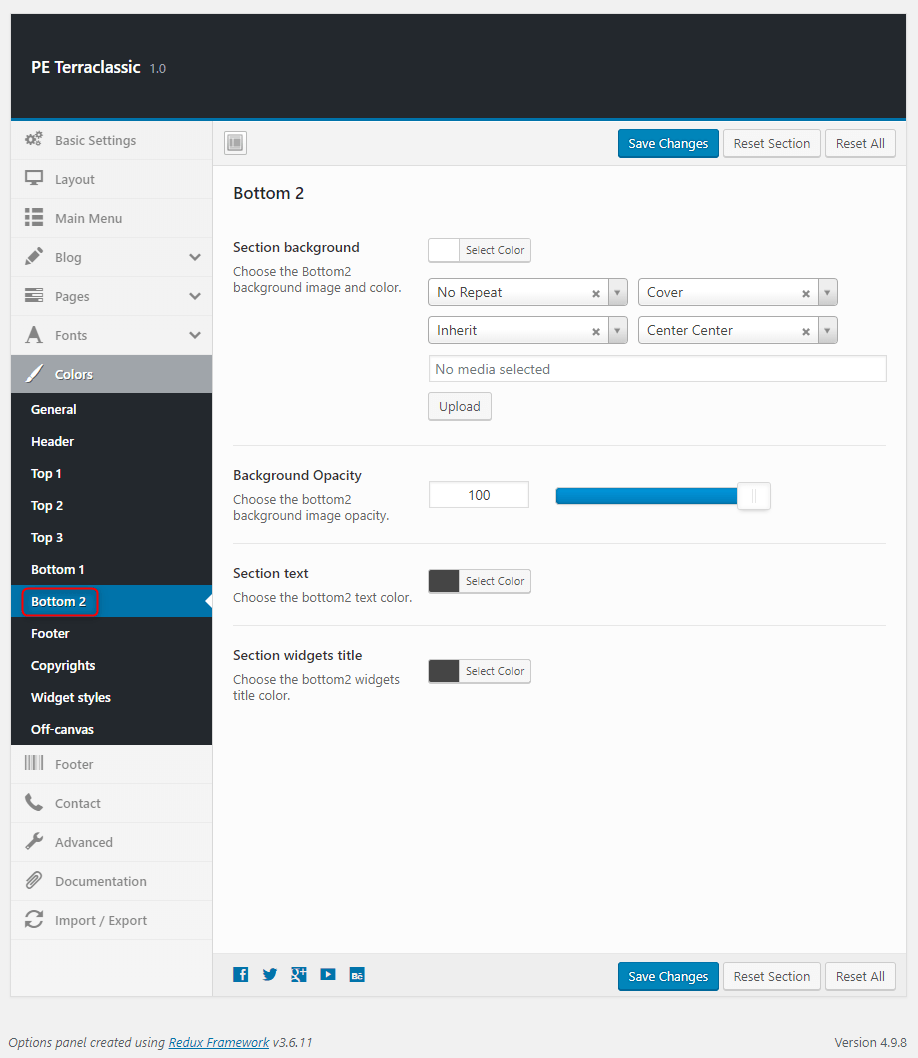
Bottom2:
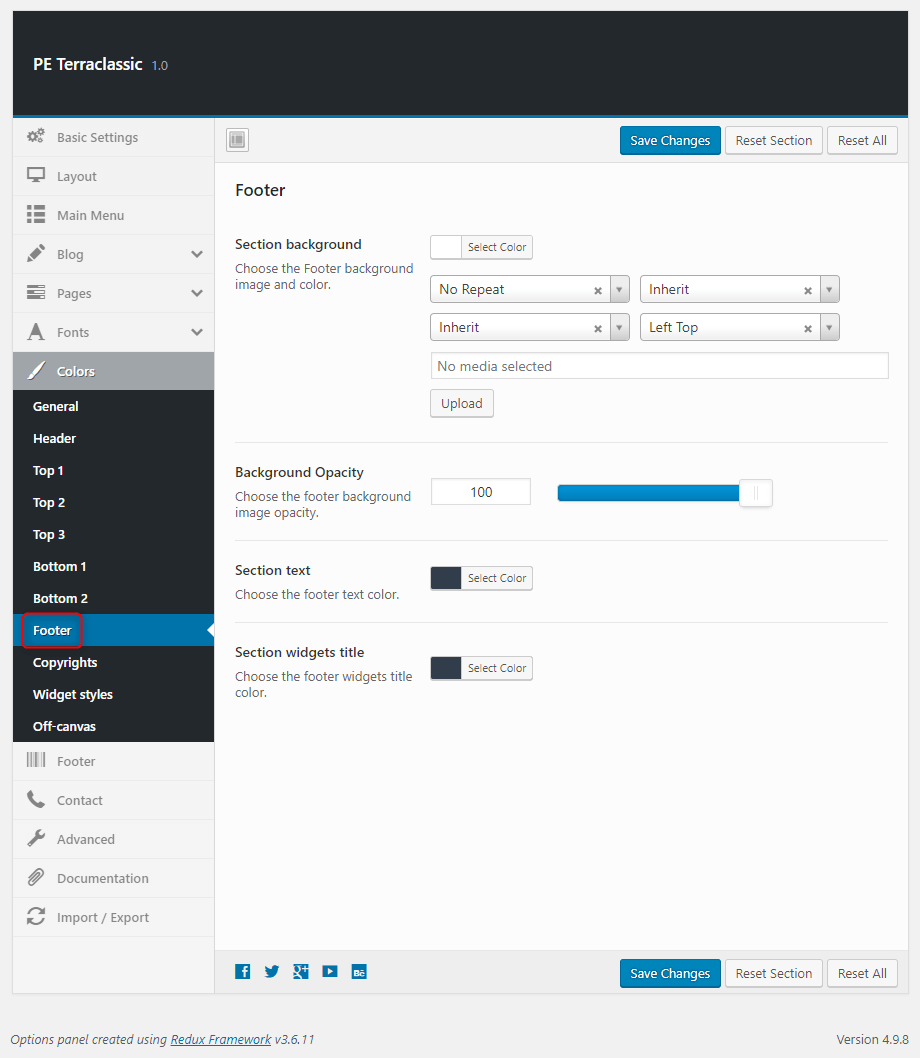
Footer:
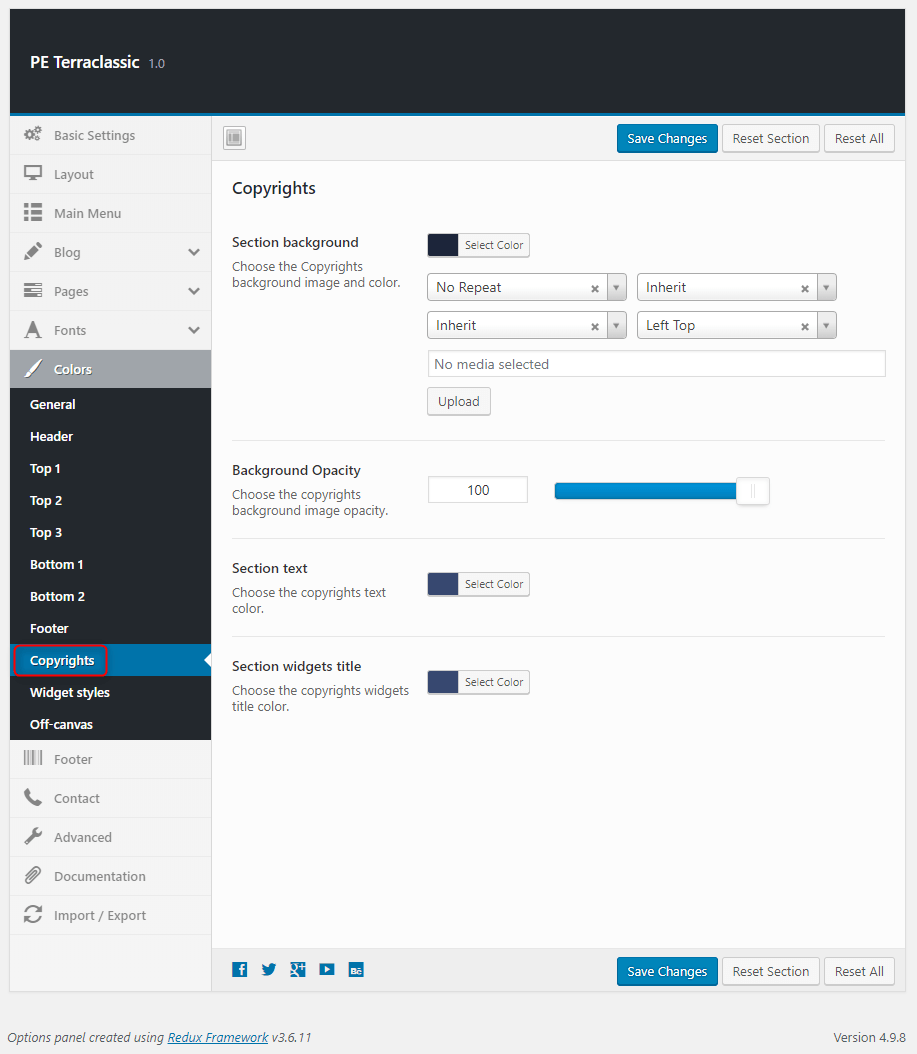
Copyrights:
Widget styles:
Off-canvas:
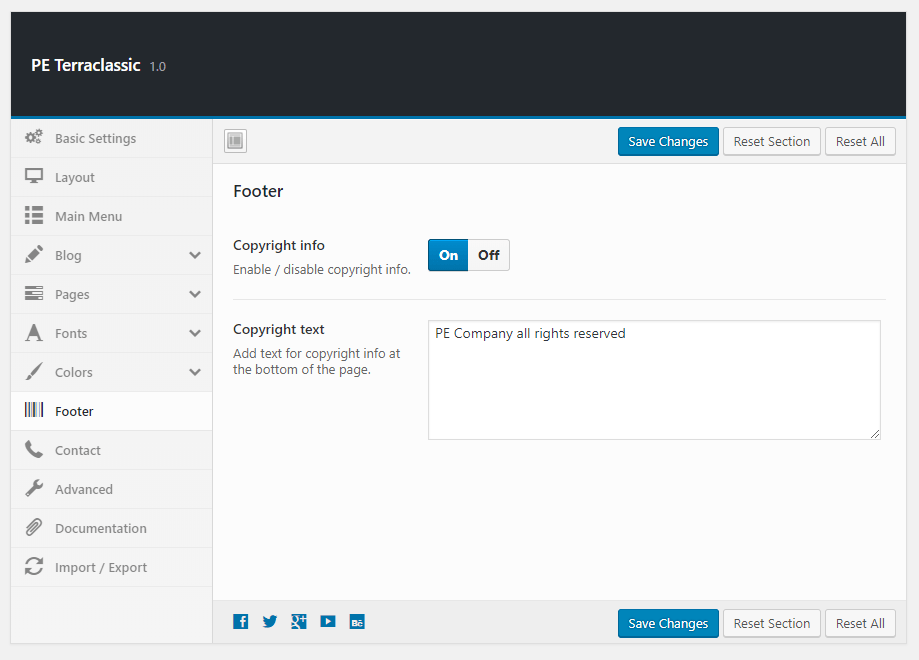
8. Footer
To setup Footer, navigate to Appearance > Theme Options and click on Footer tab.
9. Contact
To setup Contact, navigate to Appearance > Theme Options and click on Contact tab.

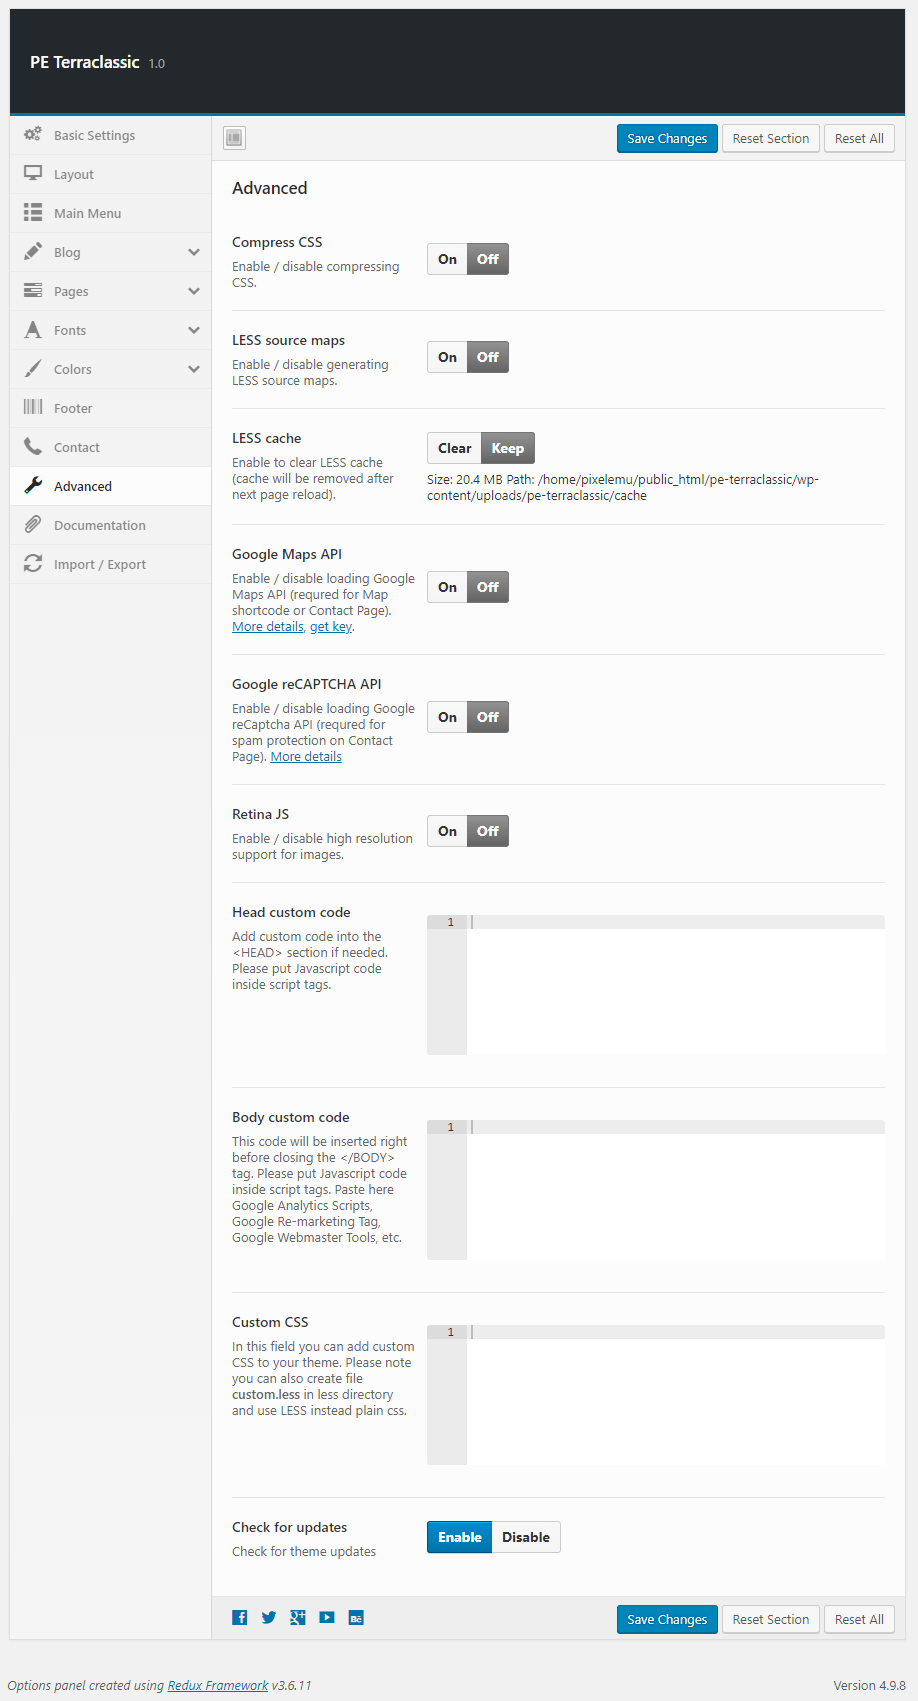
10. Advanced
To setup Advanced, navigate to Appearance > Theme Options and click on Advanced tab.
11. Import / Export
To setup Import / Export, navigate to Appearance > Theme Options and click on Import / Export tab.
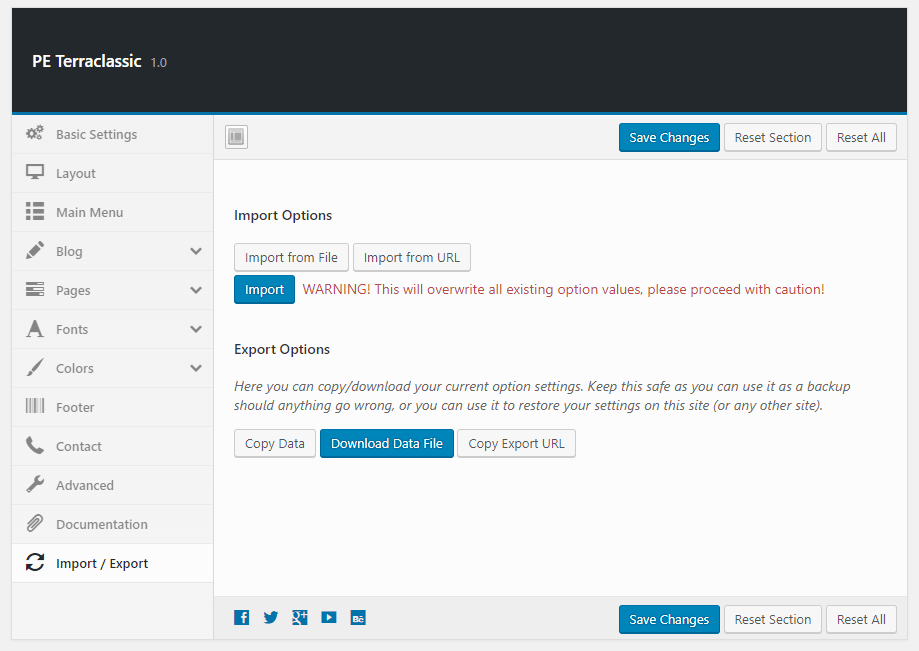
You will find theme settings in files:
- / Theme Options / (version) / options.json
C. PAGES
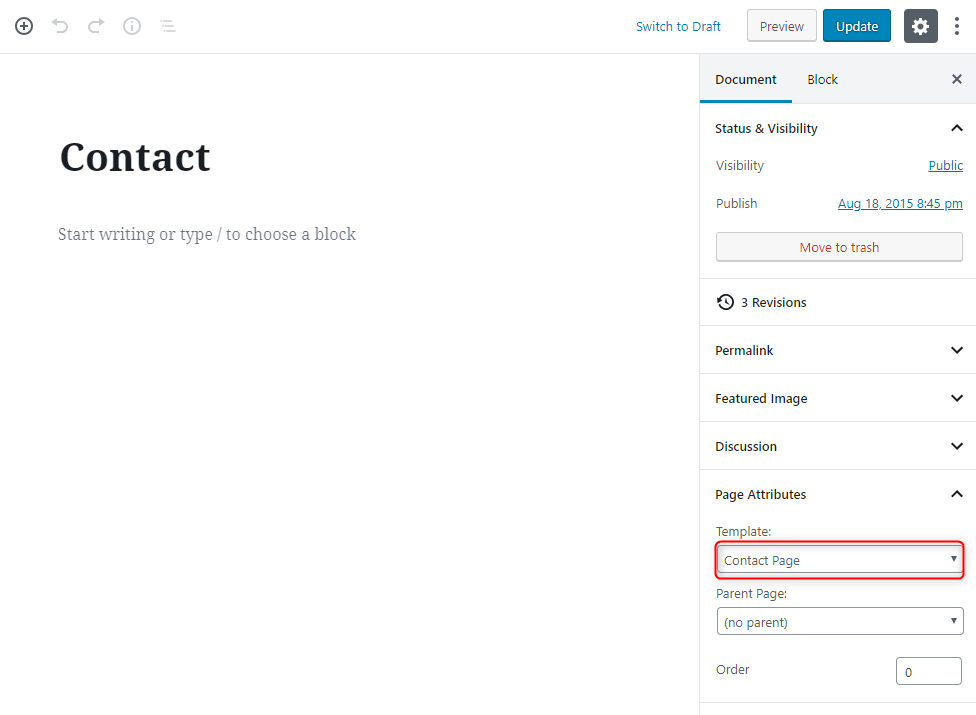
1. Configure Contact Page
This page displays contact page. To create that page go to Pages > Add New. Now select template Contact Page and click Update/Publish.
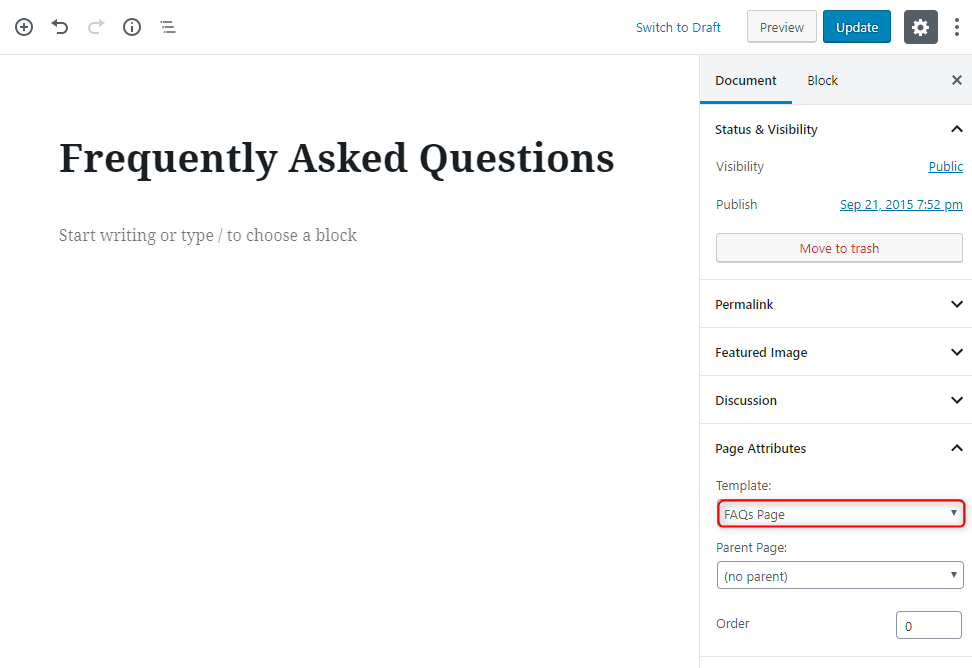
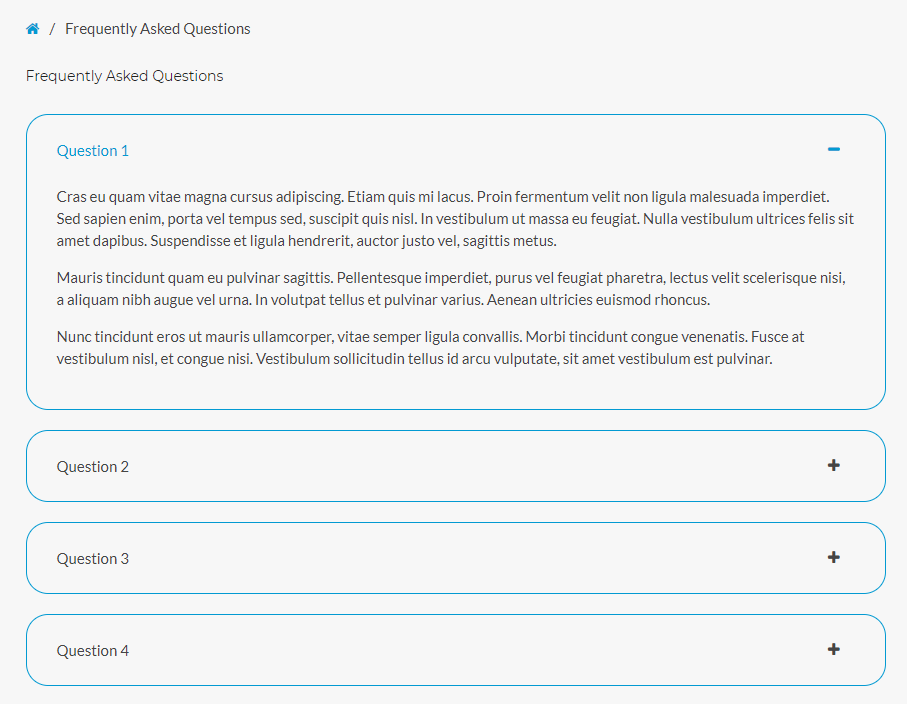
2. Configure FAQ page
This page displays posts with FAQ post type as accordion. To create that page go to Pages > Add New. Now select template FAQ Page and click Update/Publish
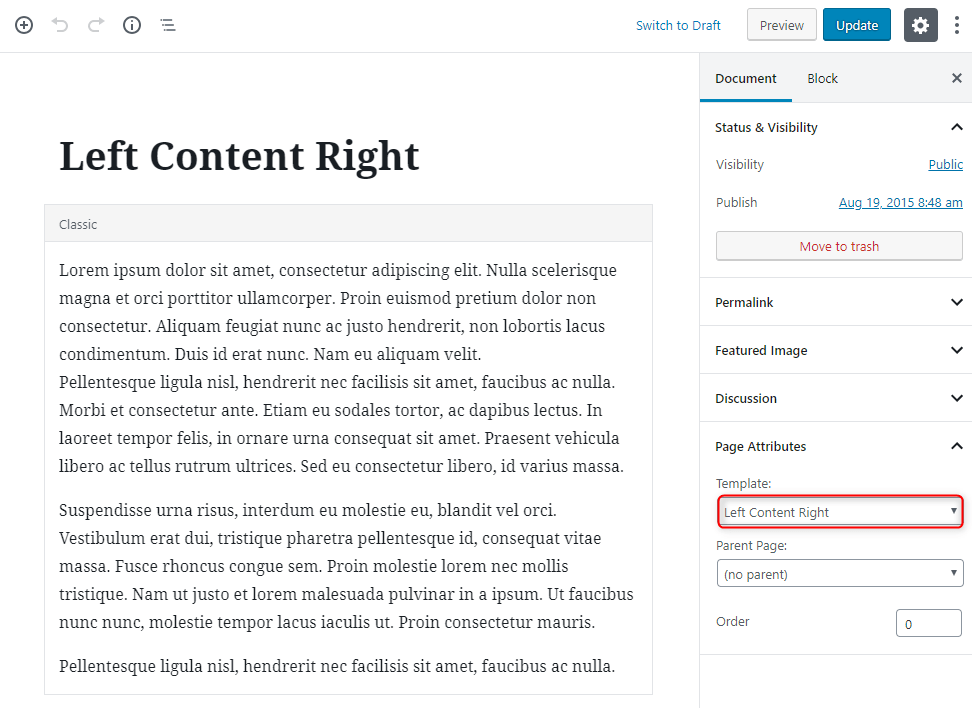
3. Configure Left-Content-Right page
This page displays your text in Left-Content-Right layout. To create that page go to Pages > Add New. Now select template Left-Content-Right and click Update/Publish
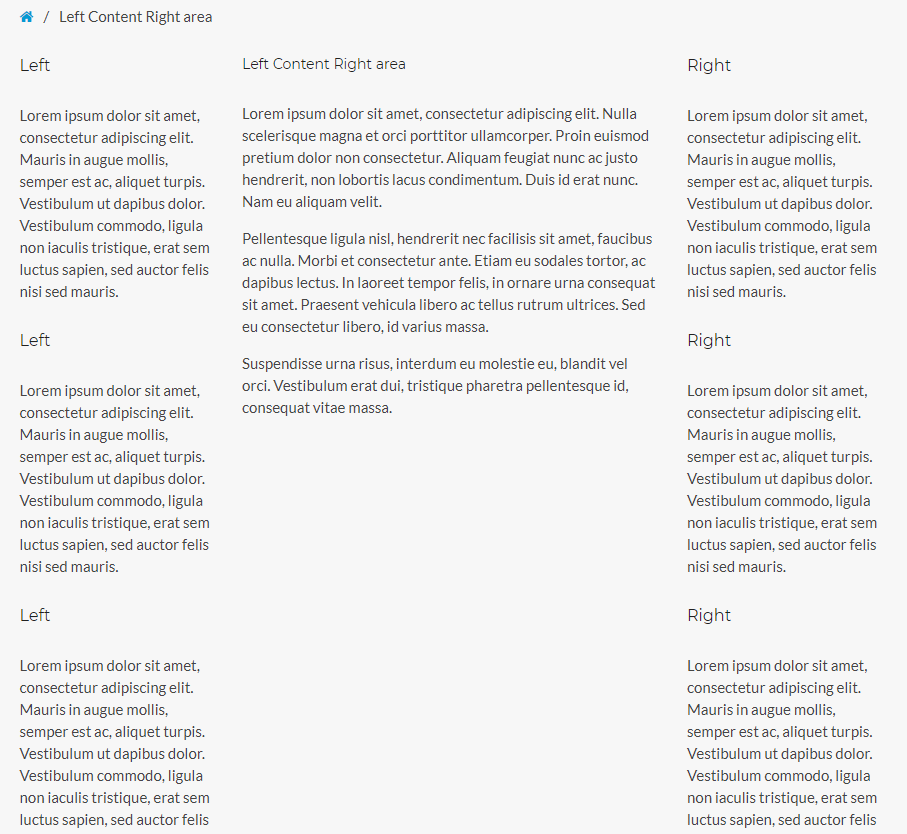
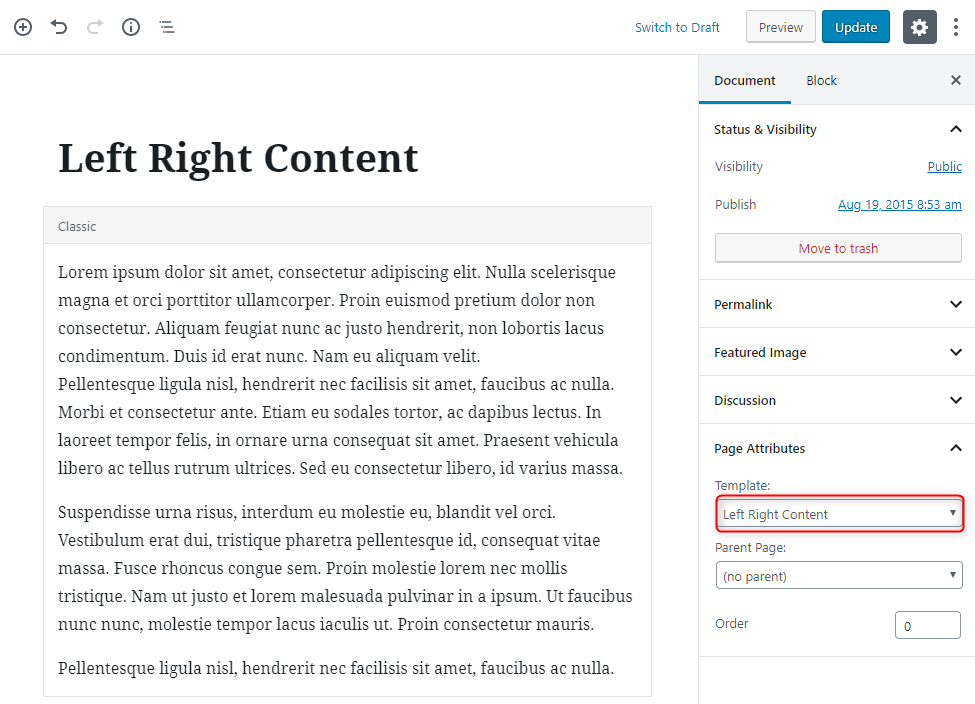
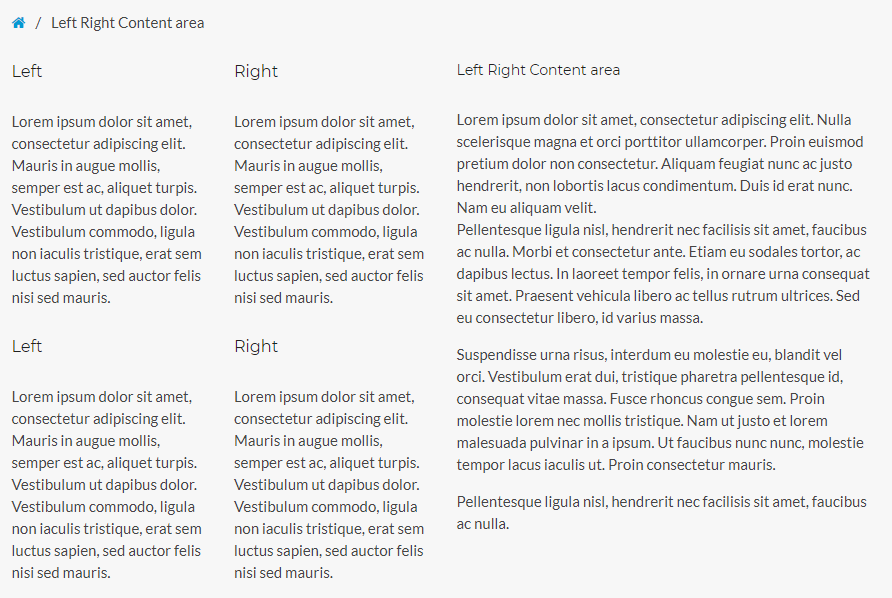
4. Configure Left-Right-Content page
This page displays your text in Left-Right-Content layout. To create that page go to Pages > Add New. Now select template Left-Right-Content and click Update/Publish
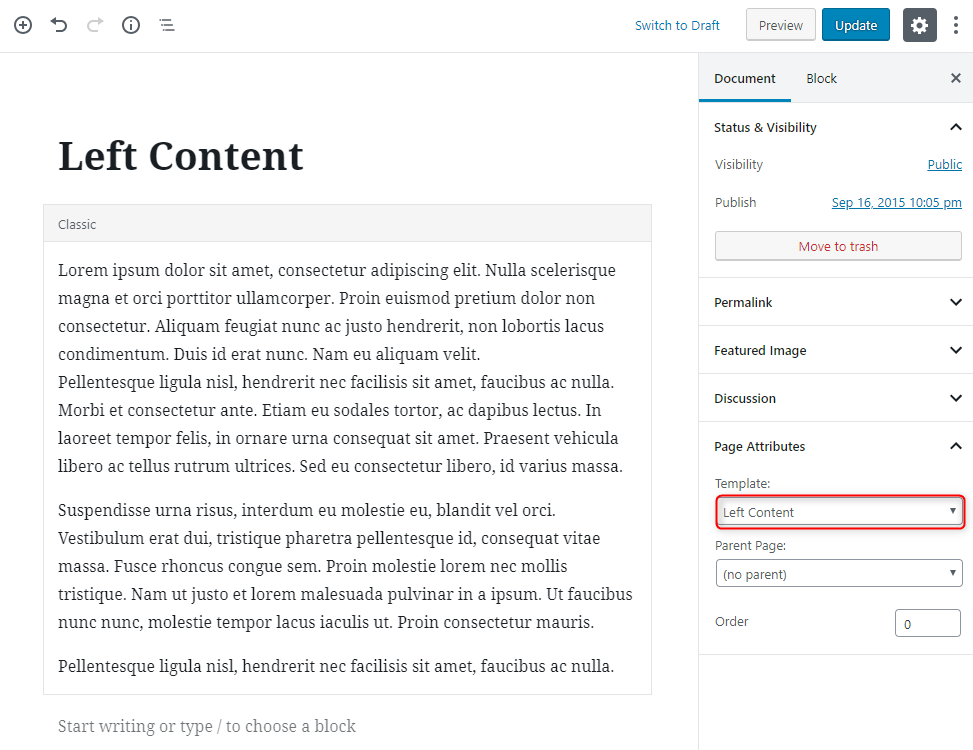
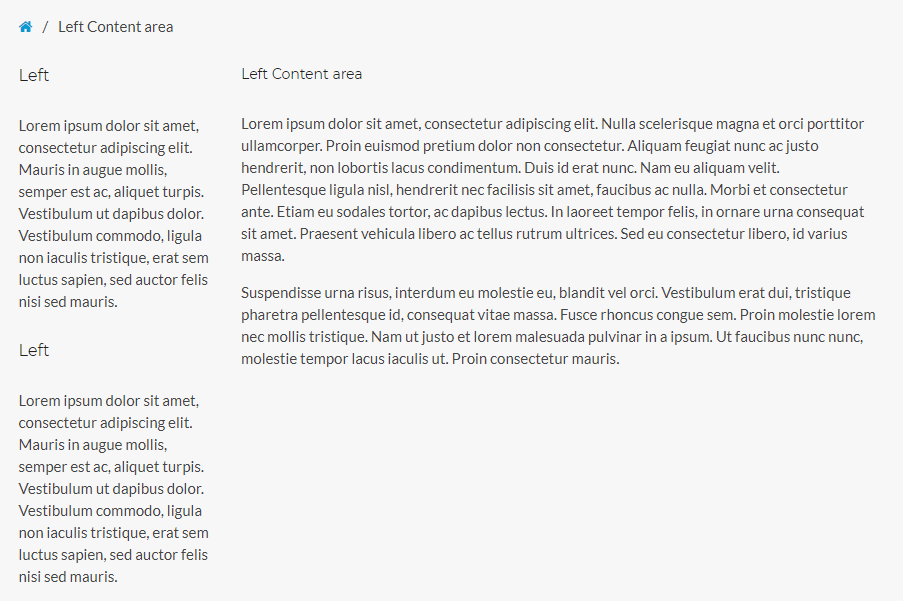
5. Configure Left-Content page
This page displays your text in Left-Content layout. To create that page go to Pages > Add New. Now select template Left-Content and click Update/Publish
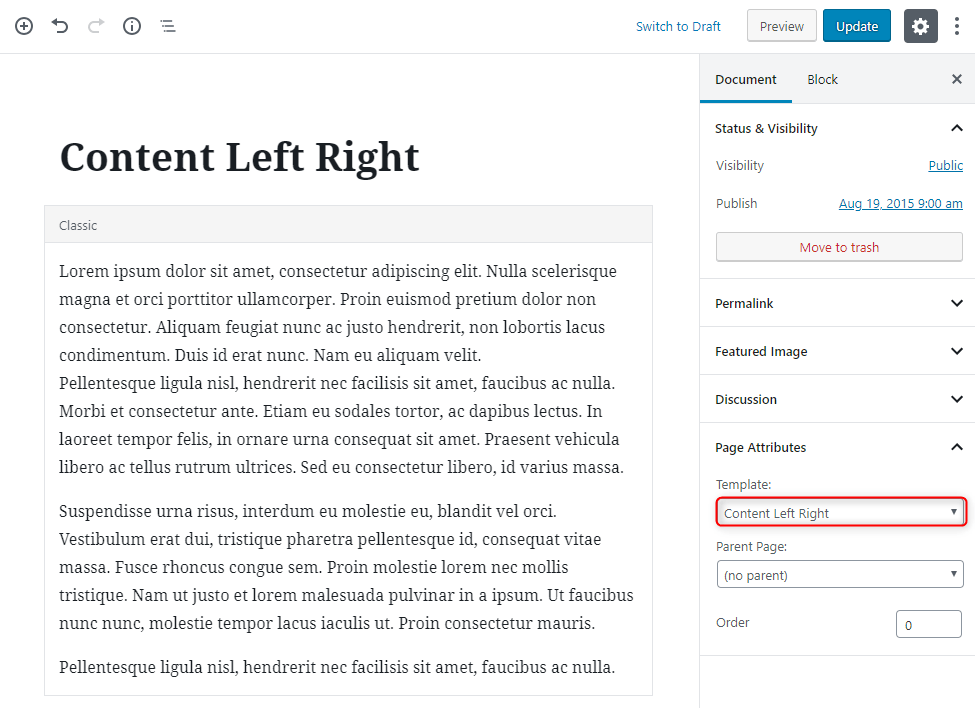
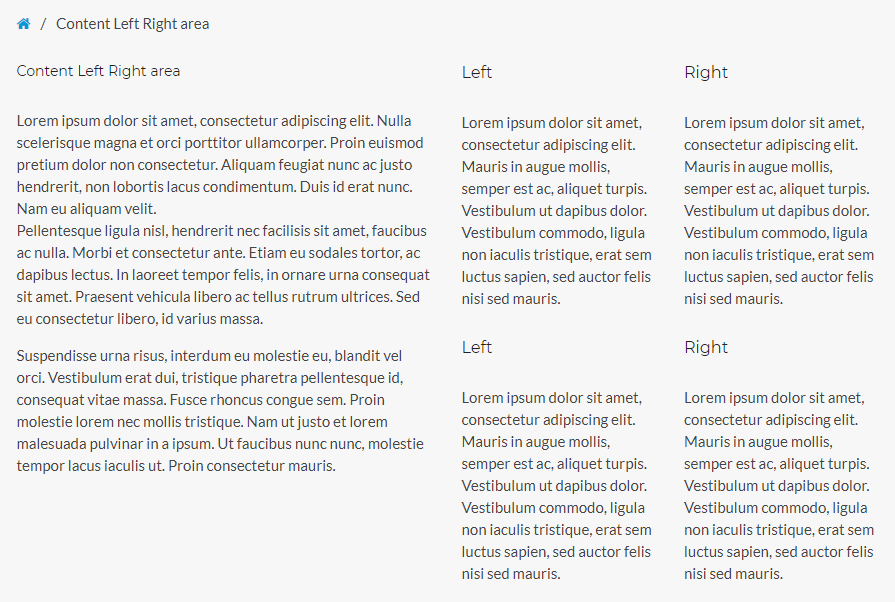
6. Configure Content-Left-Right page
This page displays your text in Content-Left-Right layout. To create that page go to Pages > Add New. Now select template Content-Left-Right and click Update/Publish
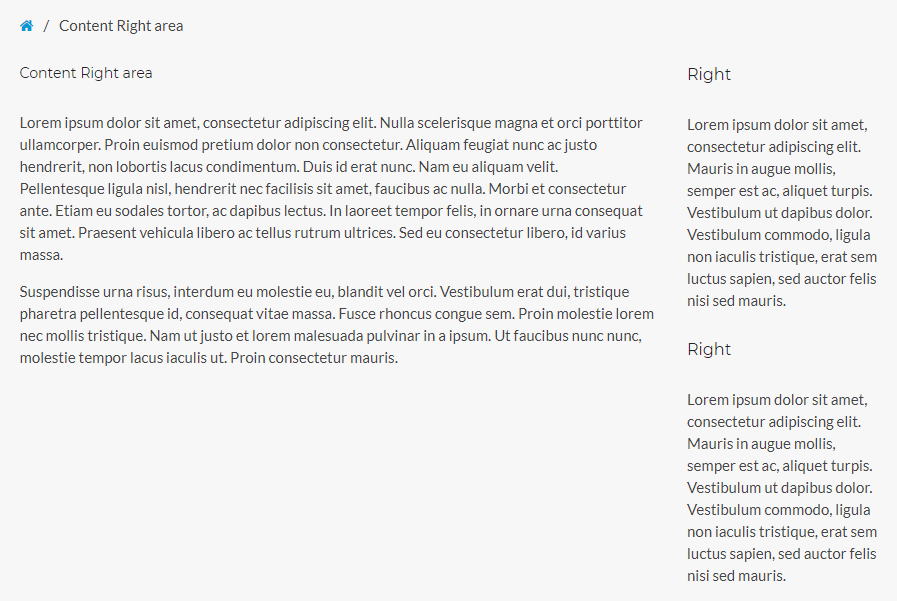
7. Configure Content-Right page
This page displays your text in Content-Right layout. To create that page go to Pages > Add New. Now select template Content-Right and click Update/Publish

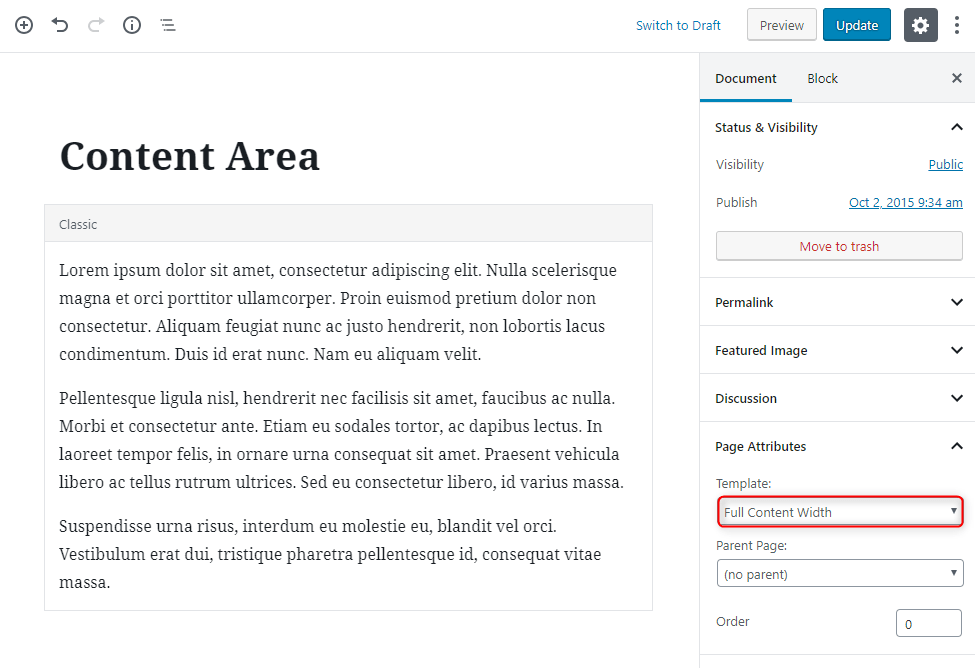
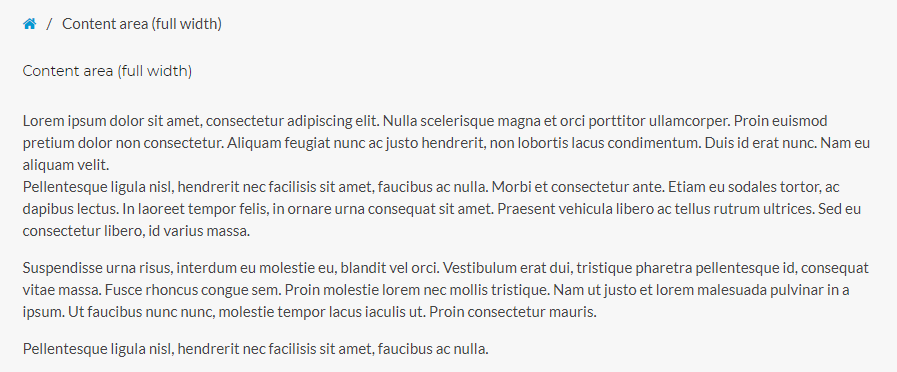
8. Configure Full Width Content page
This page displays your text in Full Content Width layout. To create that page go to Pages > Add New. Now select template Full Content Width and click Update/Publish
D. PLUGINS & WIDGETS
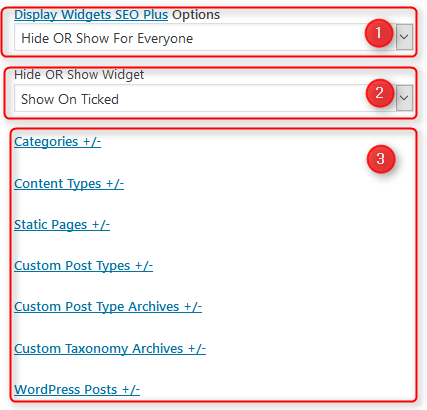
1. Display Widgets
Very useful plugin that allow you to show/hide widgets on certain pages. These options are displayed on the bottom of all widgets.
You can choose:
- Display widget for everyone, only logged-in or only logged-out users.
- Show or hide widget on pages selected below.
- Pages to show/hide widget.
2. WP User Avatar
Simple plugin that allows users to use any image from your WordPress Media Library as a custom user avatar.
You can find settings in Users > Your Profile.
![]()
3. Amr shortcode any widget
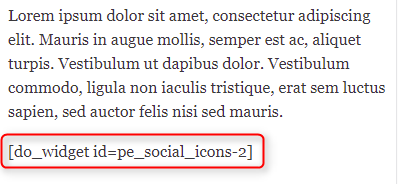
The plugin allows to display a widget in another widget (text) or in a page content using a shortcode.
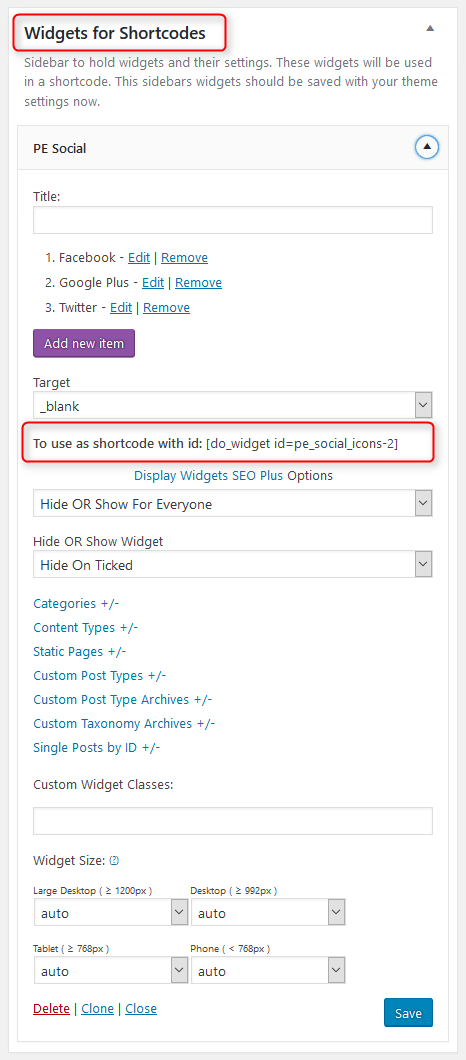
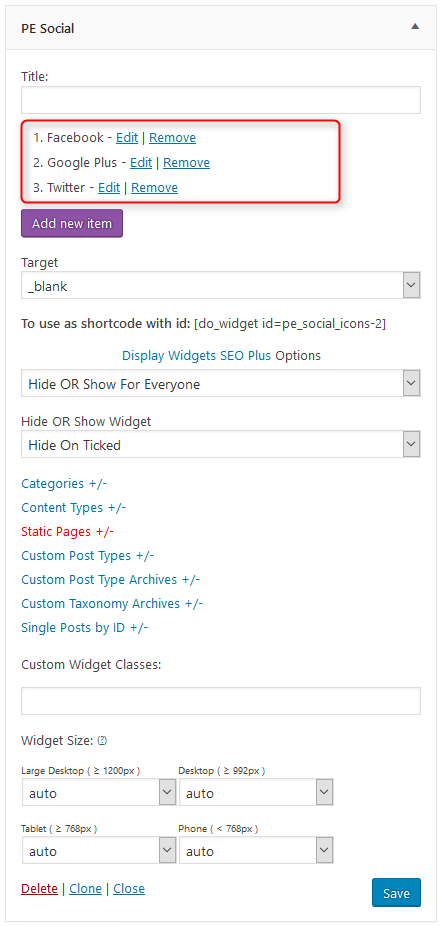
4. PE Social
Built-in widget which allows you to display social icons.

We have also a video tutorial on how to configure the PE Social widget:
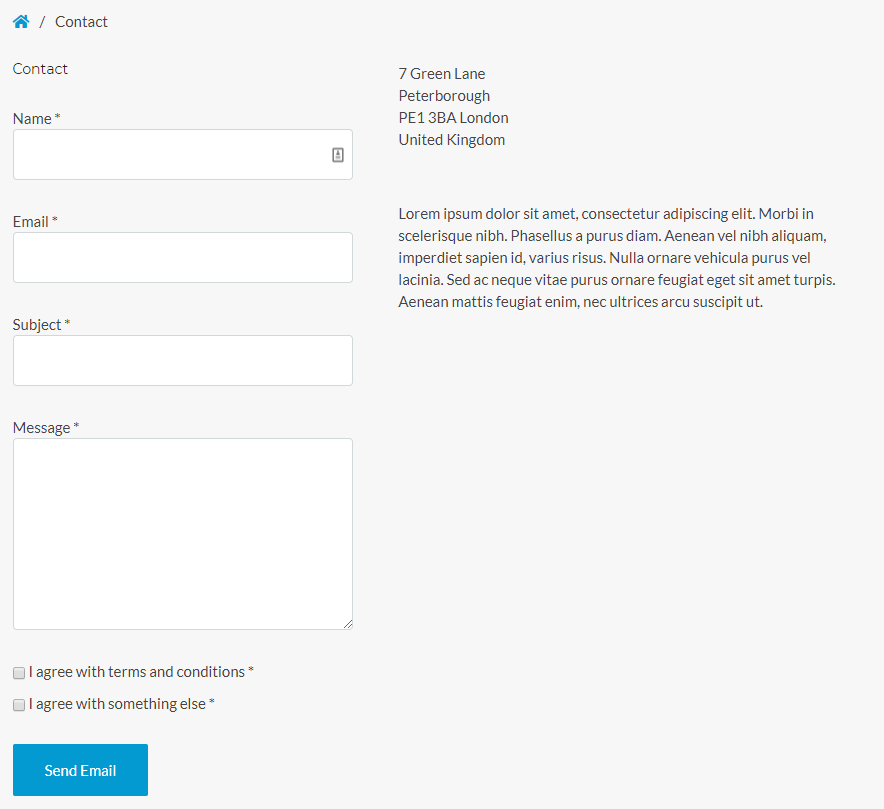
5. PE Contact
Built-in widget which allows you to display contact form and Google Map.
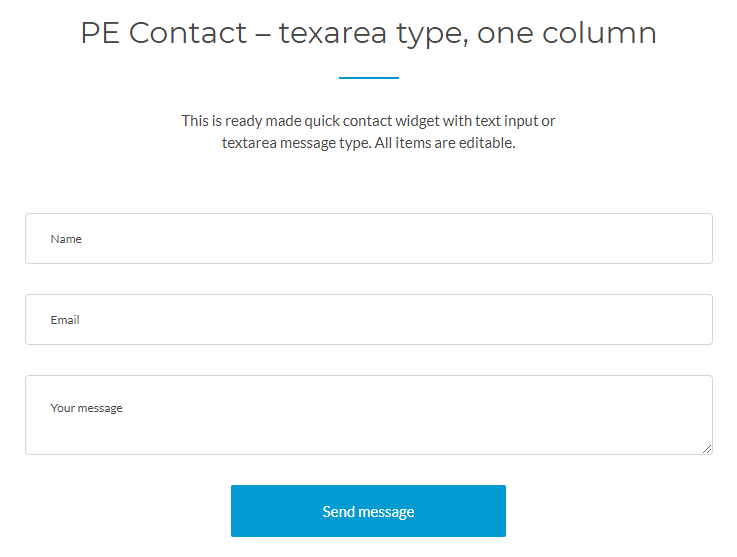
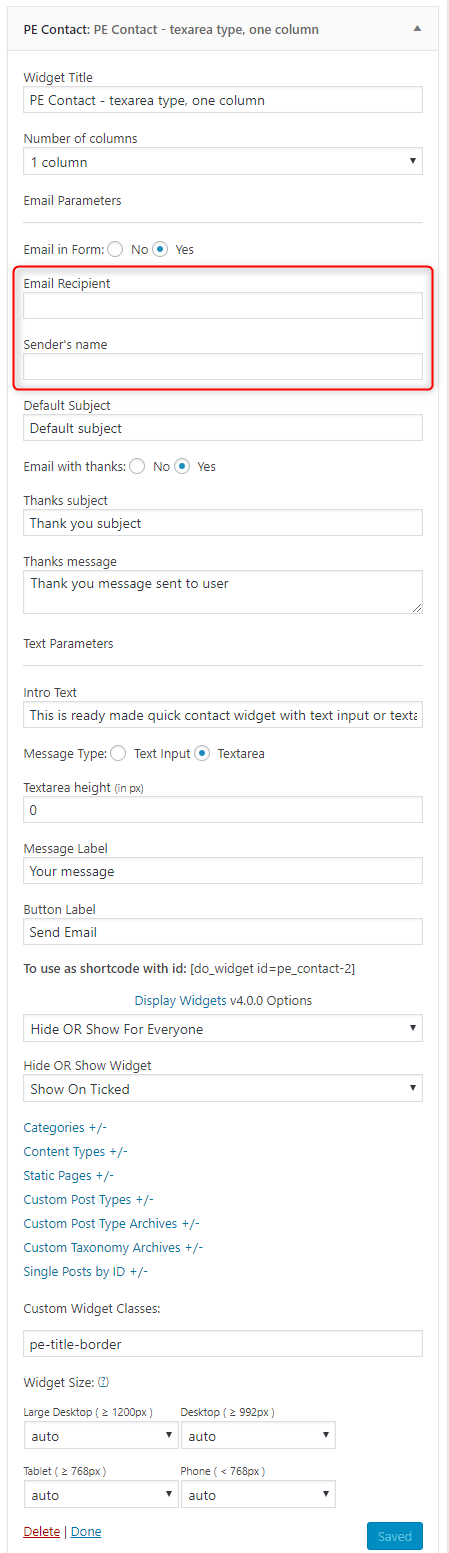
Remember to set the email recipient in the widget options.
We present examples of this widget on the All ready made widgets page.
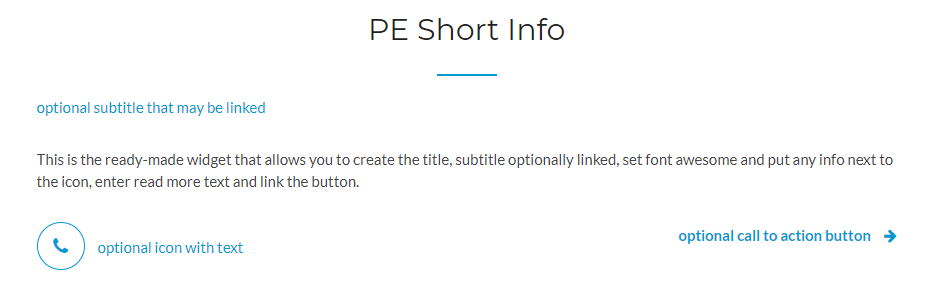
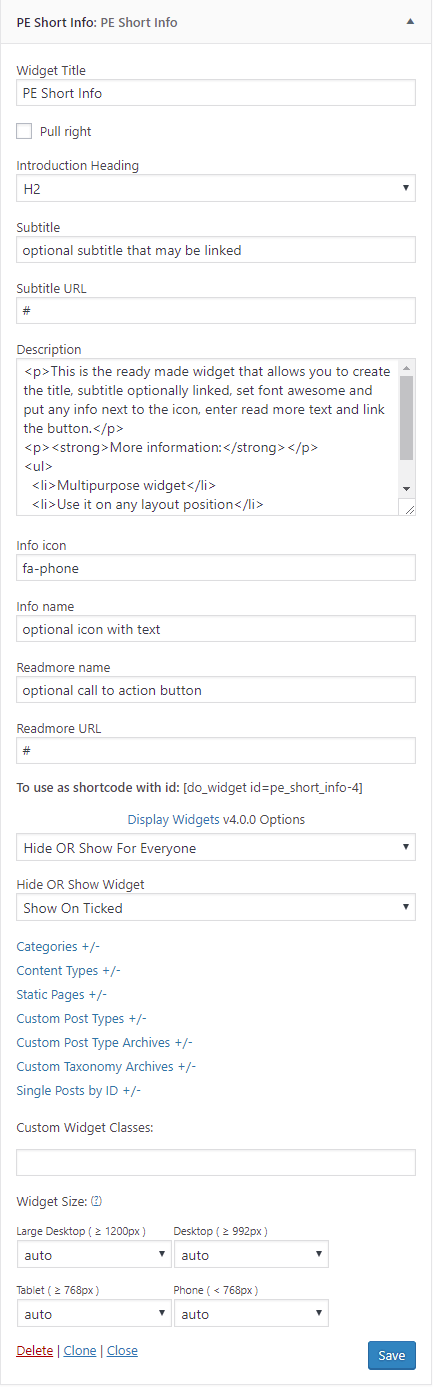
6. PE Short Info
Built-in widget which allows you to display short information.
We present an example on the All ready made widgets page.
7. PE Testimonial Carousel
Built-in widget which allows you to display testimonials (testimonial post type).
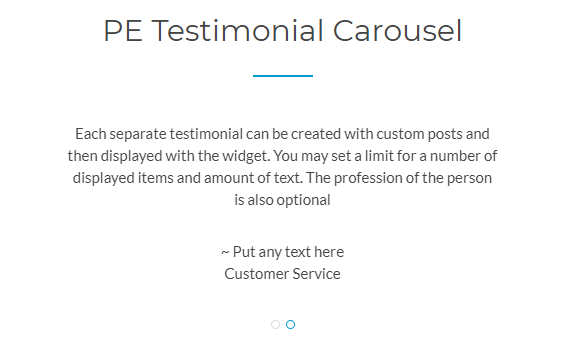

We present this widget on the All ready made widgets page.
8. PE Best Features
Built-in widget which allows you to display text with icons (font awesome) and image.
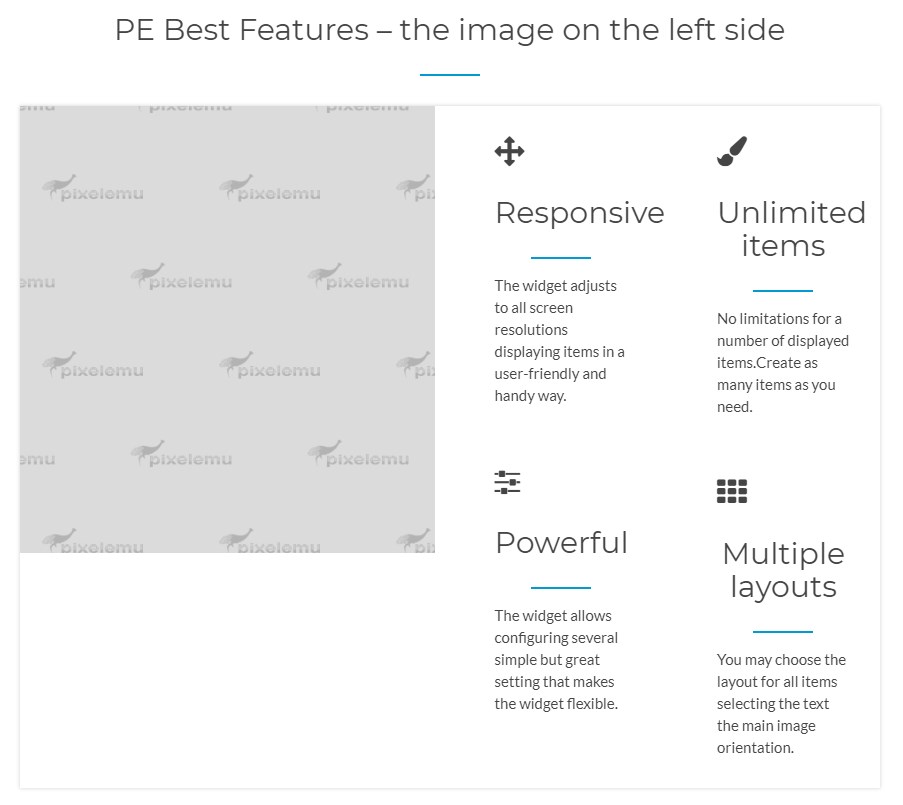
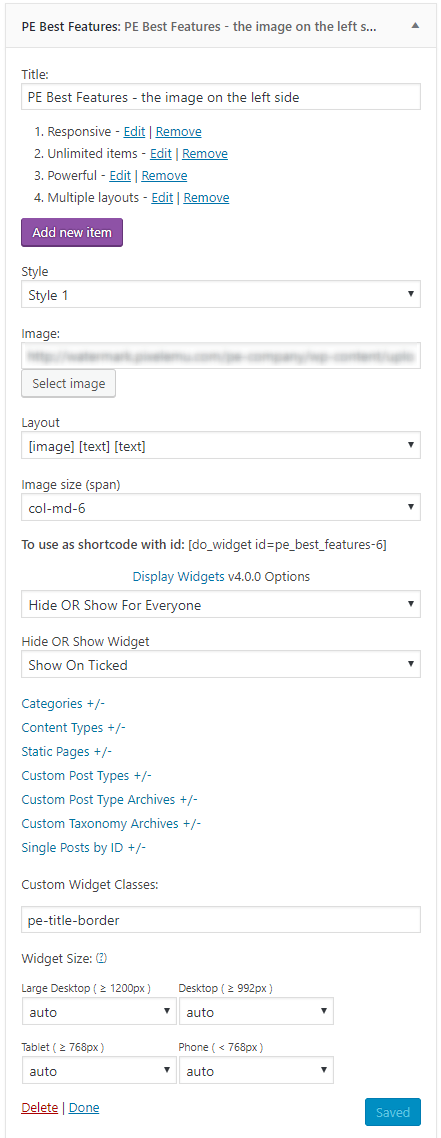
We present this widget on the All ready made widgets page.
9. PE Image Carousel
Built-in widget which allows you to display images.
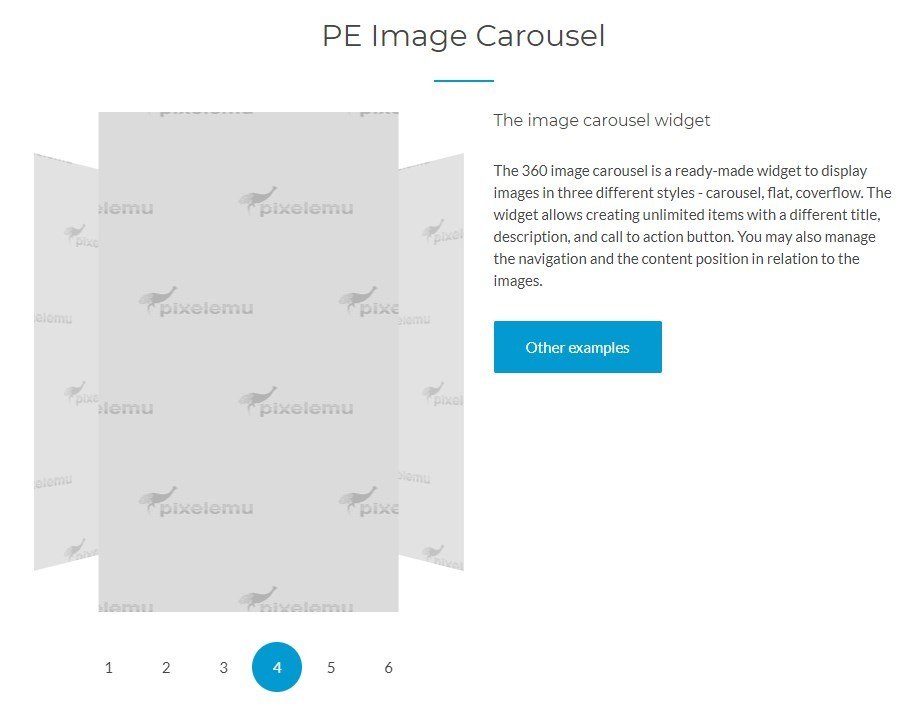
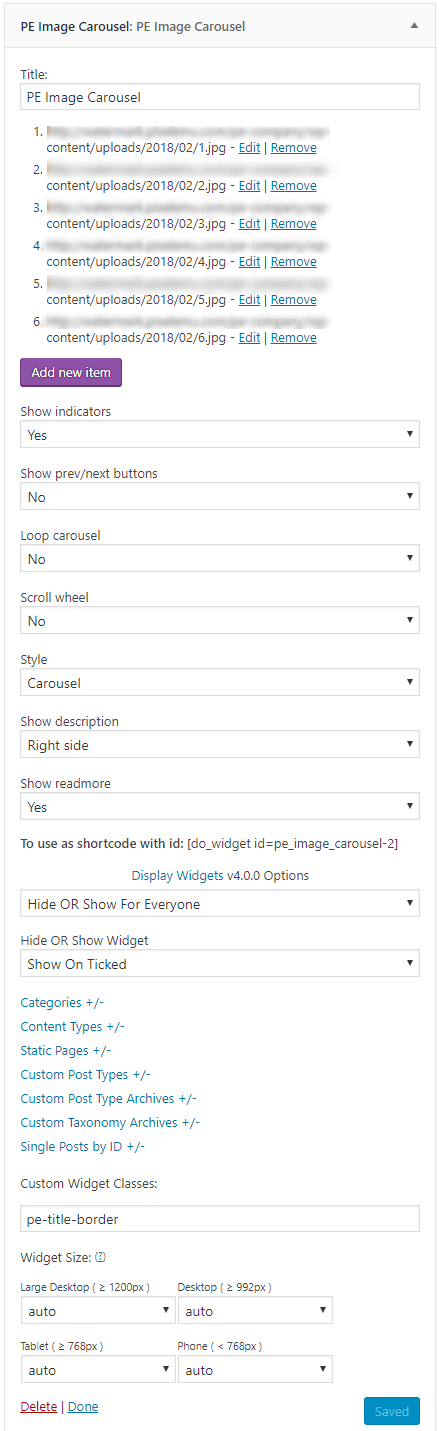
We present this widget on the All ready made widgets page.
10. PE Login Popup
Built-in widget which allows you to display a login and register page in a popup.
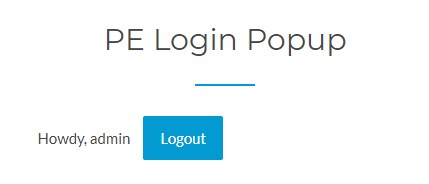
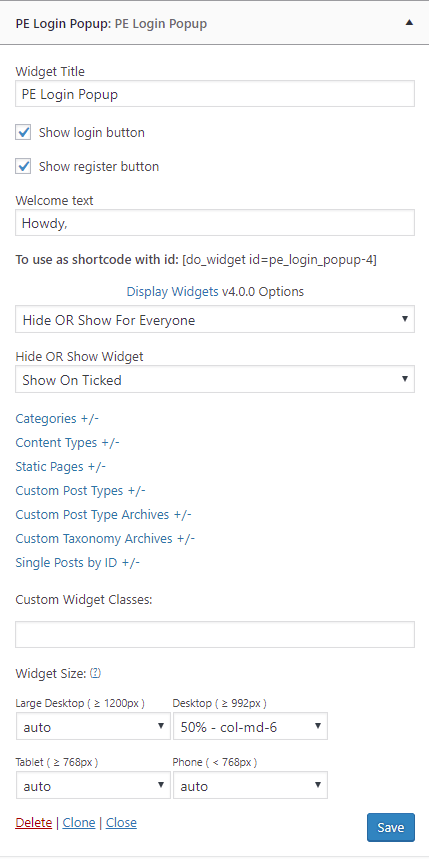
We present this widget on the All ready made widgets page.
F. ADDING CONTENT
1. Add Post
Navigate to Posts > Add New. Enter title, category, description and click Publish.

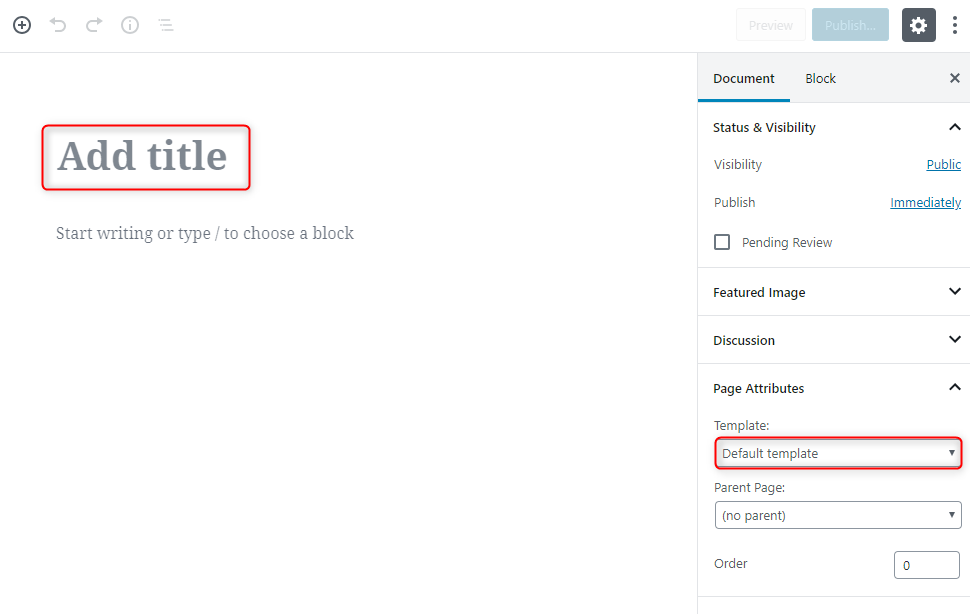
2. Add Page
Navigate to Pages > Add New. Enter title, description and click Publish. Optionally you can choose template.
3. Add FAQ
Navigate to FAQ > Add New. Enter title, description and click Publish.

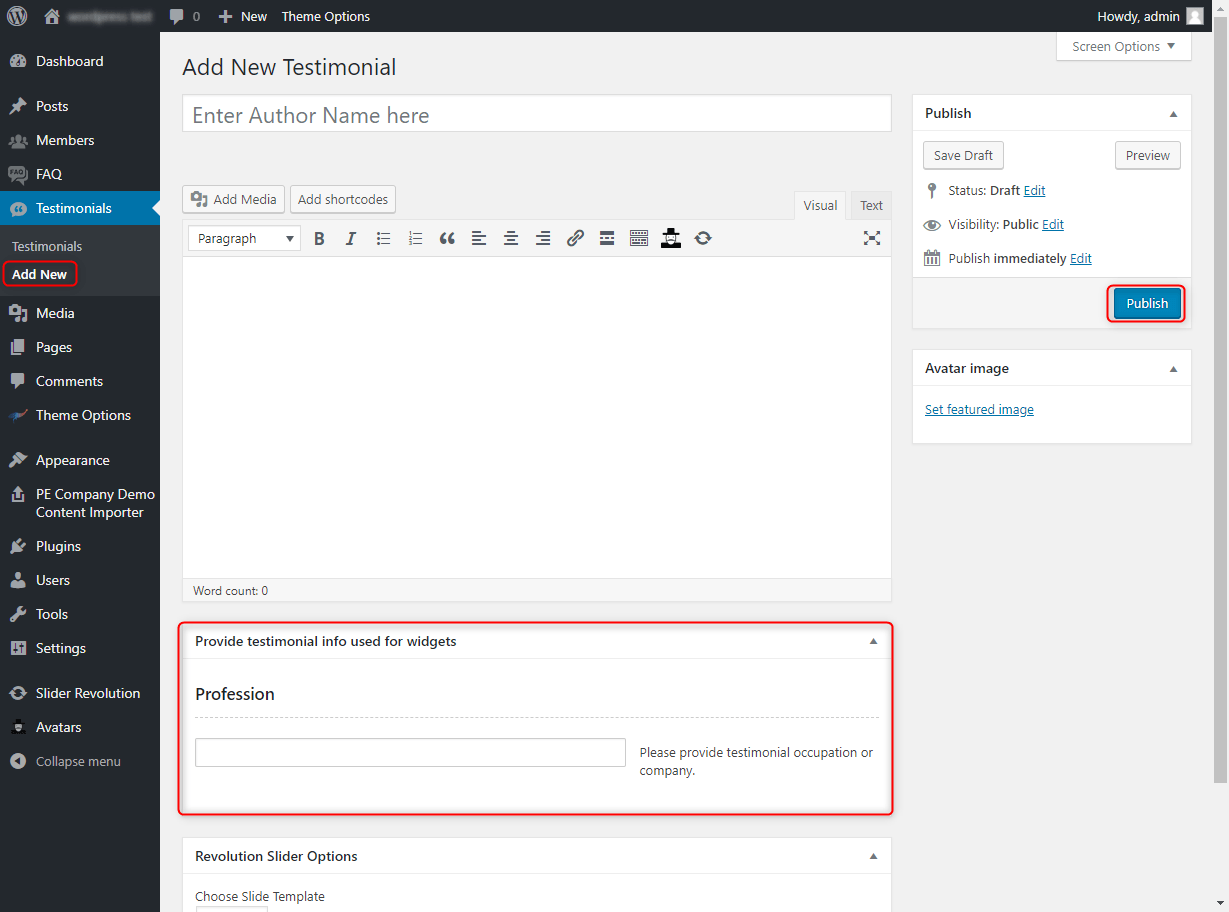
4. Add Testimonial
Navigate to Testimonials > Add New. Enter title, description and click Publish. Optionally you can choose the occupation and avatar image.
G. OTHER
1. Classes for widgets
All widgets have additional functionality: add custom class.
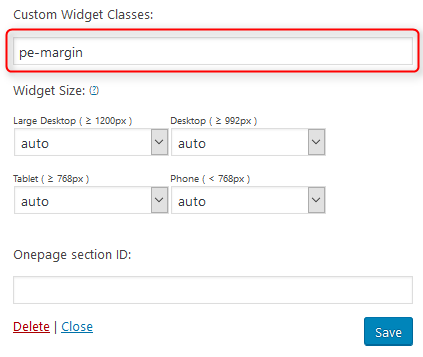
Classes are visible here in the code:

2. Available classes
pe-title-center - provides different widget layout. The title is centered.
pe-margin - removes all margins for widget.
text-right - aligns text right
text-left - aligns text left
text-center - aligns text center
pe-clean - for Tabs shortcode
no-bold - removes bold font weight from string.
button-link - make a menu item looks like an orange button
NOTE: add this class for a menu item in a field CSS Classes (optional)
3. Bootstrap 3 Grid classes to specify each widget width
See how aspects of the Bootstrap grid system work across multiple devices with a handy table.
| Extra small devices Phones (<768px) | Small devices Tablets (≥768px) | Medium devices Desktops (≥992px) | Large devices Desktops (≥1200px) | |
|---|---|---|---|---|
| Grid behavior | Horizontal at all times | Collapsed to start, horizontal above breakpoints | ||
| Class prefix | .col-xs- |
.col-sm- |
.col-md- |
.col-lg- |
| # of columns | 12 | |||
| Column width | Auto | ~62px | ~81px | ~97px |
| Gutter width | 30px (15px on each side of a column) | |||
| Nestable | Yes | |||
| Offsets | Yes | |||
| Column ordering | Yes | |||
Example:
Don't want your columns to simply stack in smaller devices? Use the extra small and medium device grid classes by adding .col-xs-* .col-md-* to your columns. See the example below for a better idea of how it all works.

<!-- Stack the columns on mobile by making one full-width and the other half-width -->
					<div class="row">
						<div class="col-xs-12 col-md-8">.col-xs-12 .col-md-8</div>
						<div class="col-xs-6 col-md-4">.col-xs-6 .col-md-4</div>
					</div>

					<!-- Columns start at 50% wide on mobile and bump up to 33.3% wide on desktop -->
					<div class="row">
						<div class="col-xs-6 col-md-4">.col-xs-6 .col-md-4</div>
						<div class="col-xs-6 col-md-4">.col-xs-6 .col-md-4</div>
						<div class="col-xs-6 col-md-4">.col-xs-6 .col-md-4</div>
					</div>

					<!-- Columns are always 50% wide, on mobile and desktop -->
					<div class="row">
						<div class="col-xs-6">.col-xs-6</div>
						<div class="col-xs-6">.col-xs-6</div>
					</div>
See helpful guide:
How to use bootstrap grid system with WordPress theme?
4. Available shortcodes
All available shortcodes you will find here.
Shortcode Generator
The theme comes with Shortcode Generator. It is a drag & drop tool for placing shortcodes in widgets and posts.
How it works:
Step1: Open the Shortcode Generator
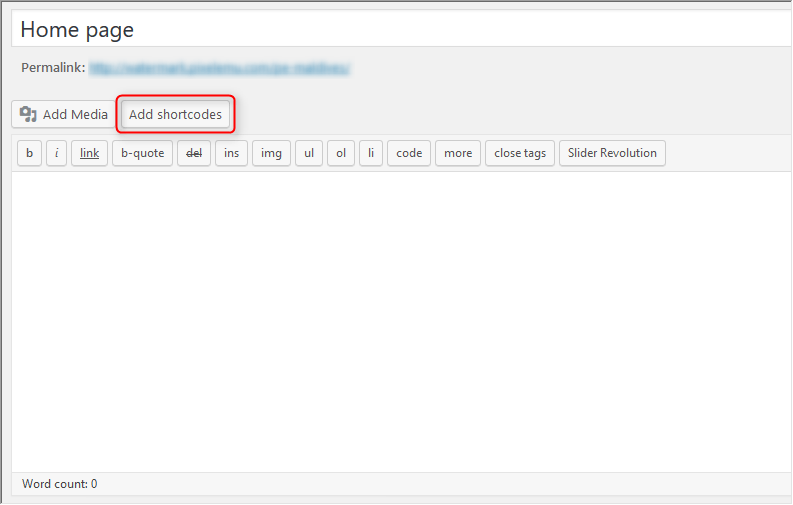
When editing a post, page or widget, click on the "Add shortcode" button to open the Shortcode Generator tool:
Step2: Drag & drop a shortcode into the "Drop area"
Choose a shortcode and drag & drop the shortcode box into the "Drop area".
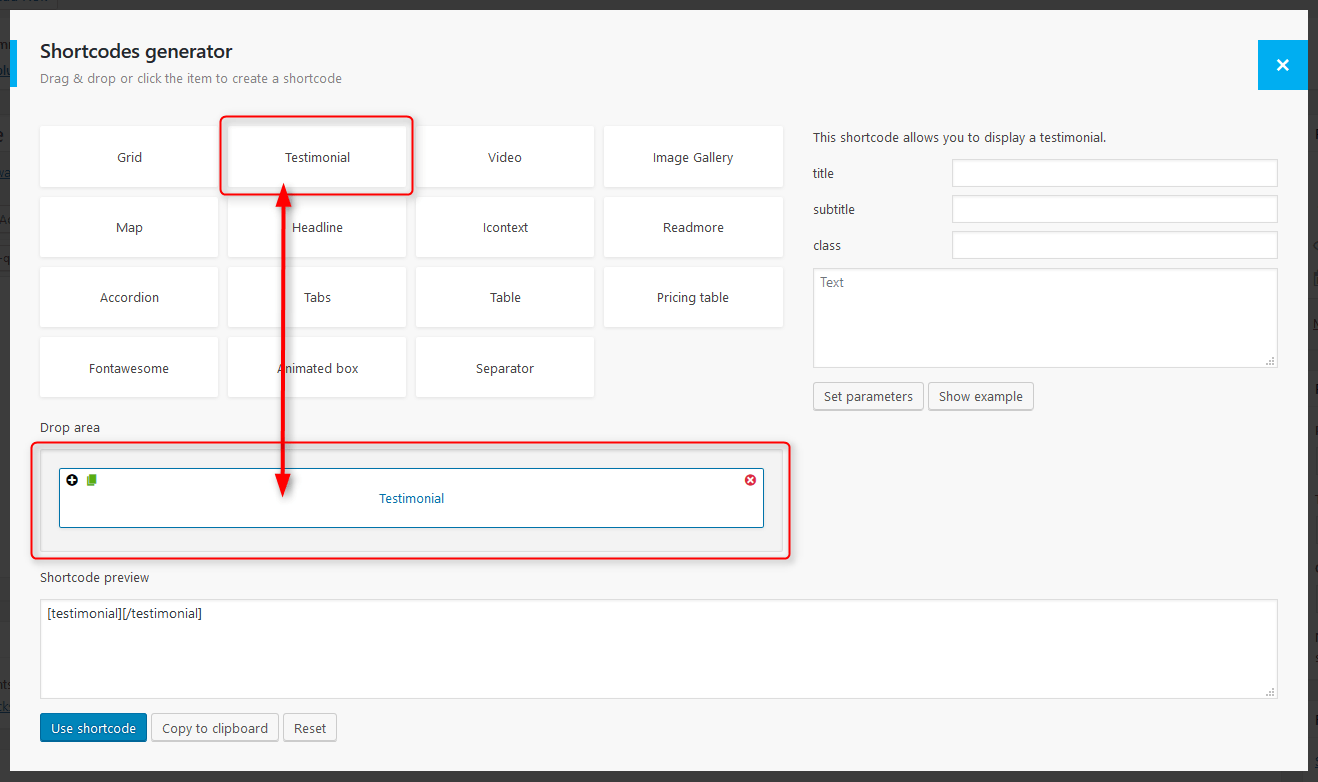
Step3: Enter the shortcode parameters
When you click the shortcode title in the "Drop area" you will be able to fill in the shortcode parameters. Remember to click the "Set parameters" button to apply the parameters.

Step4: Display the shortcode
Once you are done, click the "Use shortcode" button to add the shortcode into the editor:
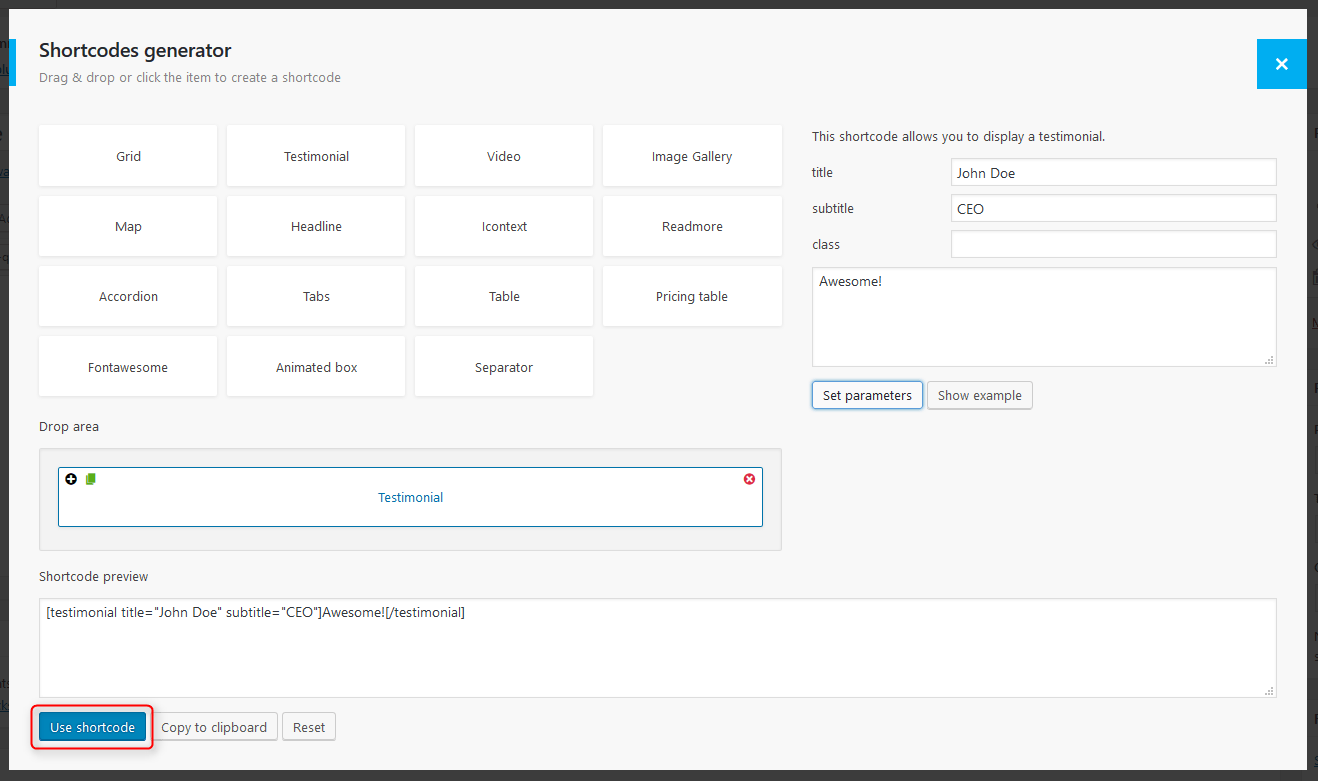
Remember to save the post, page or widget after all.
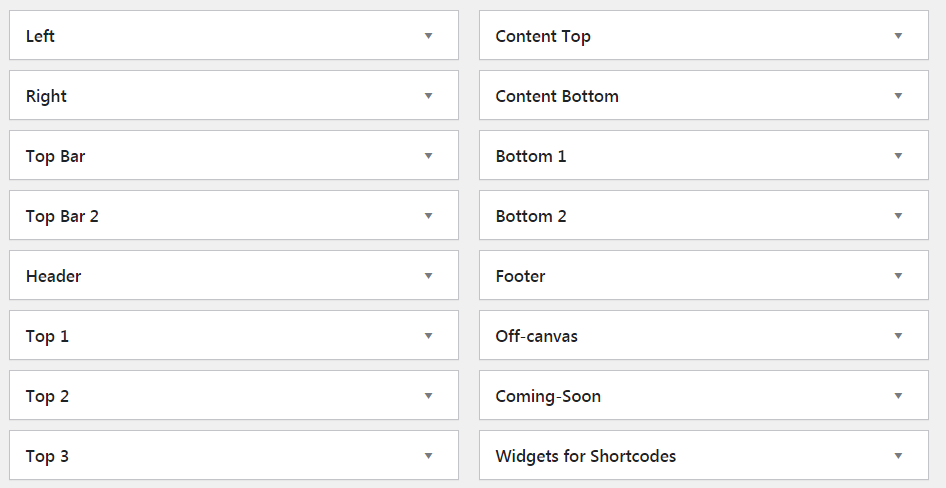
5. All widget positions
All available widget positions in theme:
We have also a video tutorial on how to manage the theme layout in WordPress themes:
6. Typography
Typography article you will find here.
On above page you will find some examples of custom classes which you can use in articles.
H. OPTIMIZE YOUR SITE
To optimize our theme we use plugin W3 Total Cache
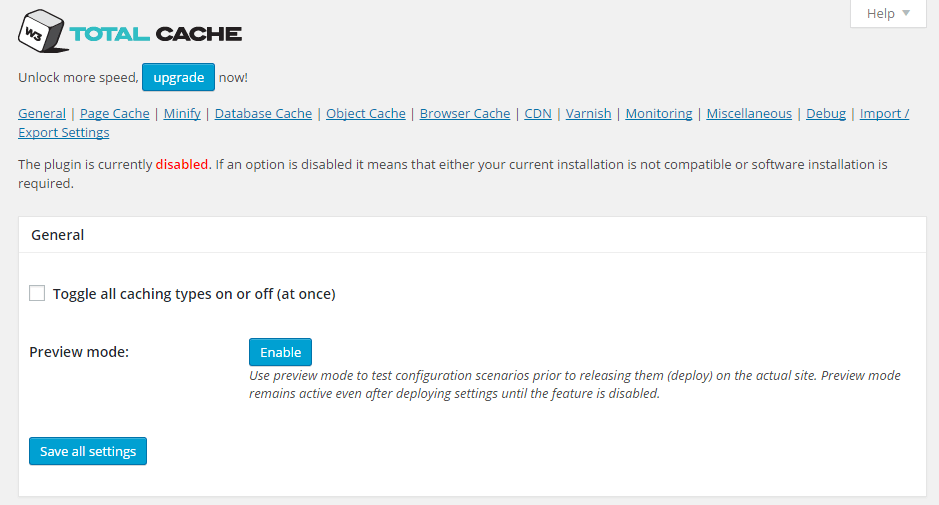
The highest rated and most complete WordPress performance plugin. Dramatically improve the speed and user experience of your site. Add browser, page, object and database caching as well as minify and content delivery network (CDN) to WordPress. See documentation.
This plugin is recommended but by default is not installed in quickstart package.
I. SOURCES AND CREDITS
Plugins:
- Duplicator (Create a backup of your WordPress files and database. Duplicate and move an entire site from one location to another in a few steps. Create a full snapshot of your site at any point in time.) http://lifeinthegrid.com/
- Display Widgets (Adds checkboxes to each widget to show or hide on site pages.) https://seo-gold.com/
- Amr shortcode any widget https://wordpress.org/plugins/amr-shortcode-any-widget/installation/
- Option Tree https://github.com/valendesigns/option-tree
- Redux Framework https://reduxframework.com/
- W3 Total Cache http://www.linkedin.com/in/w3edge
- WordPress Importer https://profiles.wordpress.org/wordpressdotorg/
- WP User Avatar http://wordpress.org/support/plugin/wp-user-avatar/