
The ultimate guide to managing WordPress revisions.
As a WordPress, you’re fortunate to have one of the most powerful revision systems available on any website platform. If you make a change to your content, WordPress keeps an accurate record of that change and makes it easy to roll back.
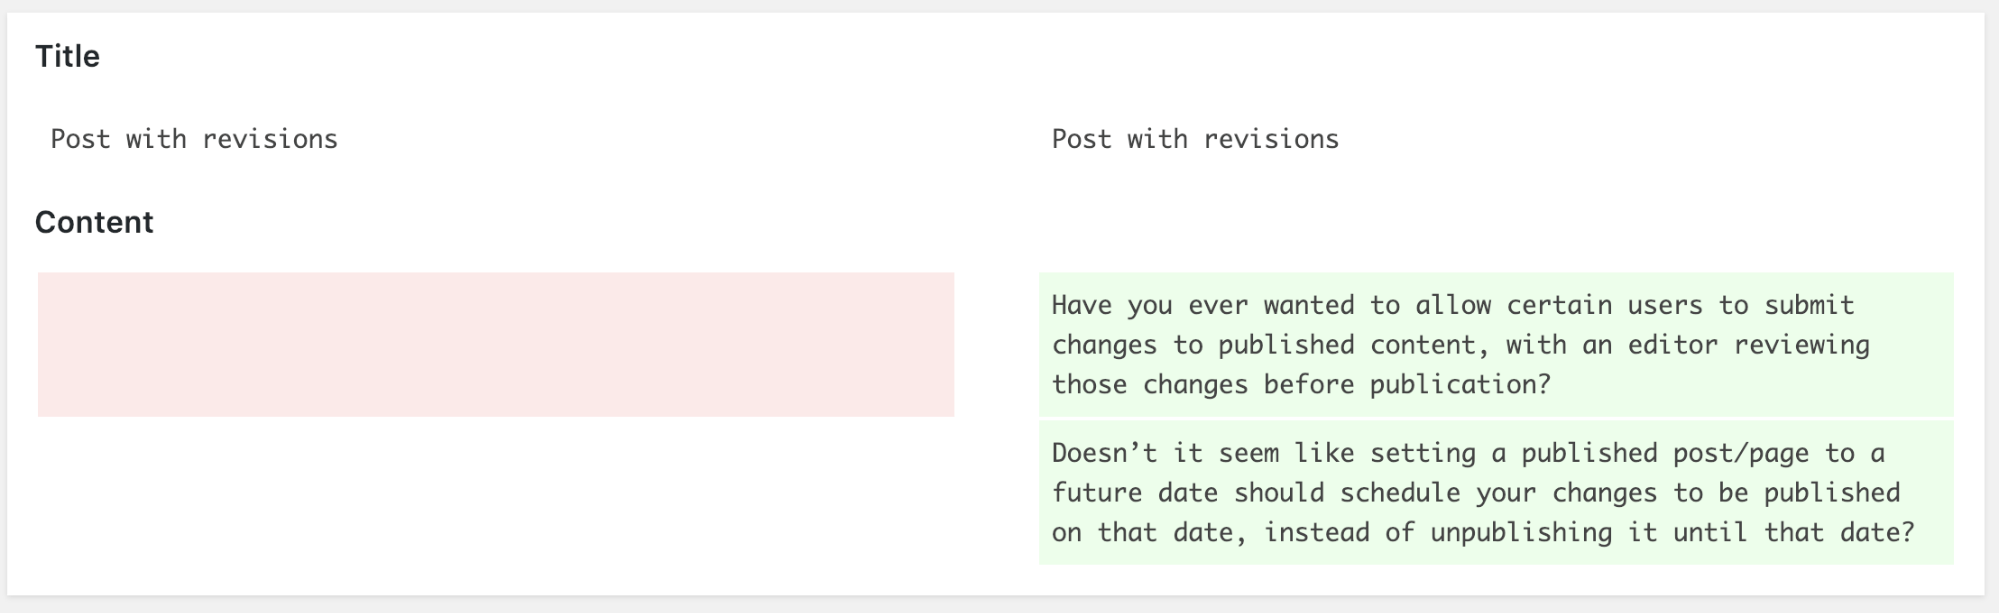
Your changes are saved automatically. When want to compare your current version of a post to an old version, click the “Revisions” link in the right sidebar.
WordPress will give you a side-by-side comparison. Looking at this screenshot below, the old content is marked in red and the new content is in green.
Although WordPress revisions are a great feature, they don’t have many permissions associated with them. Your revisions inherit the same permissions as your content. This means that if someone publish a post, they will also be able to update that post forever.
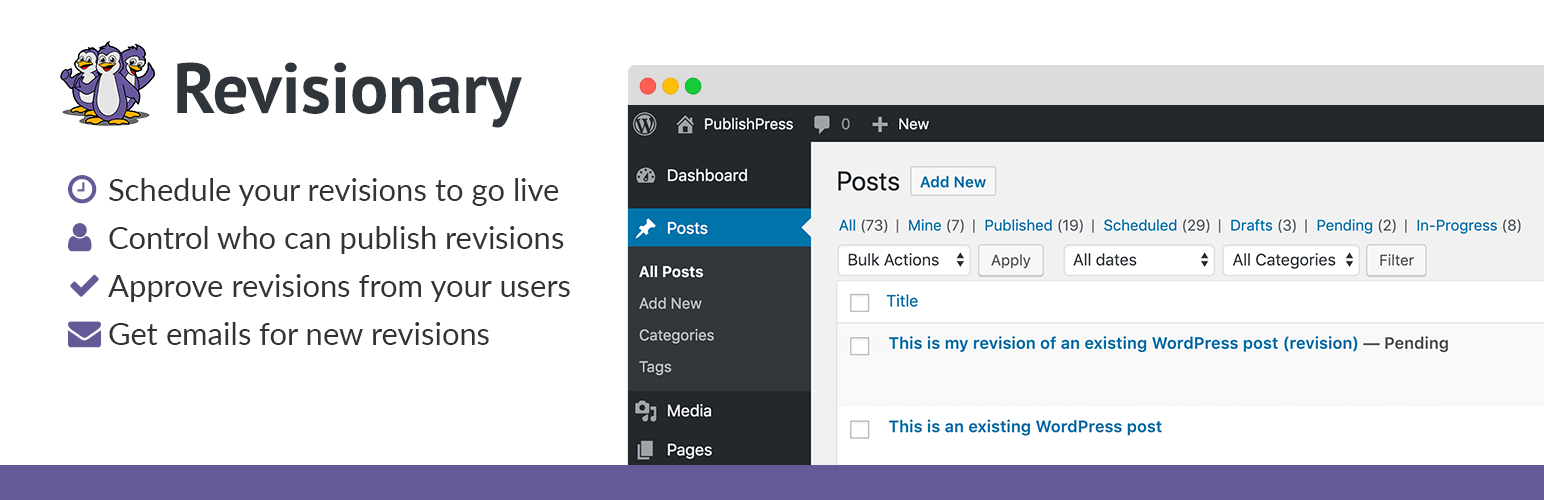
If you want more control over revisions, check out the Revisionary plugin. With Revisionary you can decide who is able to create and publish revisions. You can also schedule to publish automatically in the future.
Revisionary is available to download from WordPress.org and you can find out more at the Revisionary page on PublishPress.com.
How to Create New Revisions with Revisionary
To get started with Revisionary, I’d recommend you create a user in the “Revisor” role and use that for your testing.
This “Revisor” role is designed for users who update existing content.
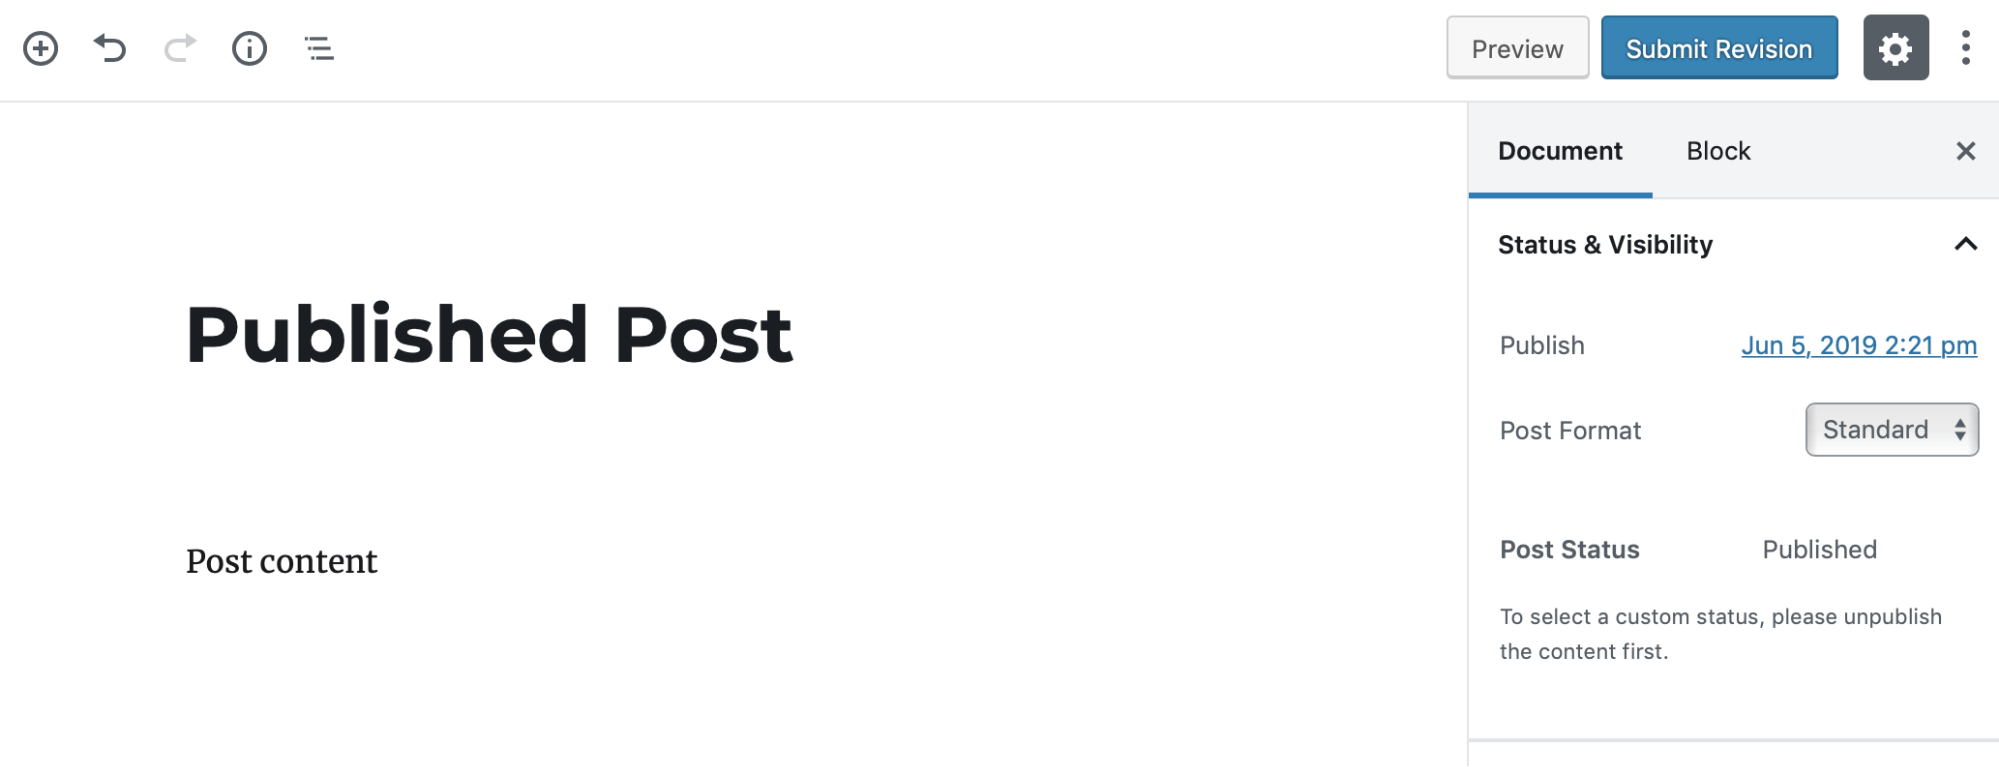
First, login as your Revisor user, and then find a post that has the "Published" status. Look in the top-right corner and you’ll see that usual “Update” button is unavailable. Instead, the “Update” button has changed to “Submit Revision”:
- Click "Update"
- You’ll now see the message, "Your modification has been saved for editorial review."
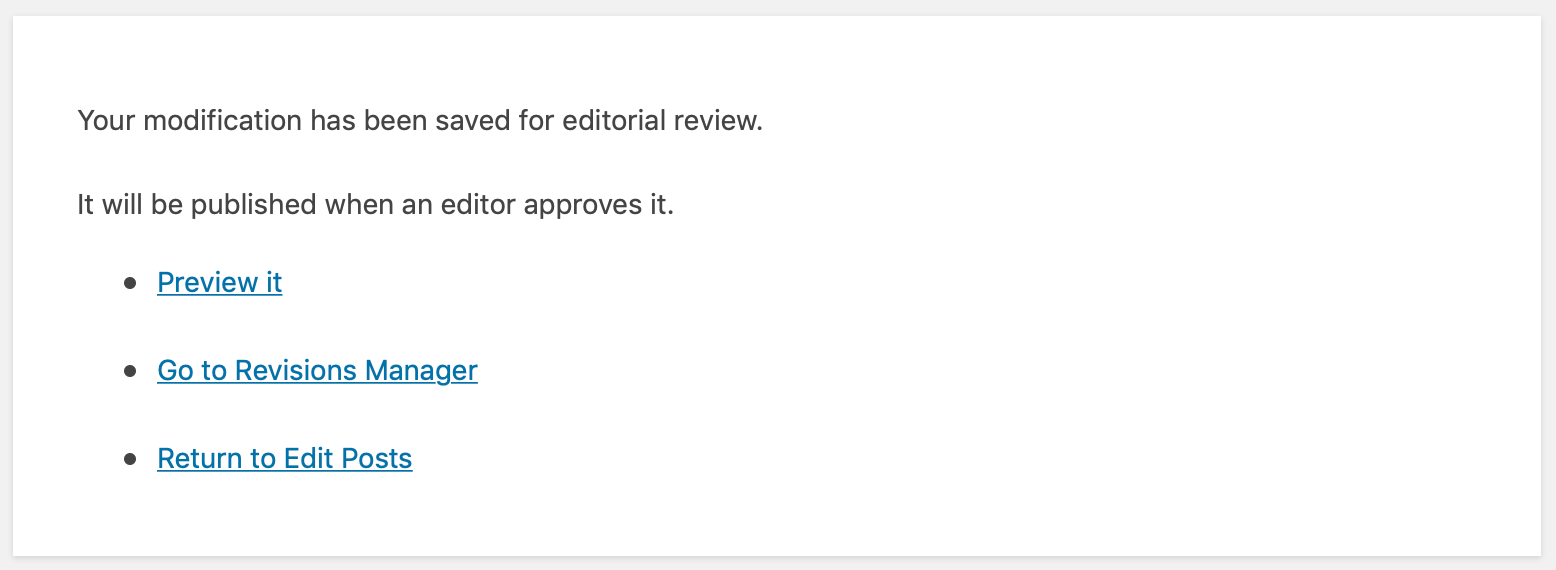
- Click the "Return to Edit Posts" link and you will be taken back to the main "Posts" screen.
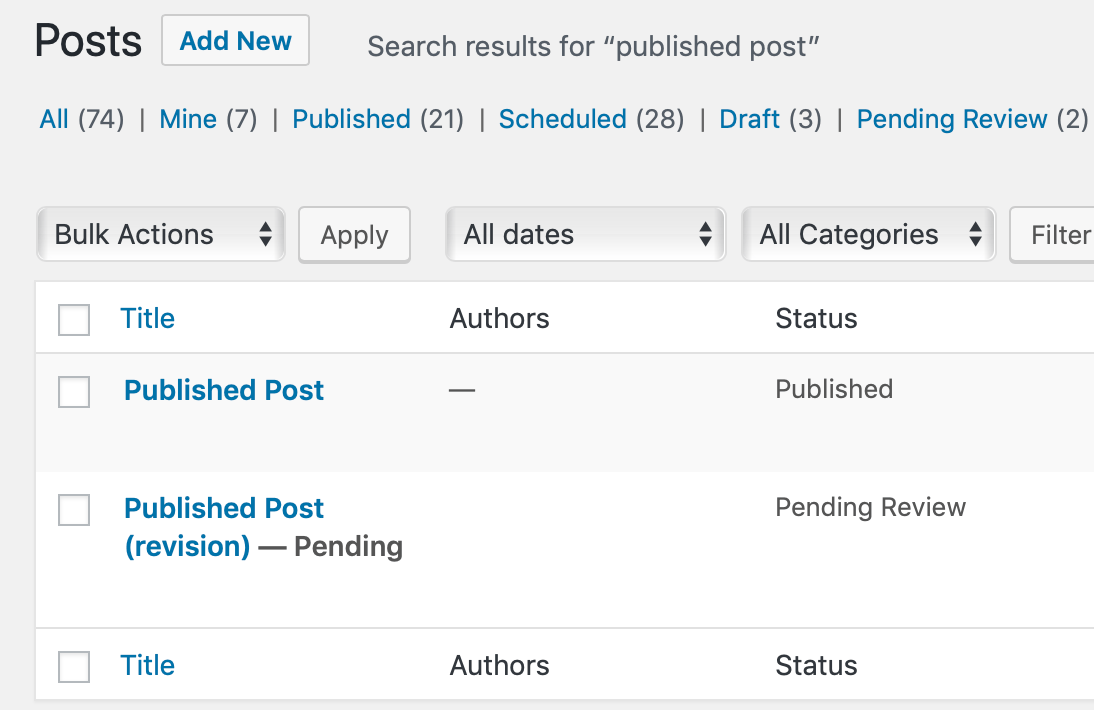
- Click the “Pending Review” tab. You will now see two copies of the post. One copy is the original and that is still published. Your new copy is marked as “revision” and is in the Pending Review” status.
The next step is for an administrator to come along and check the revision.
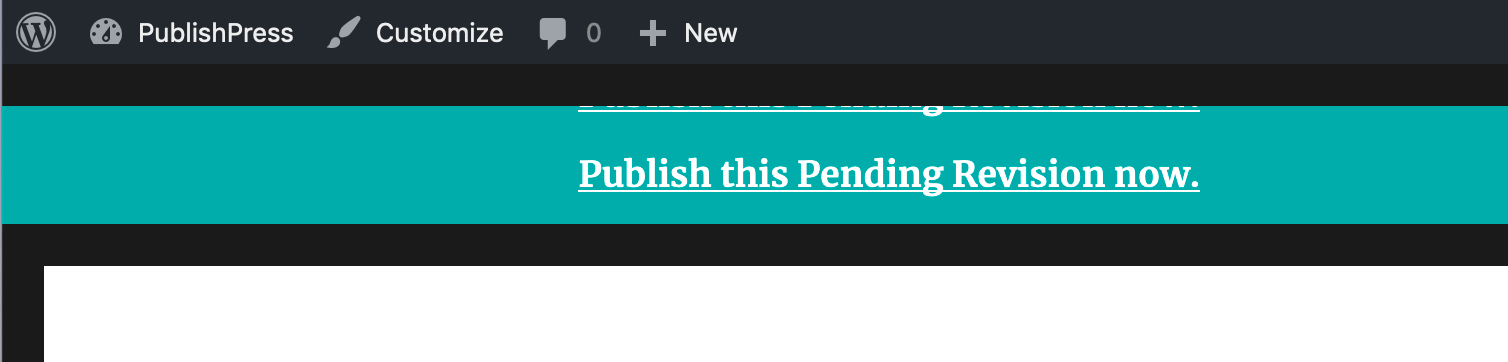
The Revisionary plugin will automatically send an email to the site administrators. When an administrator checks your revision, they’ll see an “Approval” link:
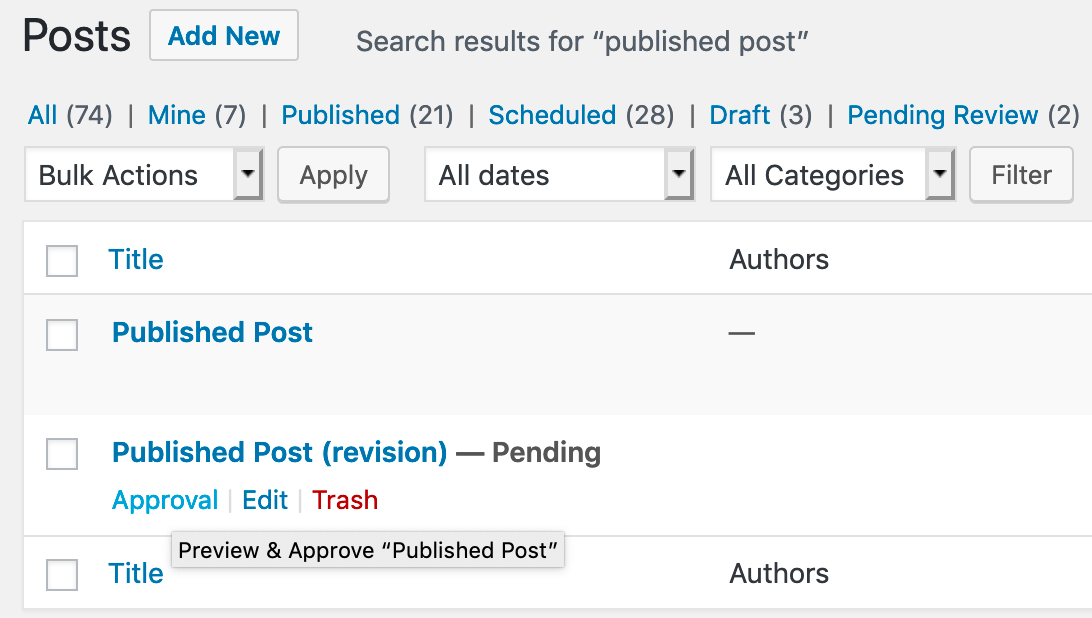
This link takes them to the front of the site where they can view the revision. If the Administrator likes what they see, they can click “Publish this Pending Revision now.”
Once the revision is approved, there will only be one copy of the post on the “Edit Posts” screen. The (revision) copy only exists while it’s waiting for approval.
How to Schedule a Review to Go Live
Revisionary also makes it possible to schedule a revision to go live on a future date.
This is very helpful if you need to automatically update a Post without being there to publish it yourself. Again, this is only possible with content that is marked as “Published”.
- Edit your published post.
- Make some changes to your post.
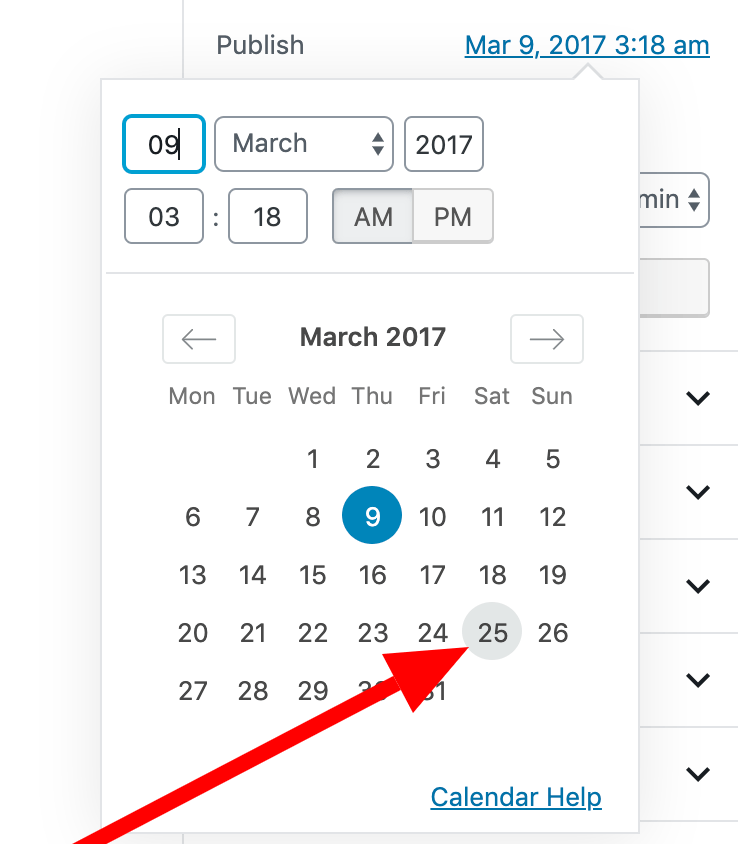
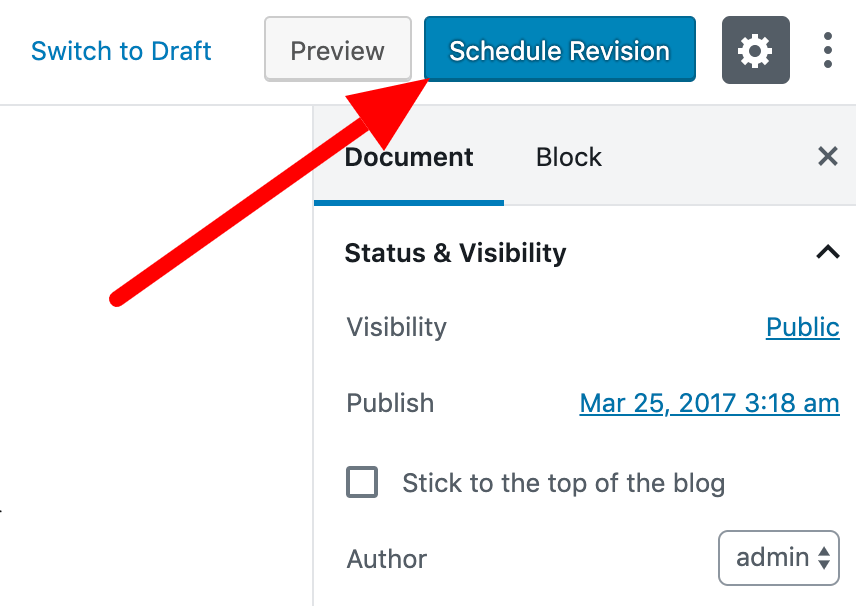
- In the right sidebar of your post, look for the “Publish” date. This shows you when the post was originally published.

Once the revision is approved, there will only be one copy of the post on the “Edit Posts” screen. The (revision) copy only exists while it’s waiting for approval.
- After you change the date successfully, the blue “Update” button will change to read “Schedule Revision”. Click this blue button.
- You will now see the message, “Your modification was saved as a Scheduled Revision.”
- Click “Return to Edit Posts”.
- You will be able to see both the current version and the future revision. The future revision will be marked as “(revision)” and as “Scheduled. After the revision goes live, you will automatically go back to seeing only one version of the post.