PE Maldives WordPress theme manual
A. GENERAL
1. Introduction
This documentation is last updated on 12th June 2017.
Thank you for purchasing PE Maldives Theme . If you have any question that is beyond the scope of this documentation, Please feel free to create a support ticket using Our Support Site.
If you like this theme, Please support us by rating this theme with 5 stars.
Before you start please choose if you want :
- import demo content with plugin
- manual import demo content
- use Quickstart package
If you choose Quickstart option please skip points A2 and A3.
2. Installing the Theme
3. Install Plugins
4. Demo content import (option 1)
Follow installation steps listed here
Please note:
- If you have earlier Slider Revolution plugin installed and some sliders, please go to Appearance > Widgets. In sidebar Header open widget Revolution Slider, choose slider and click Save.
5. Demo Copy Installation (option 2)
6. Manual demo content import (option 3)
Demo Site Configuration
Import of the Revolution Slider data
Import Widgets
Configure WP Settings
Navigate to Settings > Reading and set options like that:

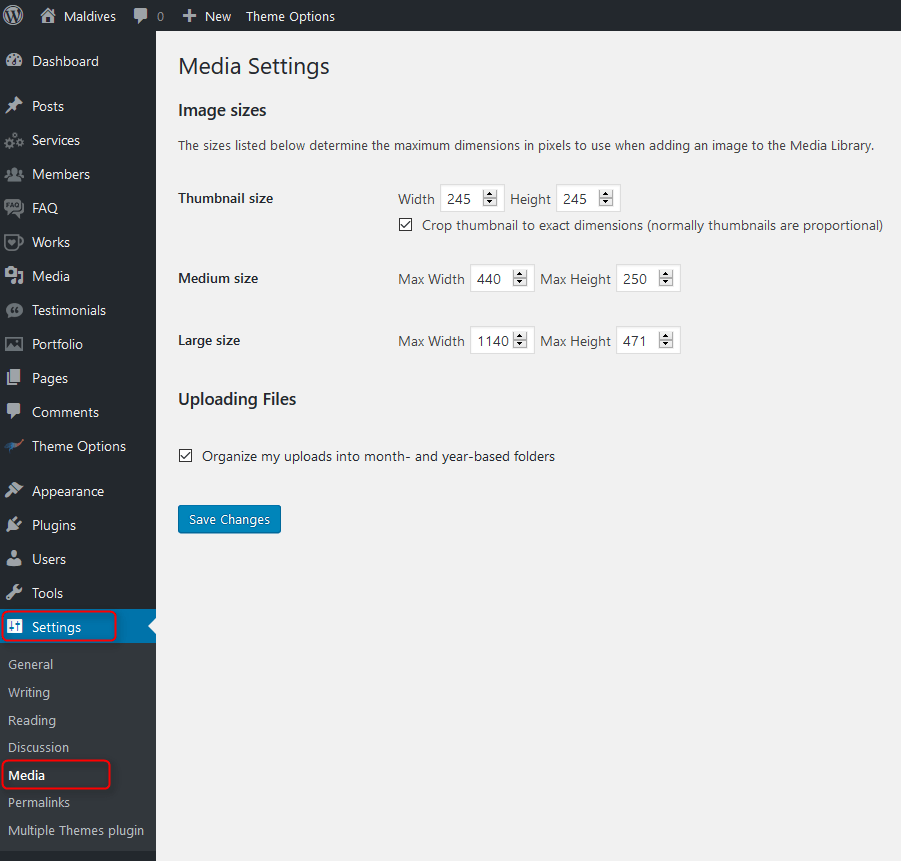
Next, set media in Settings > Media:
7. How to Update Theme
B. THEME OPTIONS
1. Basic Settings
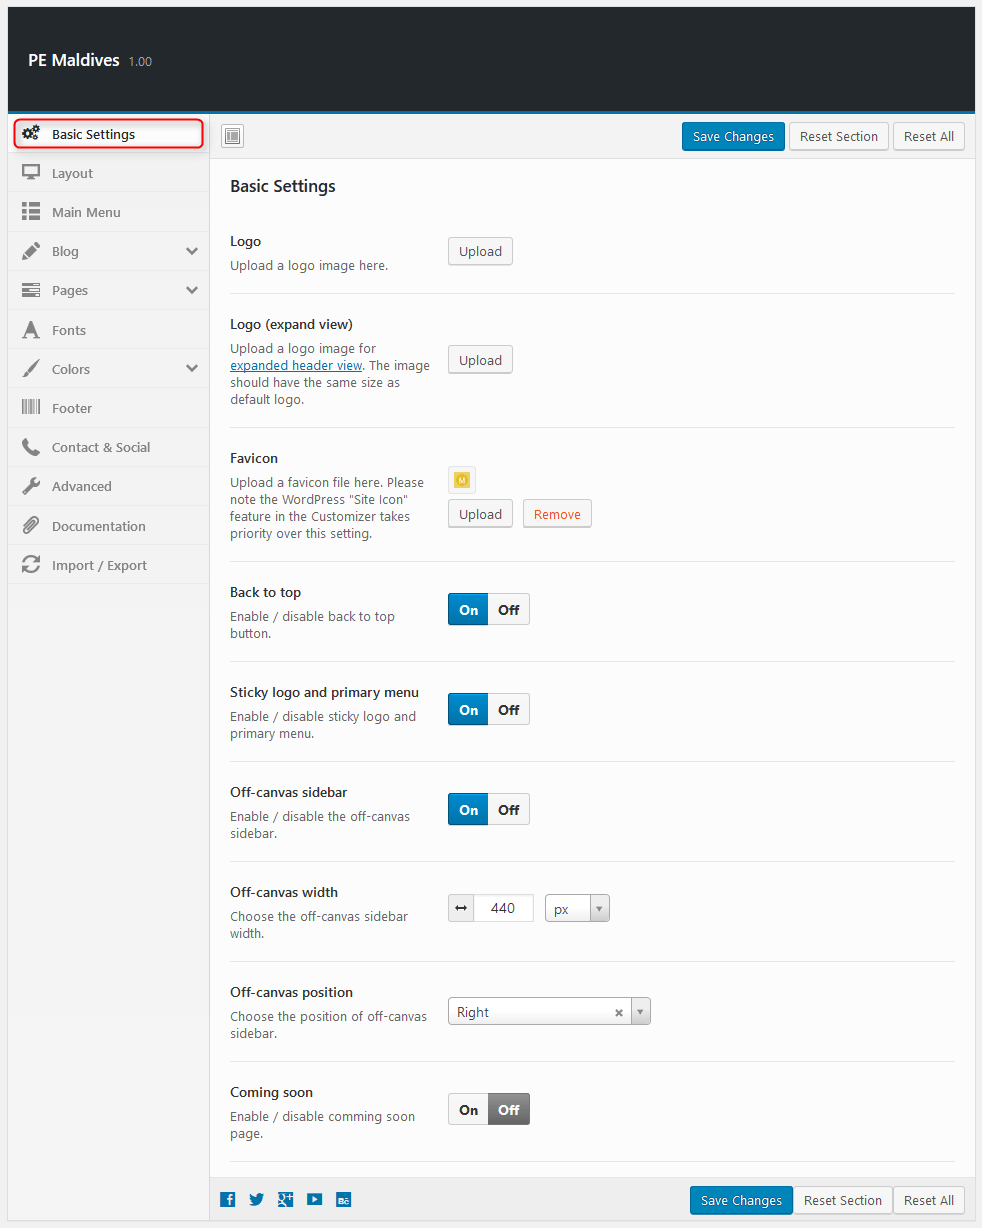
All available settings for default version of PE Maldives theme. More information about different versions you will find in Styles div.
To setup Basic Settings, navigate to Appearance > Theme Options and click on Basic Settings tab.
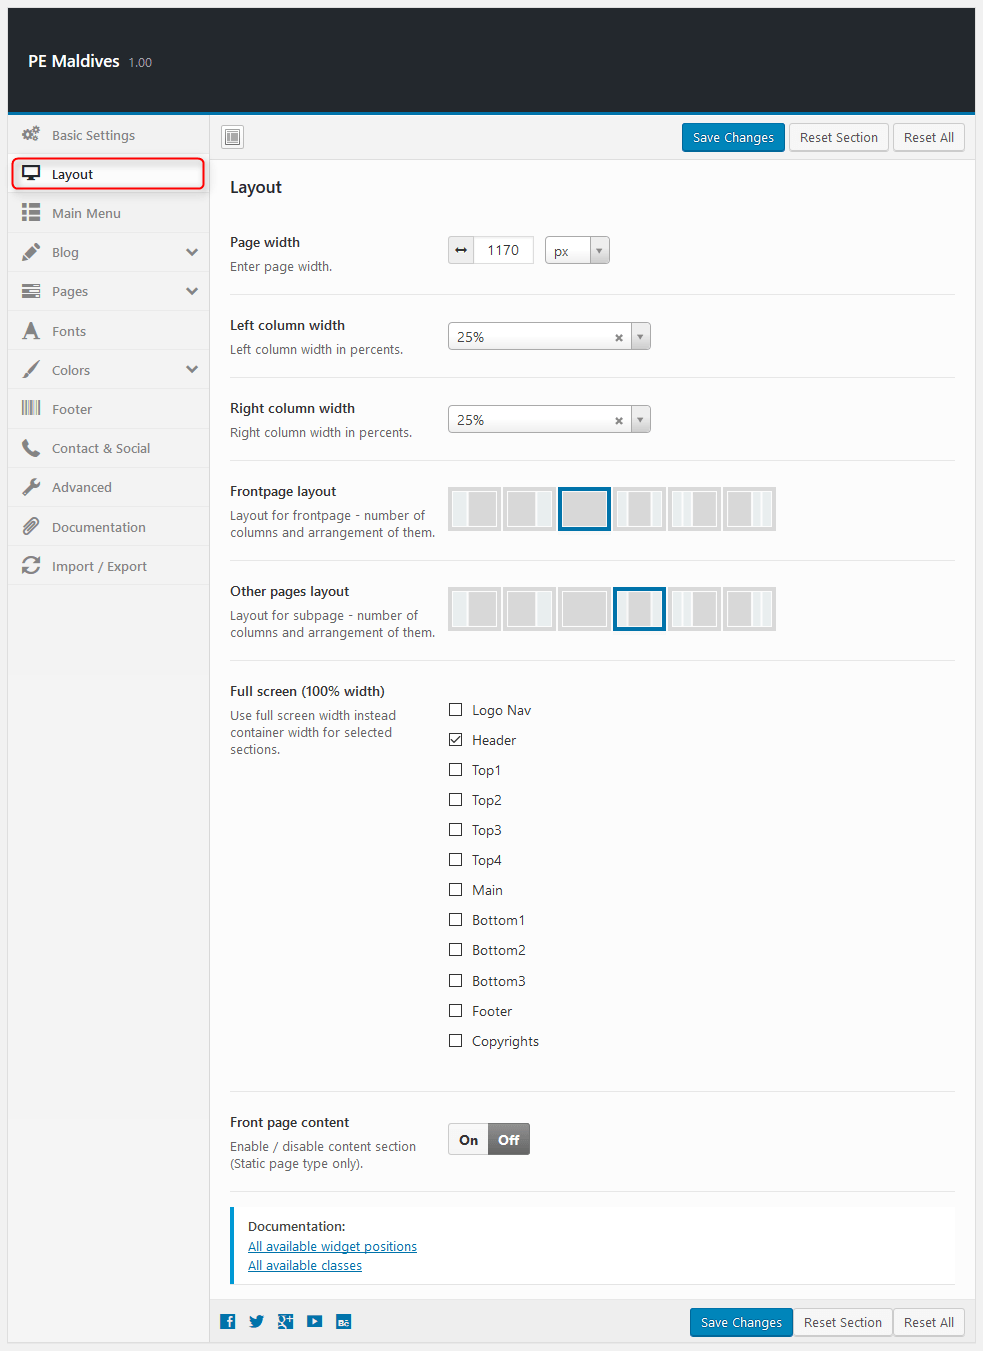
2. Layout
To setup Layout, navigate to Appearance > Theme Options and click on Layout tab.
3. Main Menu
To setup Main Menu, navigate to Appearance > Theme Options and click on Main Menu tab.

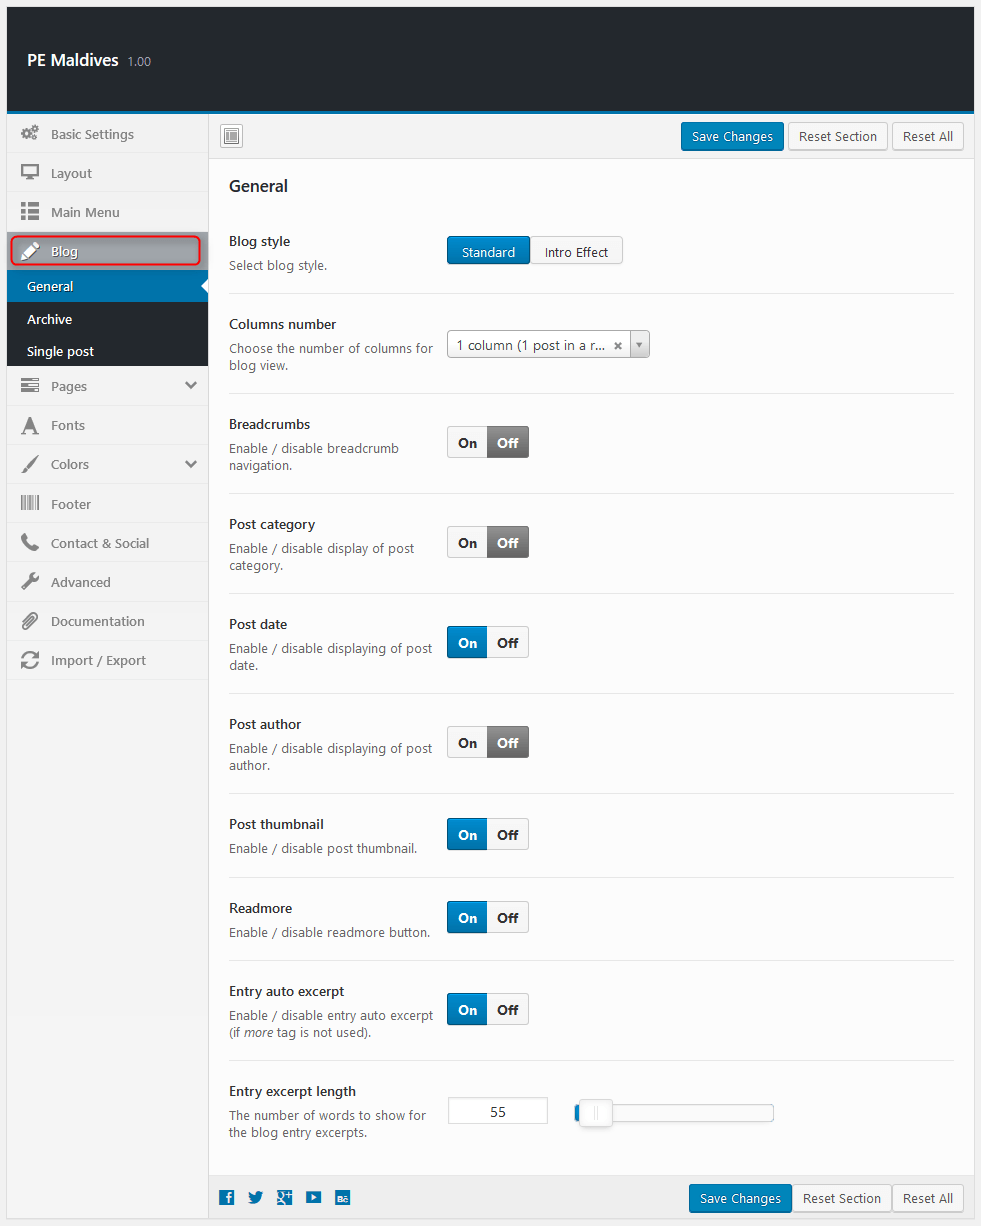
4. Blog
To setup Blog, navigate to Appearance > Theme Options and click on Blog tab.
General:
Archive:

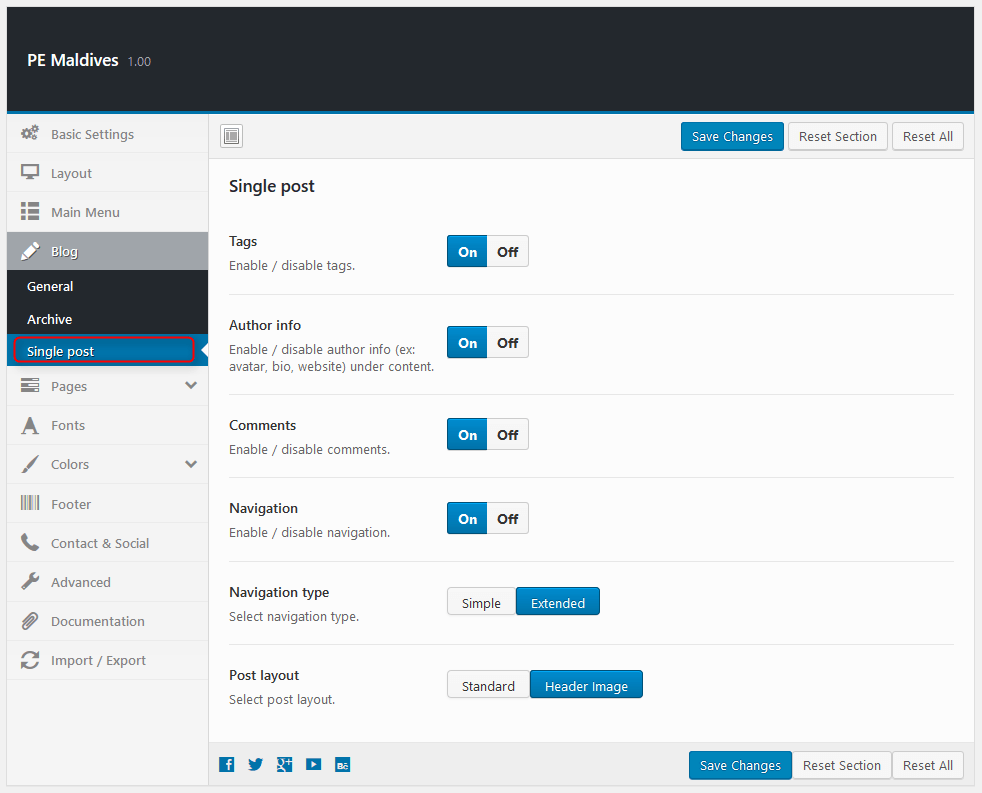
Single Post:
5. Pages
To setup Pages, navigate to Appearance > Theme Options and click on Pages tab.
Single Page:

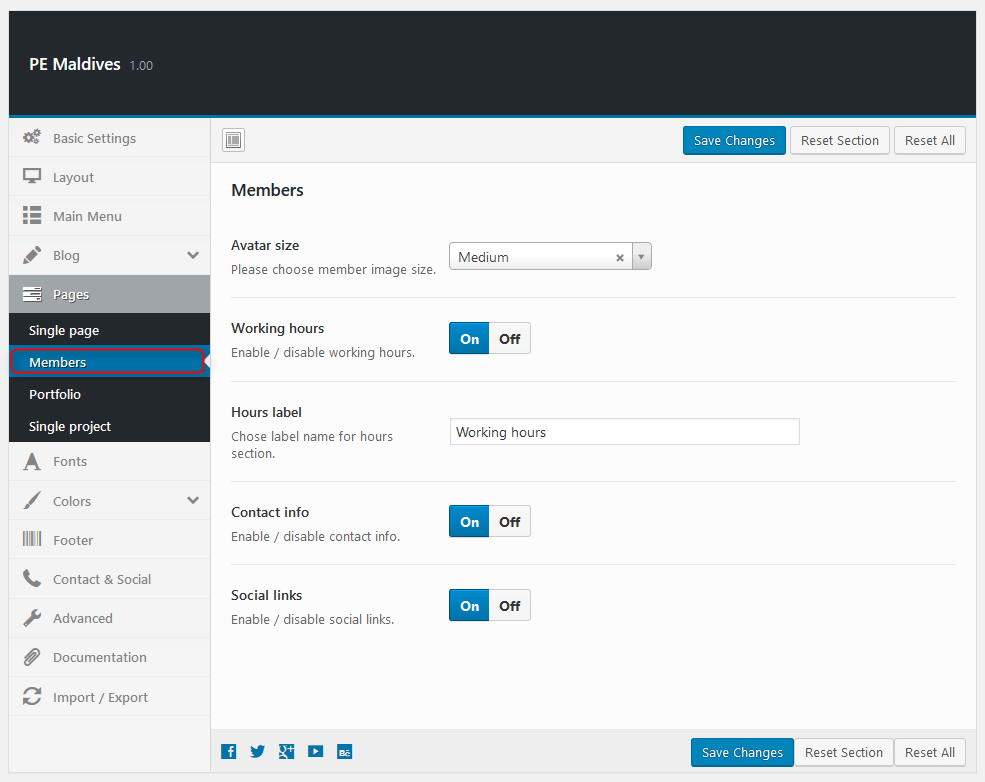
Members:
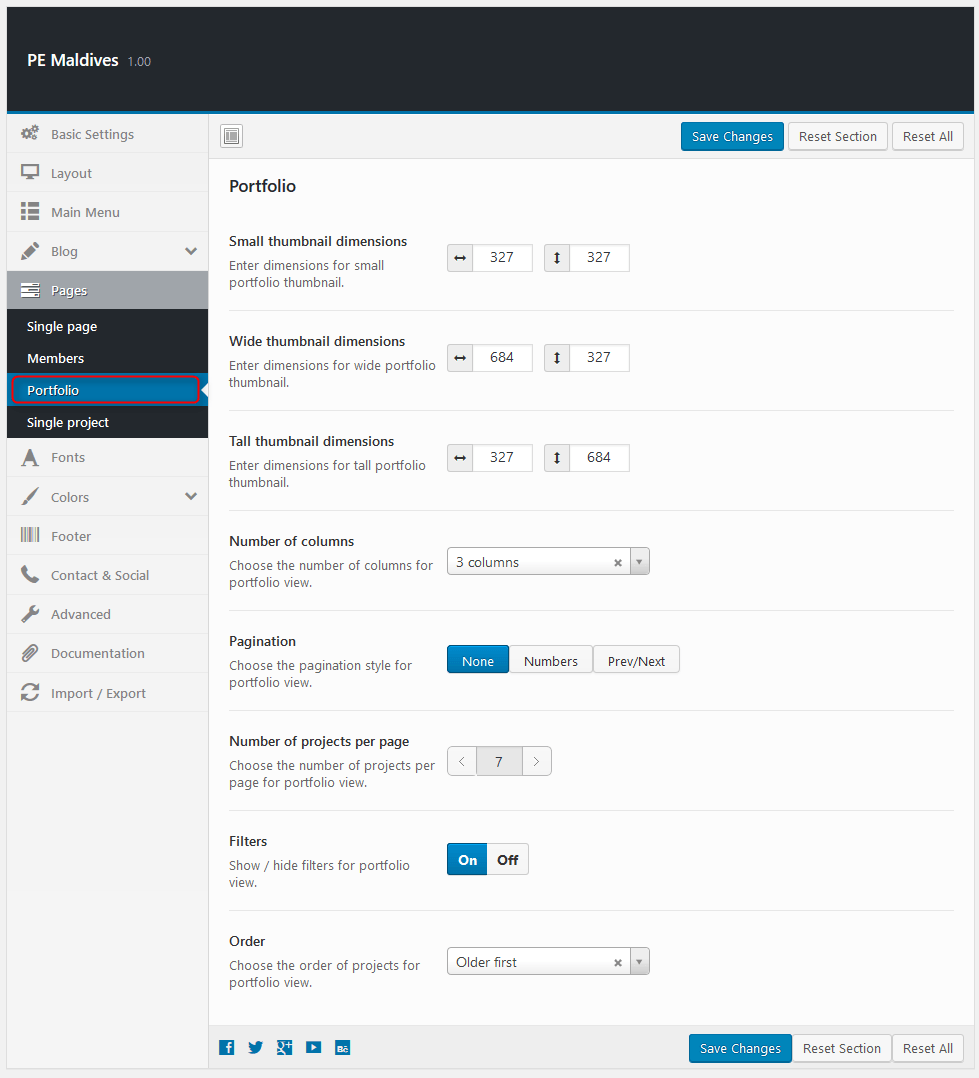
Portfolio:
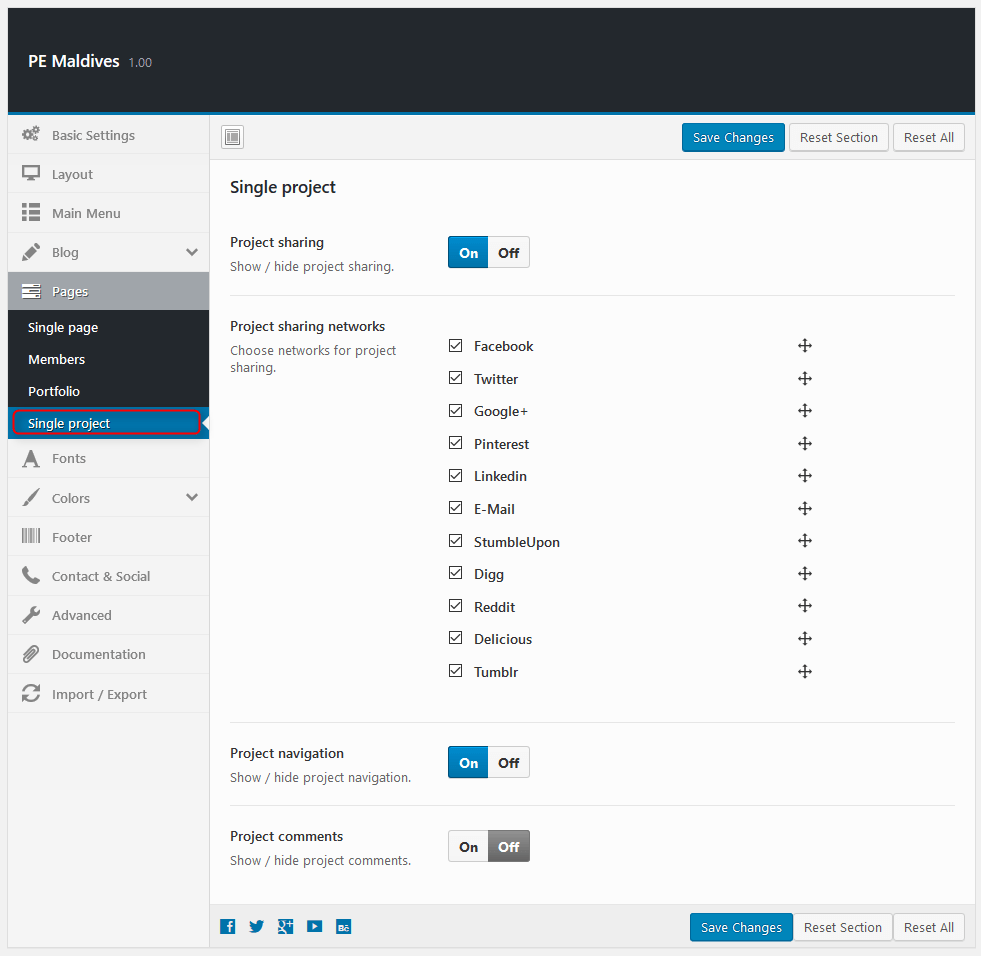
Single project:
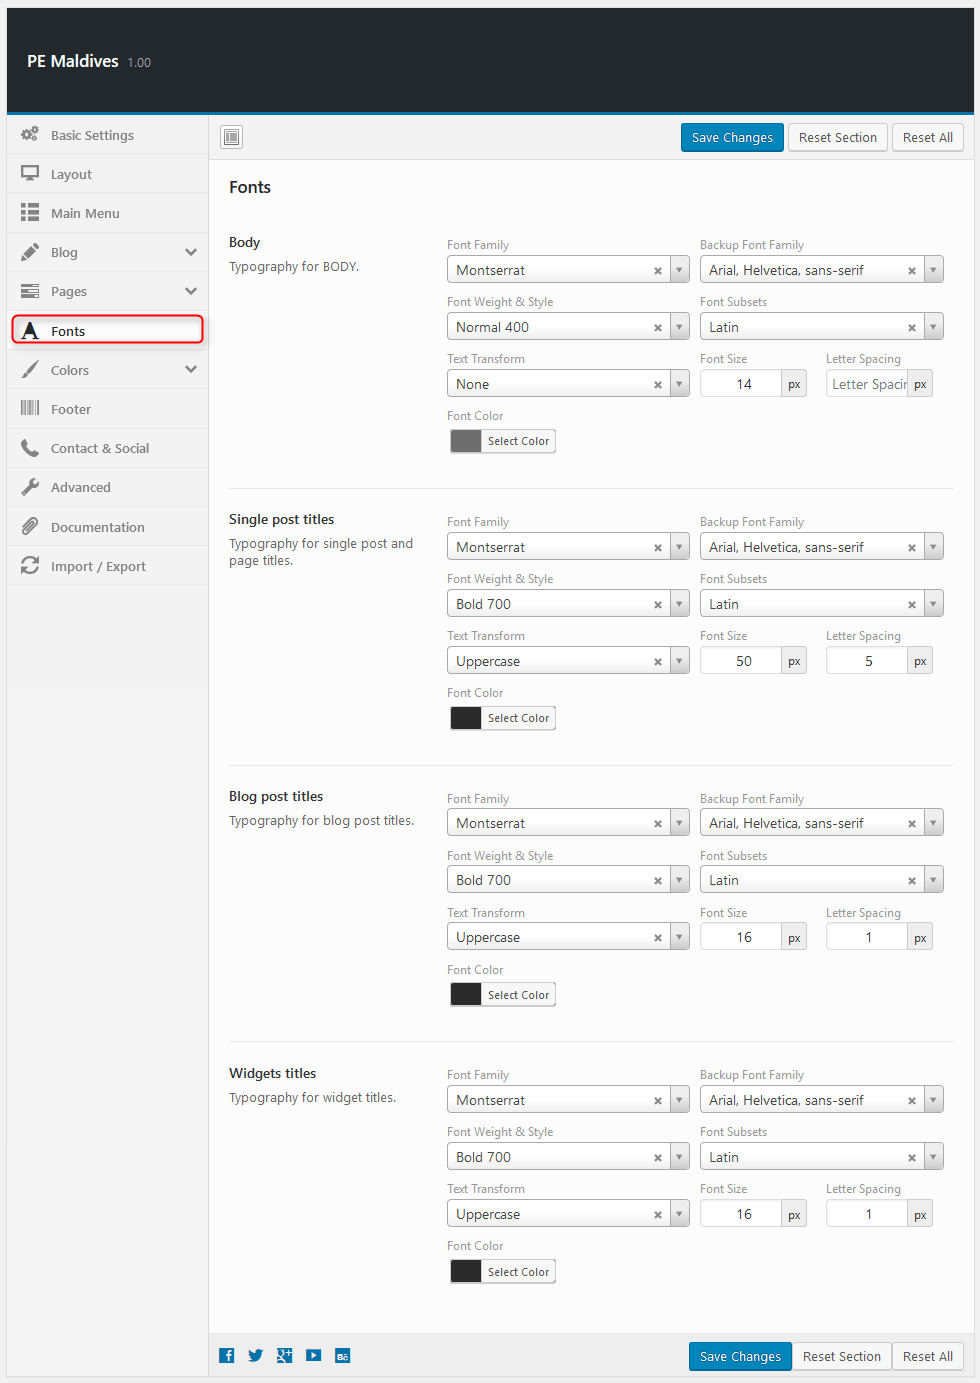
6. Fonts
To setup Fonts, navigate to Appearance > Theme Options and click on Fonts tab.
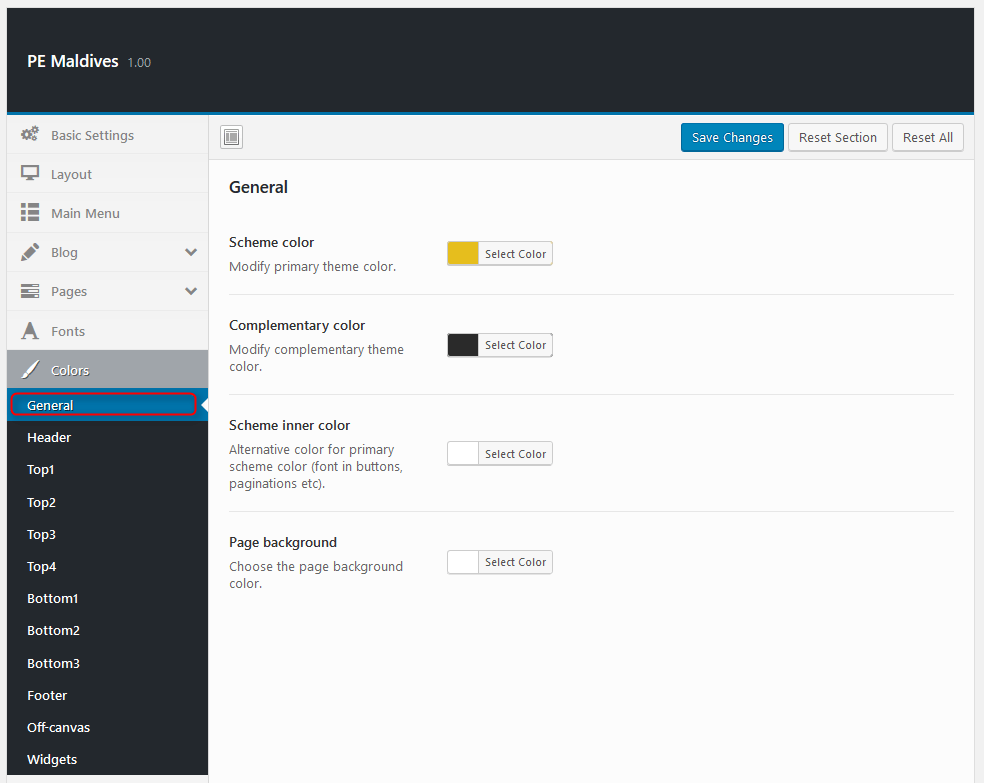
7. Colors
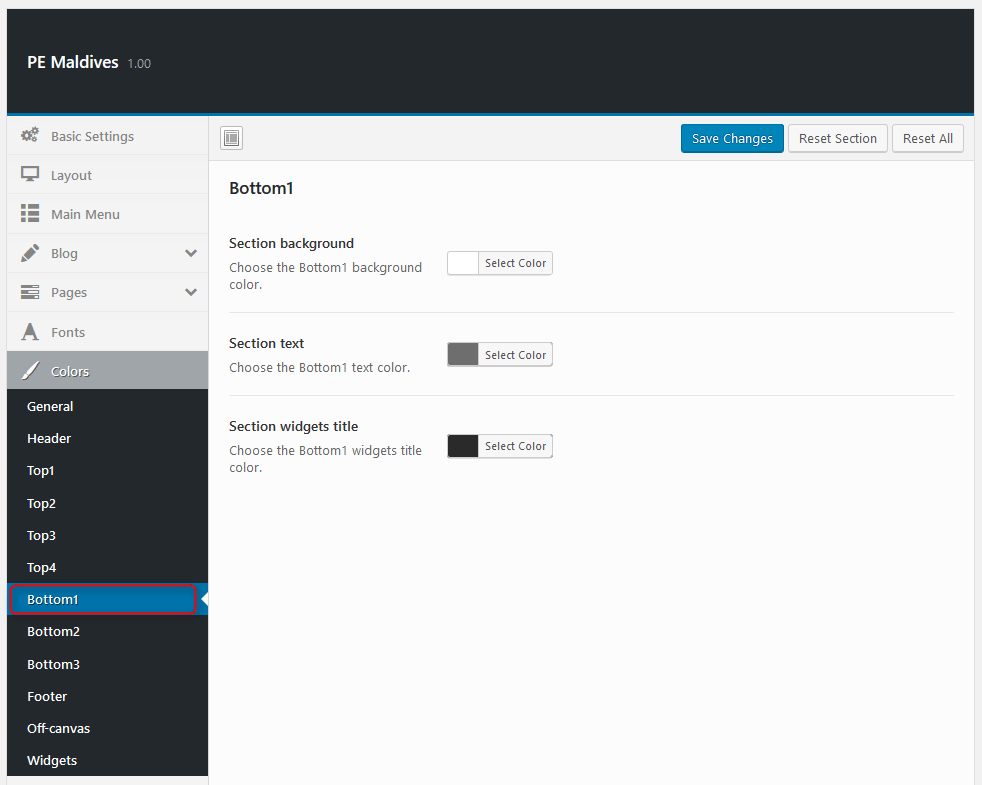
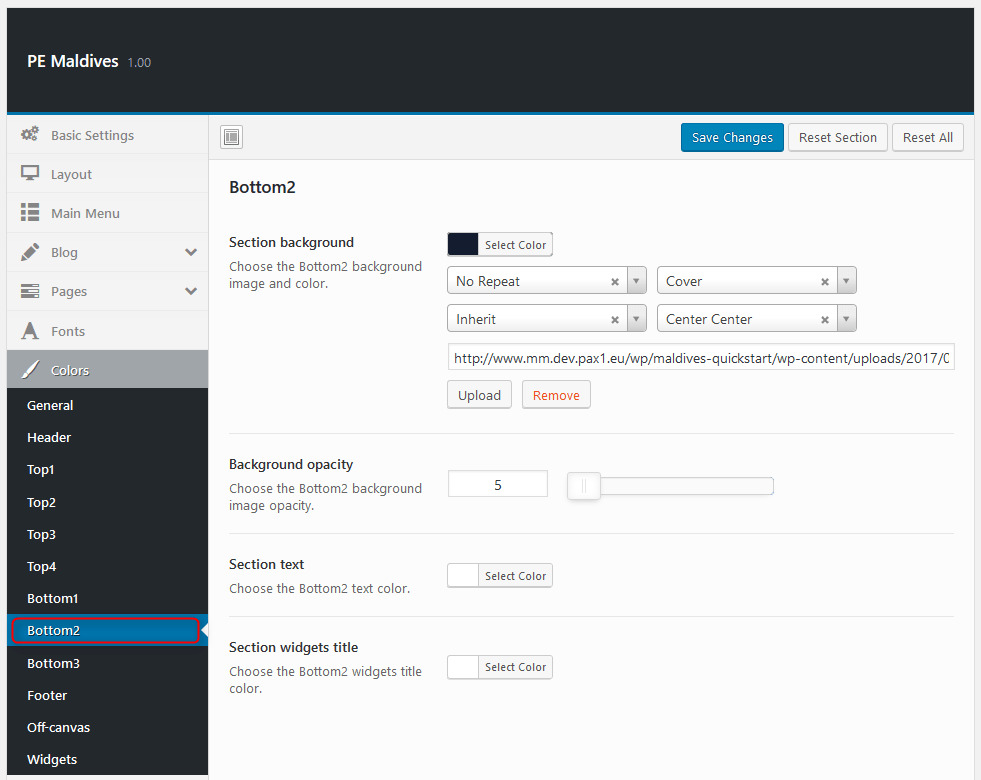
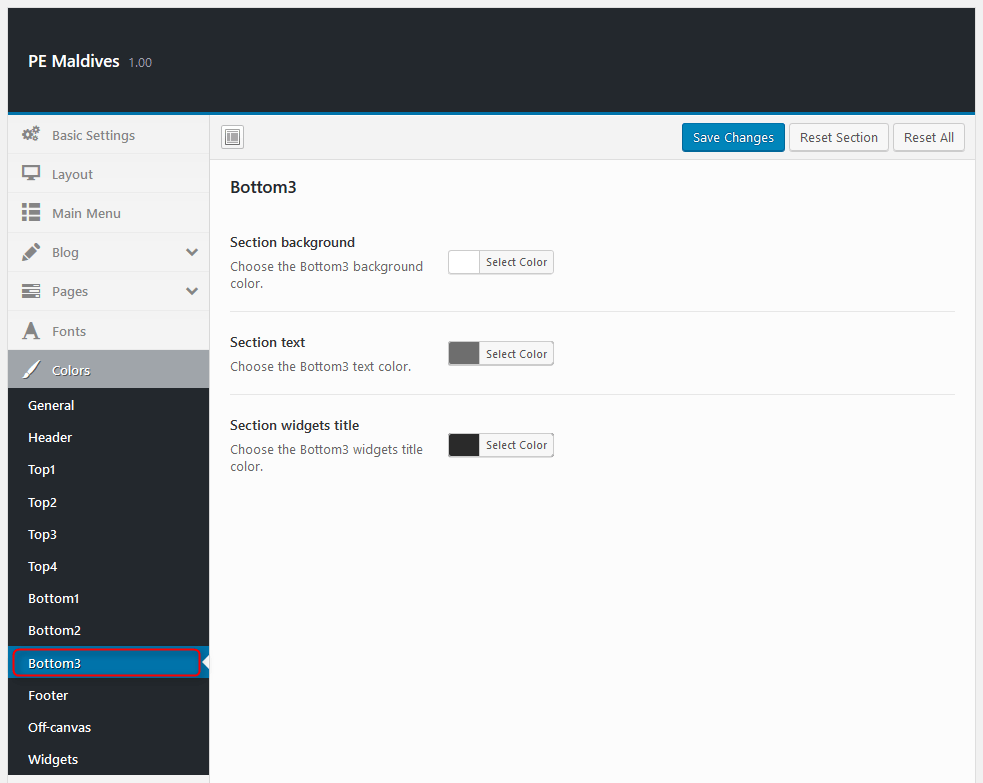
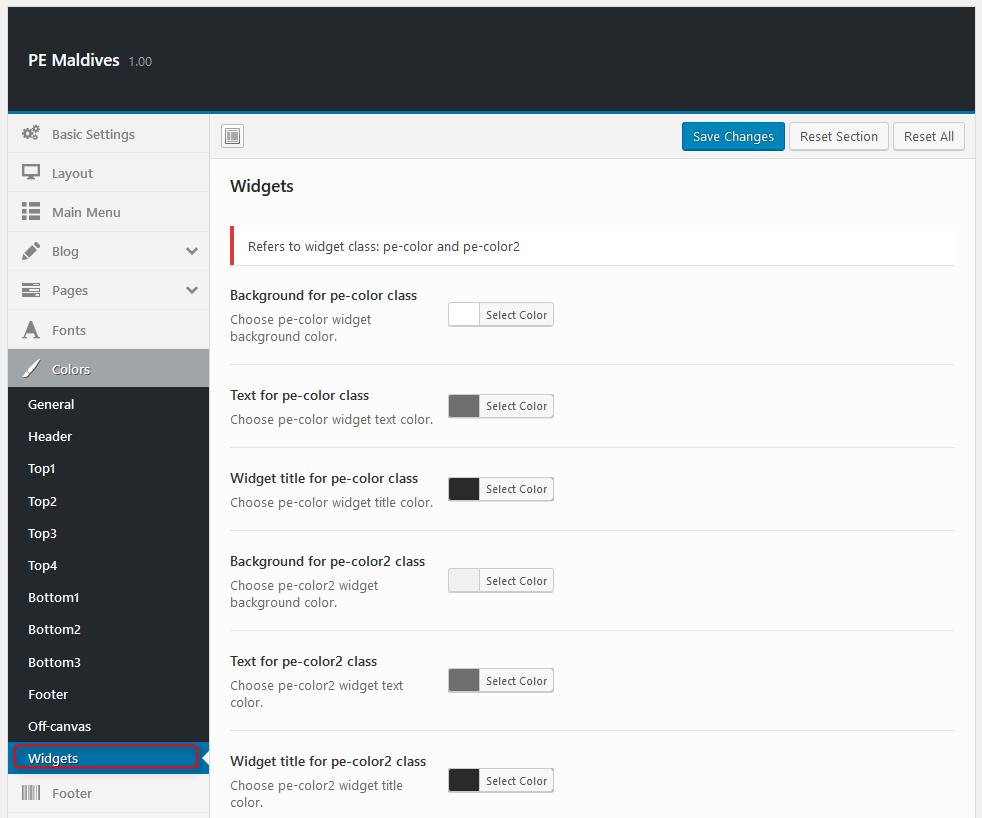
To setup Colors, navigate to Appearance > Theme Options and click on Colors tab.
General:
Header:

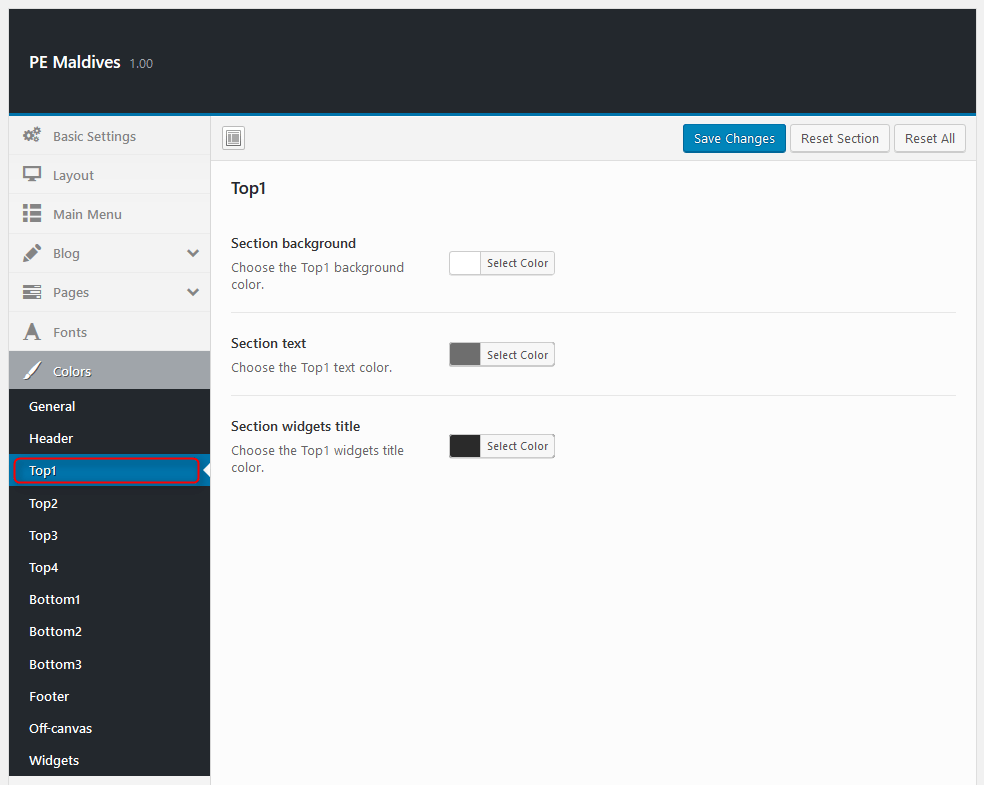
Top1:
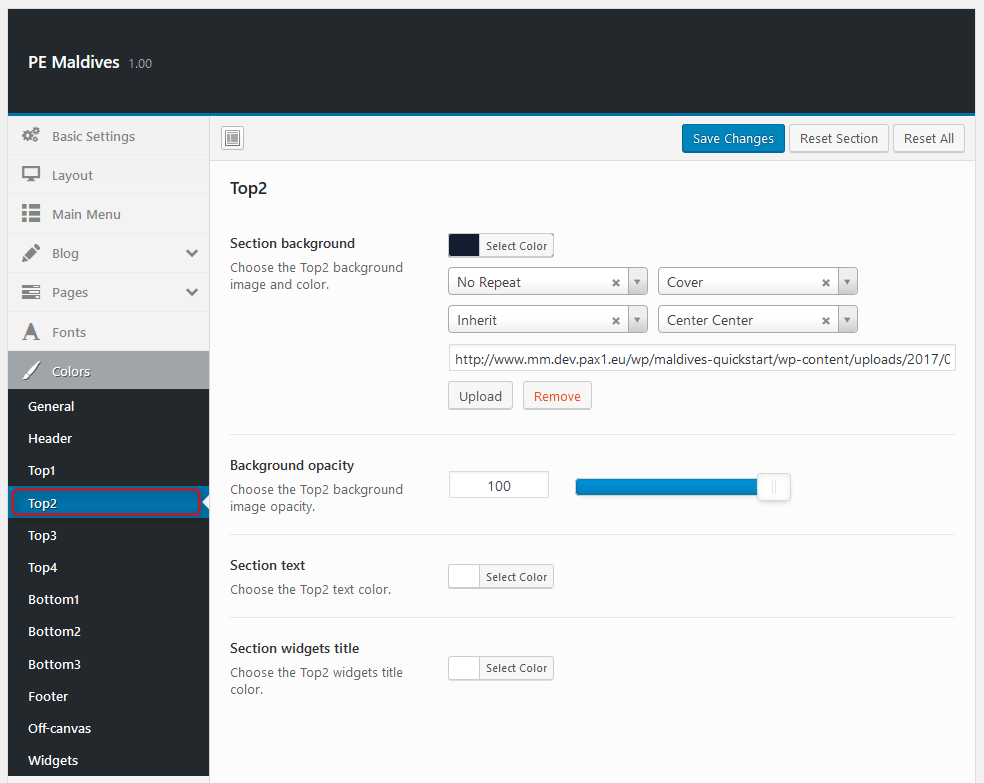
Top2:
Top3:

Top4:

Bottom1:
Bottom2:
Bottom3:
Footer:

Off-canvas:

Widgets:
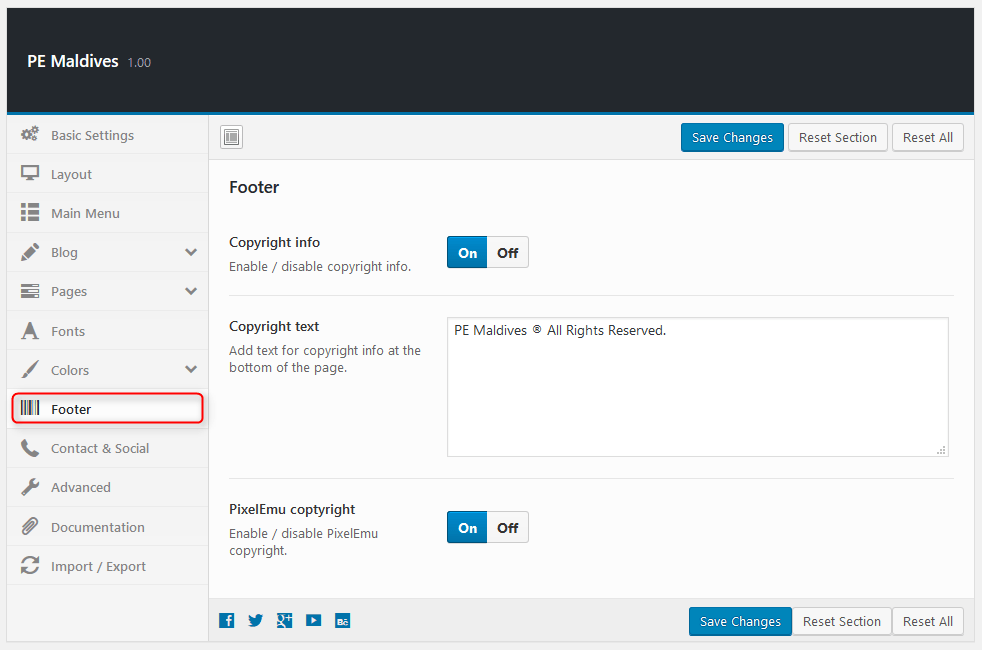
8. Footer
To setup Footer, navigate to Appearance > Theme Options and click on Footer tab.
9. Contact
To setup Contact, navigate to Appearance > Theme Options and click on Contact tab.

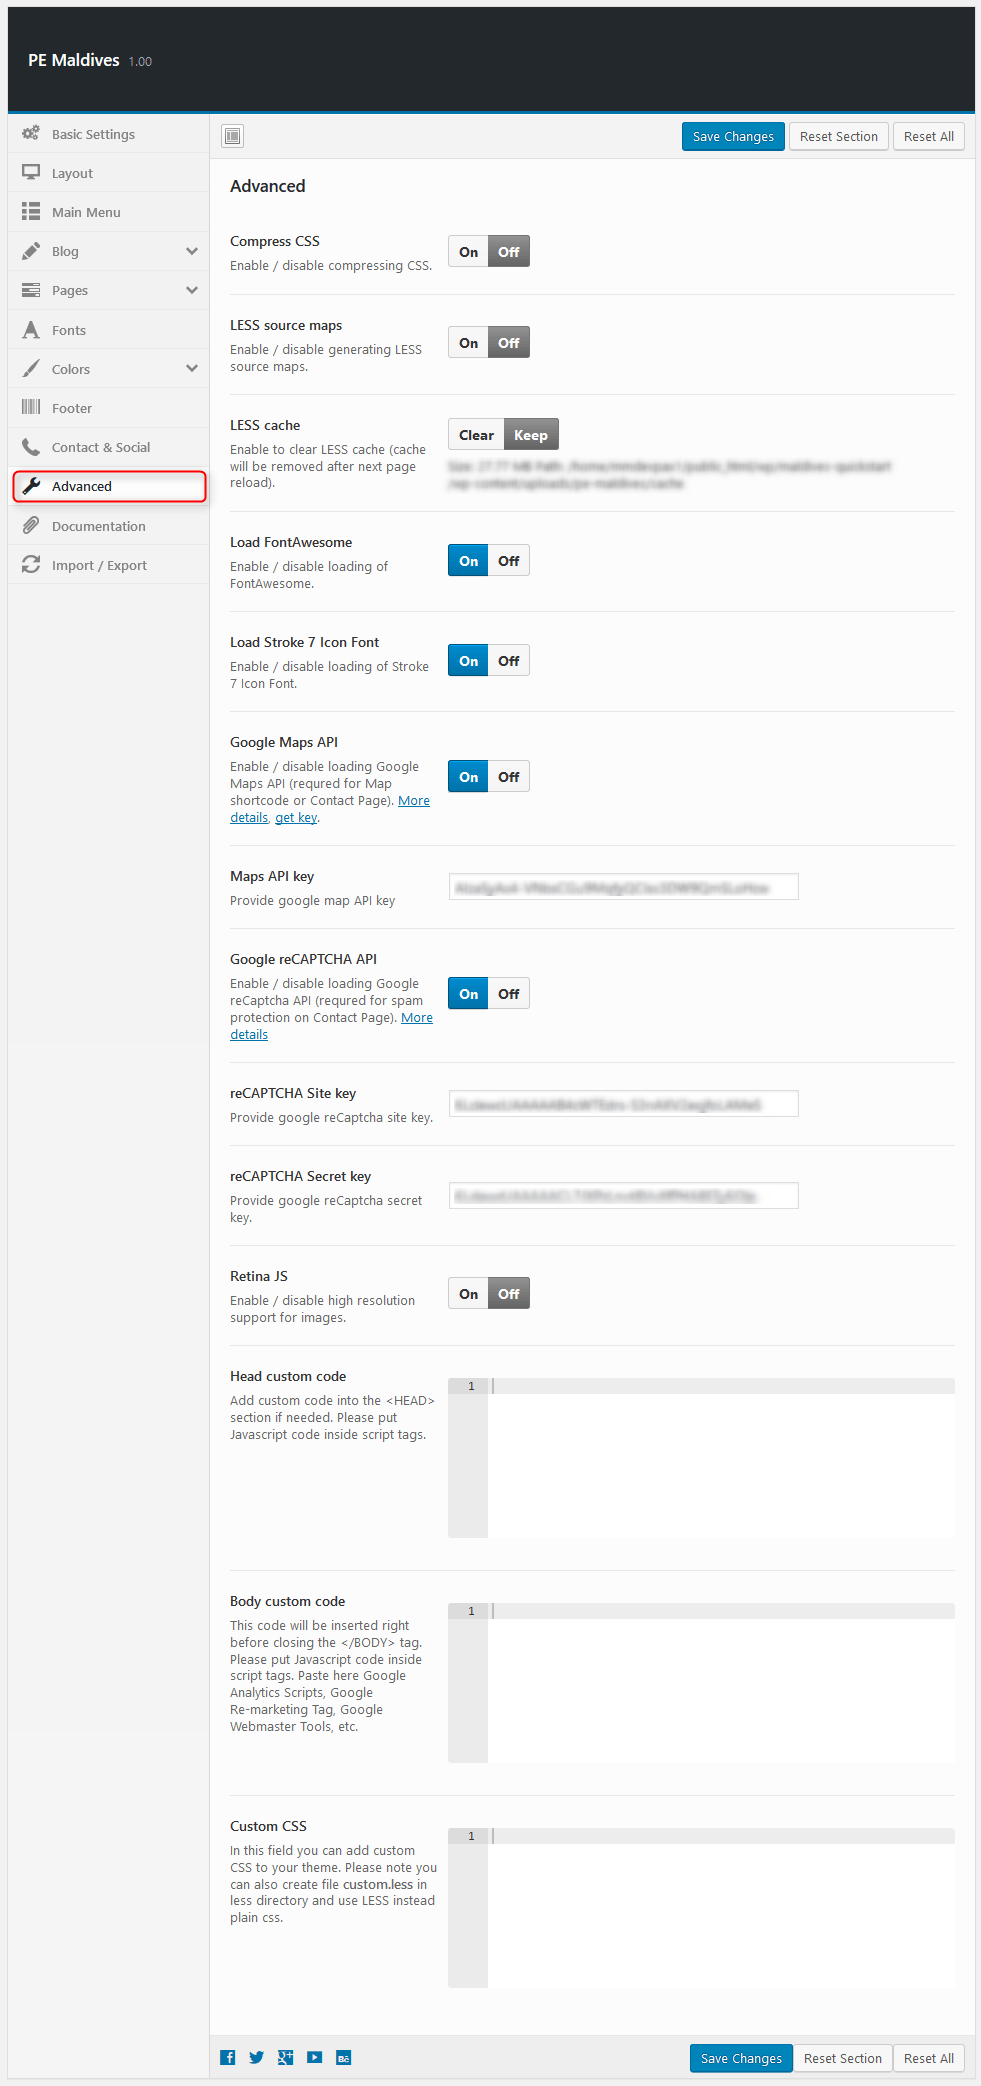
10. Advanced
To setup Advanced, navigate to Appearance > Theme Options and click on Advanced tab.
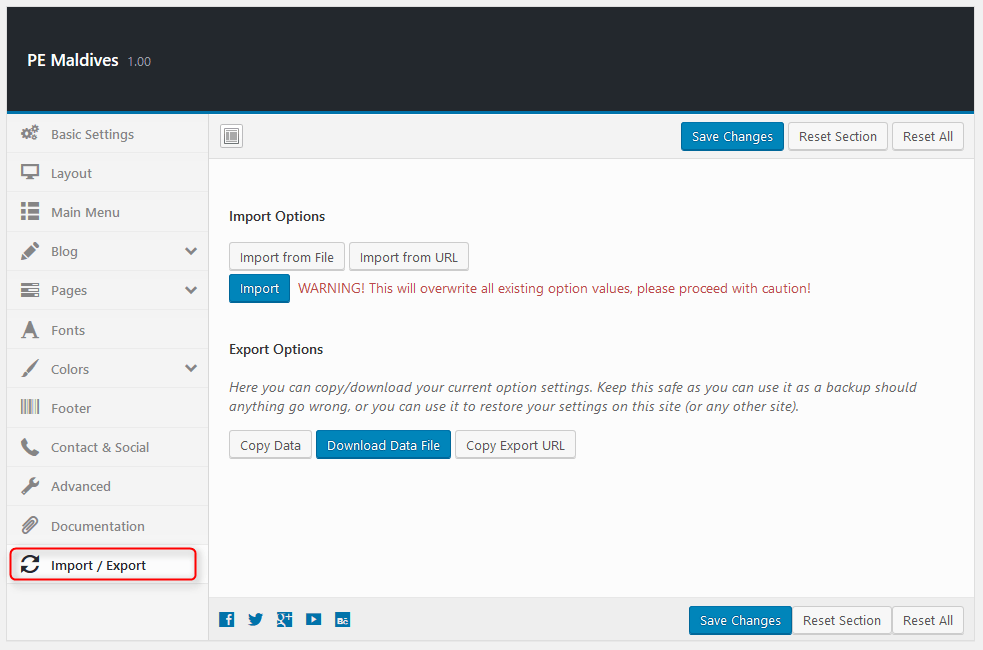
11. Import / Export
To setup Import / Export, navigate to Appearance > Theme Options and click on Import / Export tab.
You will find theme settings in files:
- / Theme Options / (version) / options.json
C. PAGES
1. Configure Contact Page
2. Configure FAQ page
3. Configure Left-Content-Right page
4. Configure Left-Right-Content page
5. Configure Left-Content page
6. Configure Content-Left-Right page
7. Configure Content-Right page
8. Configure Full Width Content page
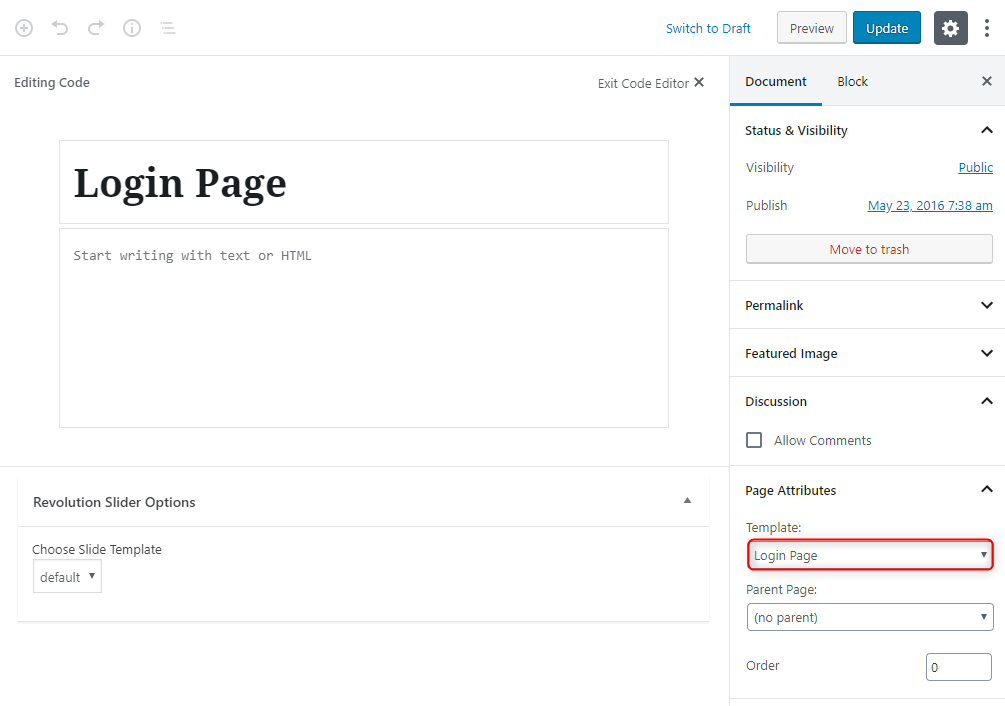
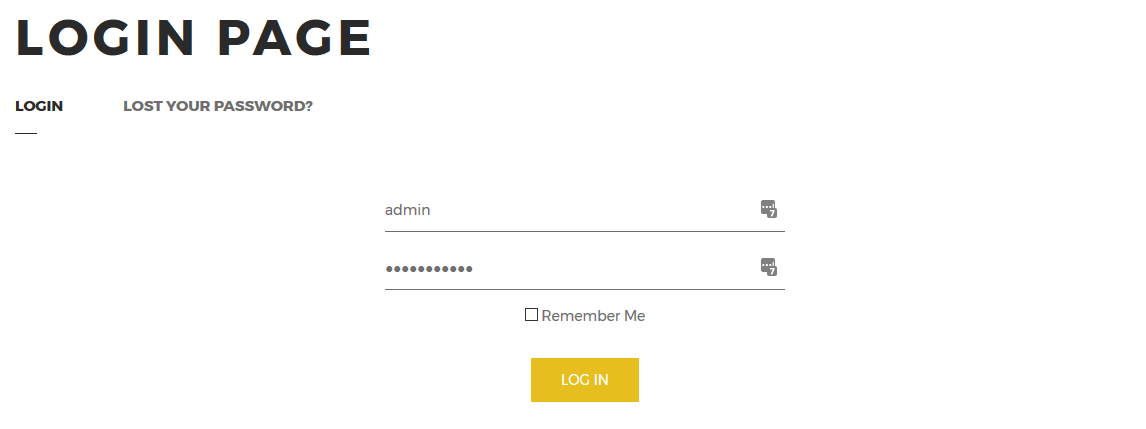
9. Configure Login Page
This page displays login page. To create that page go to Pages > Add New. Now select template Login Page and click Update/Publish.
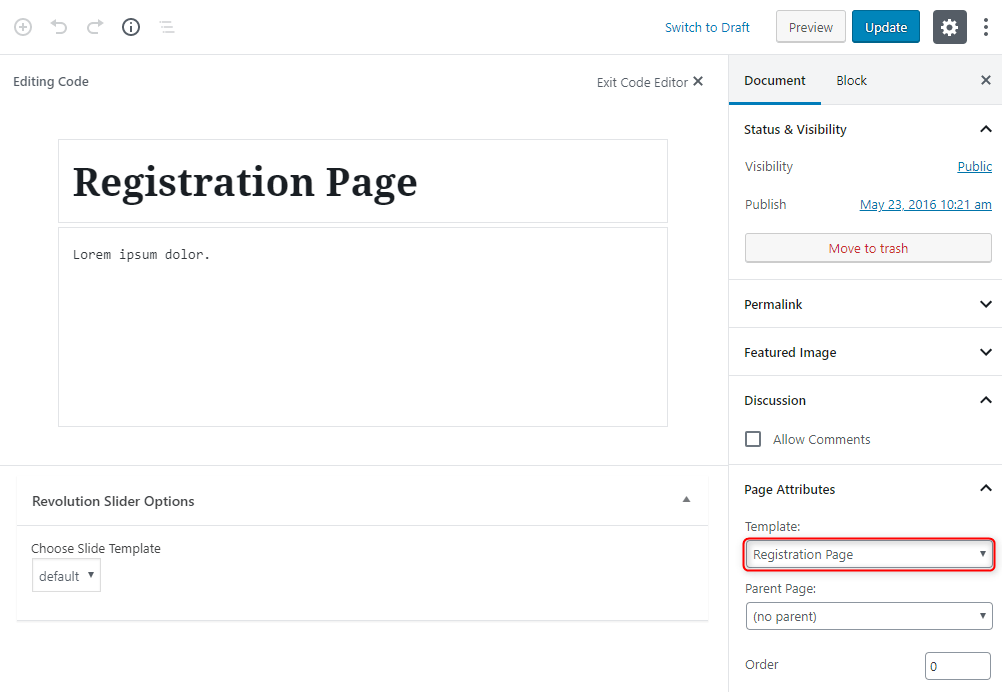
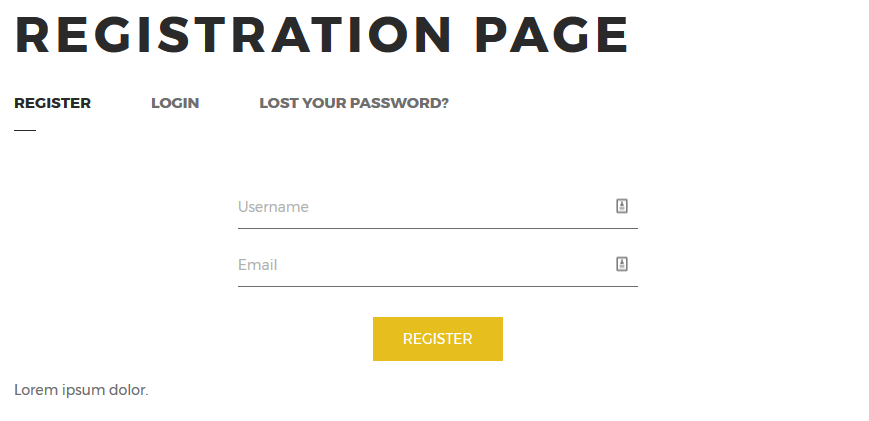
10. Configure Registration Page
This page displays registration page. To create that page go to Pages > Add New. Now select template Registration Page and click Update/Publish.
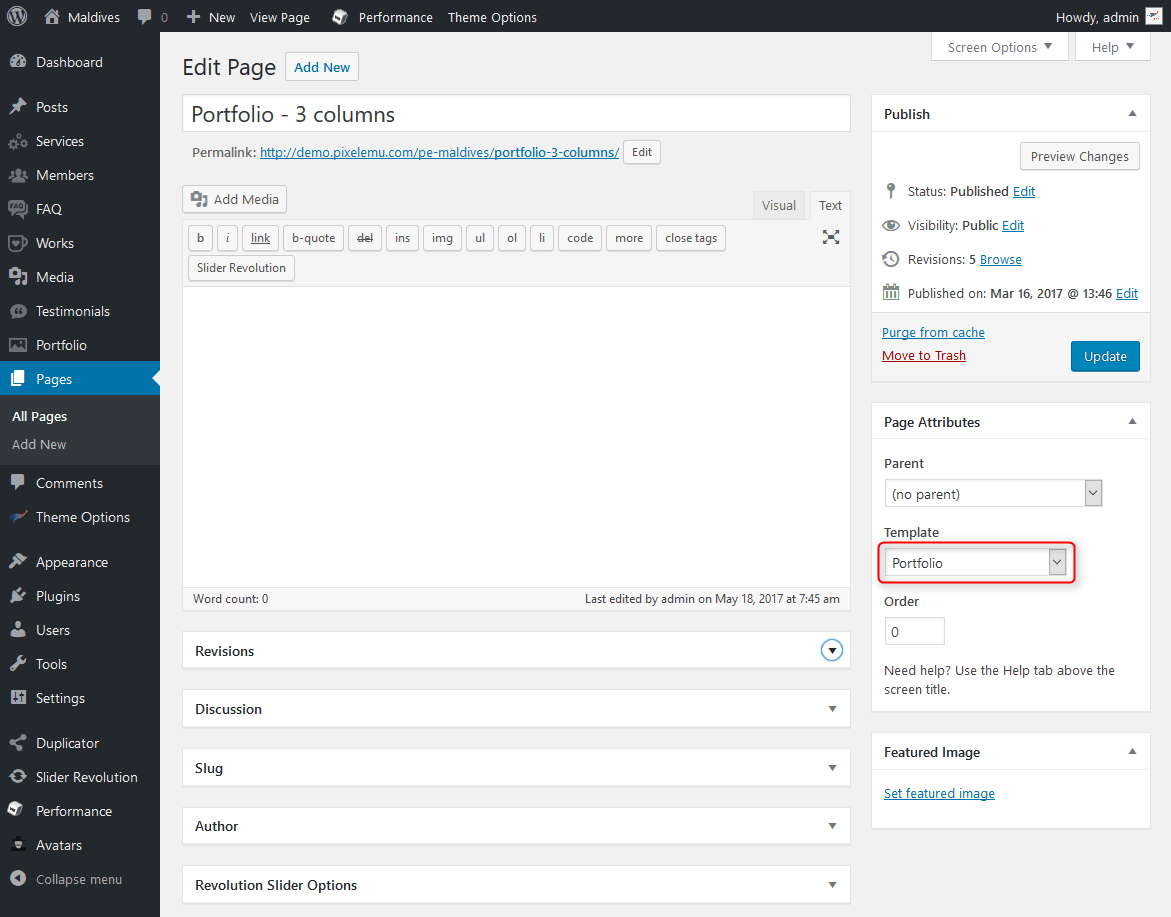
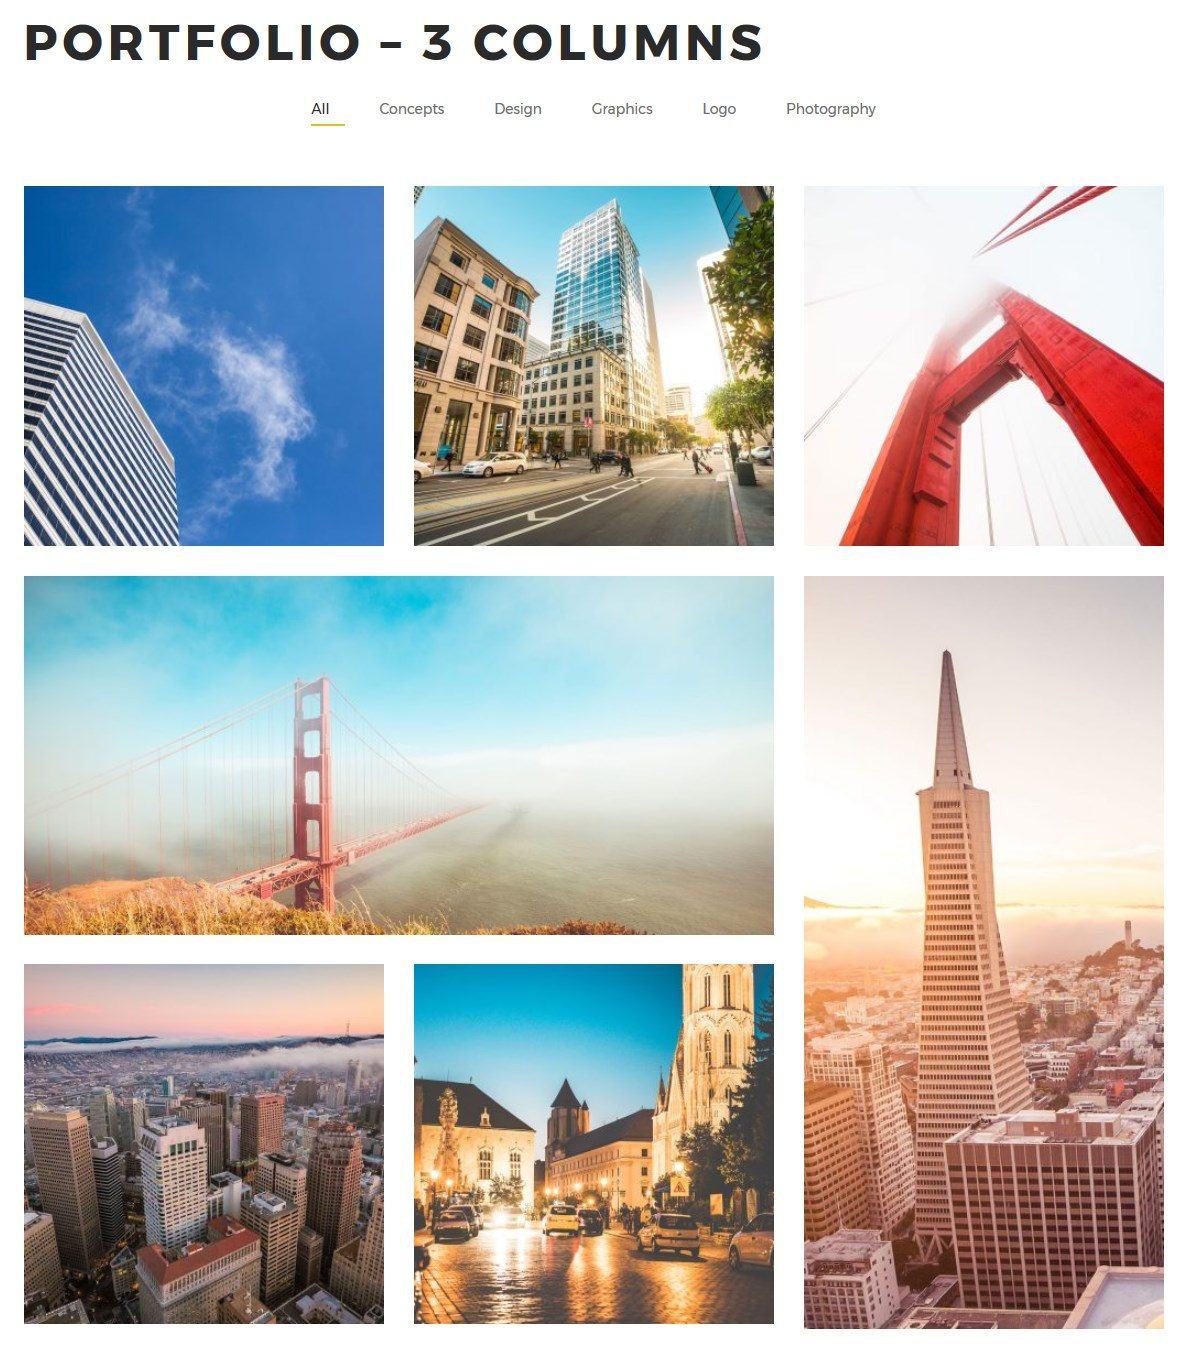
11. Configure Portfolio Page
This page displays portfolio page. To create that page go to Pages > Add New. Now select template Portfolio and click Update/Publish.
D. PLUGINS & WIDGETS
1. Display Widgets SEO Plus
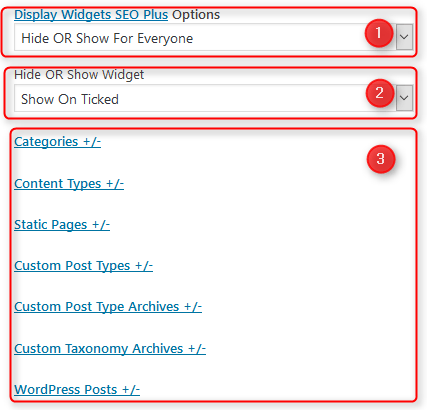
Very useful plugin that allow you to show/hide widgets on certain pages. These options are displayed on the bottom of all widgets.
You can choose:
- Display widget for everyone, only logged-in or only logged-out users.
- Show or hide widget on pages selected below.
- Pages to show/hide widget.
2. WP User Avatar
3. Revolution Slider
4. PE Social
Built-in widget which allows you to display social icons.


On demo page widget is visible in 'social' sidebar.
We have also a video tutorial on how to configure the PE Social widget:
5. PE Contact
Built-in widget which allows you to display contact form and Google Map.
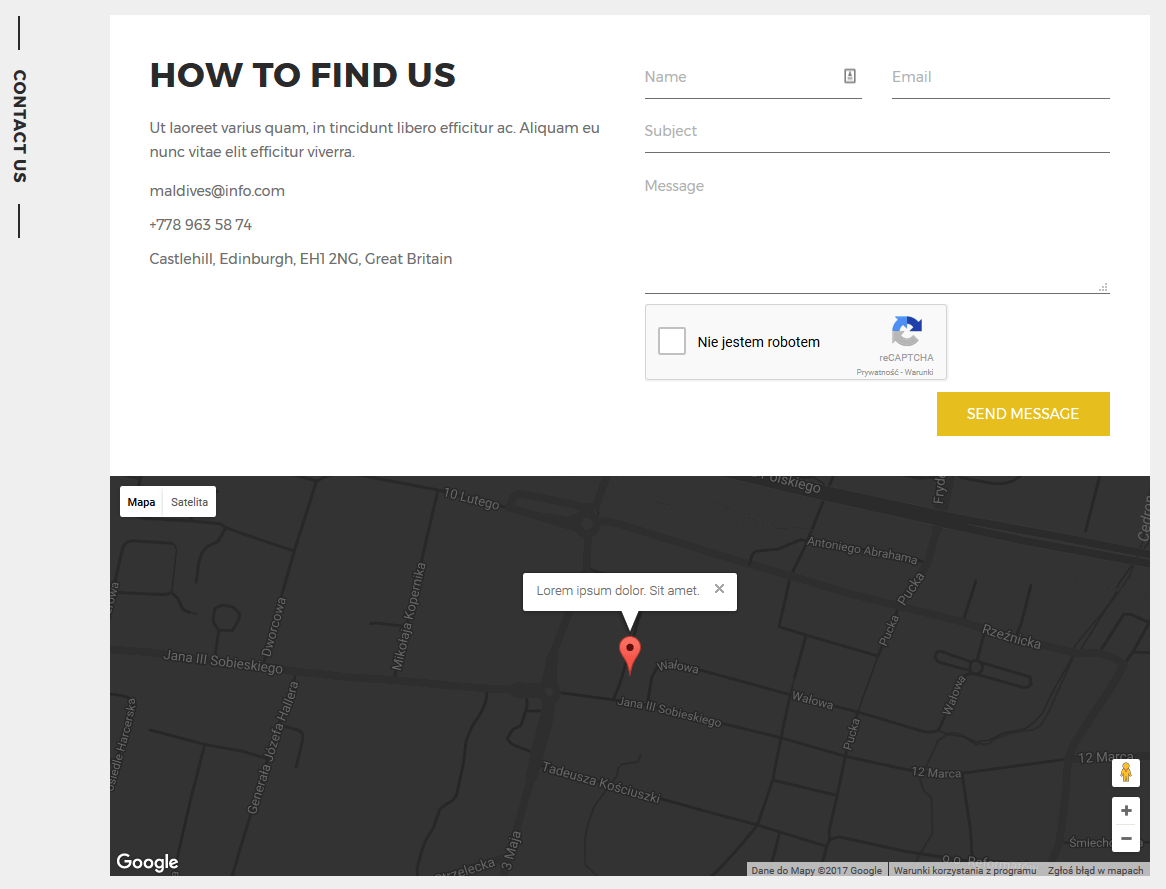
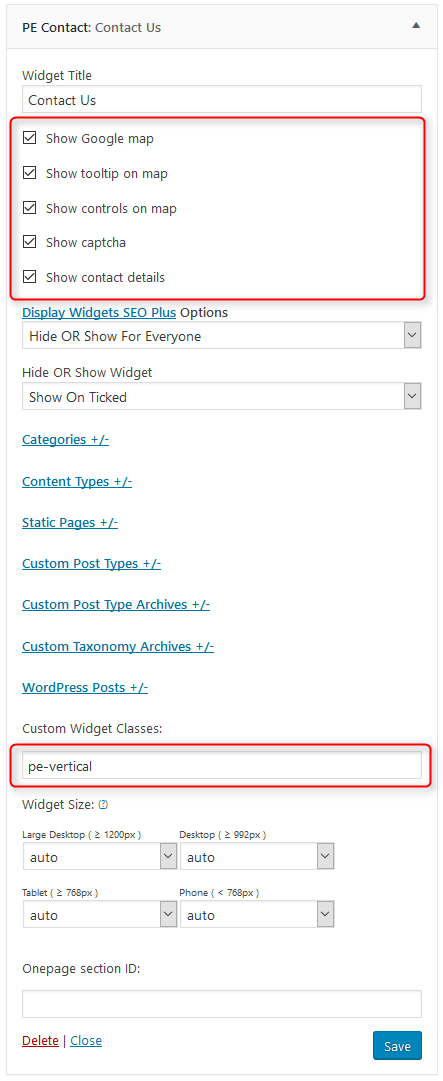
You can set email recipients, map location and other settings in Theme Options > Contact tab:
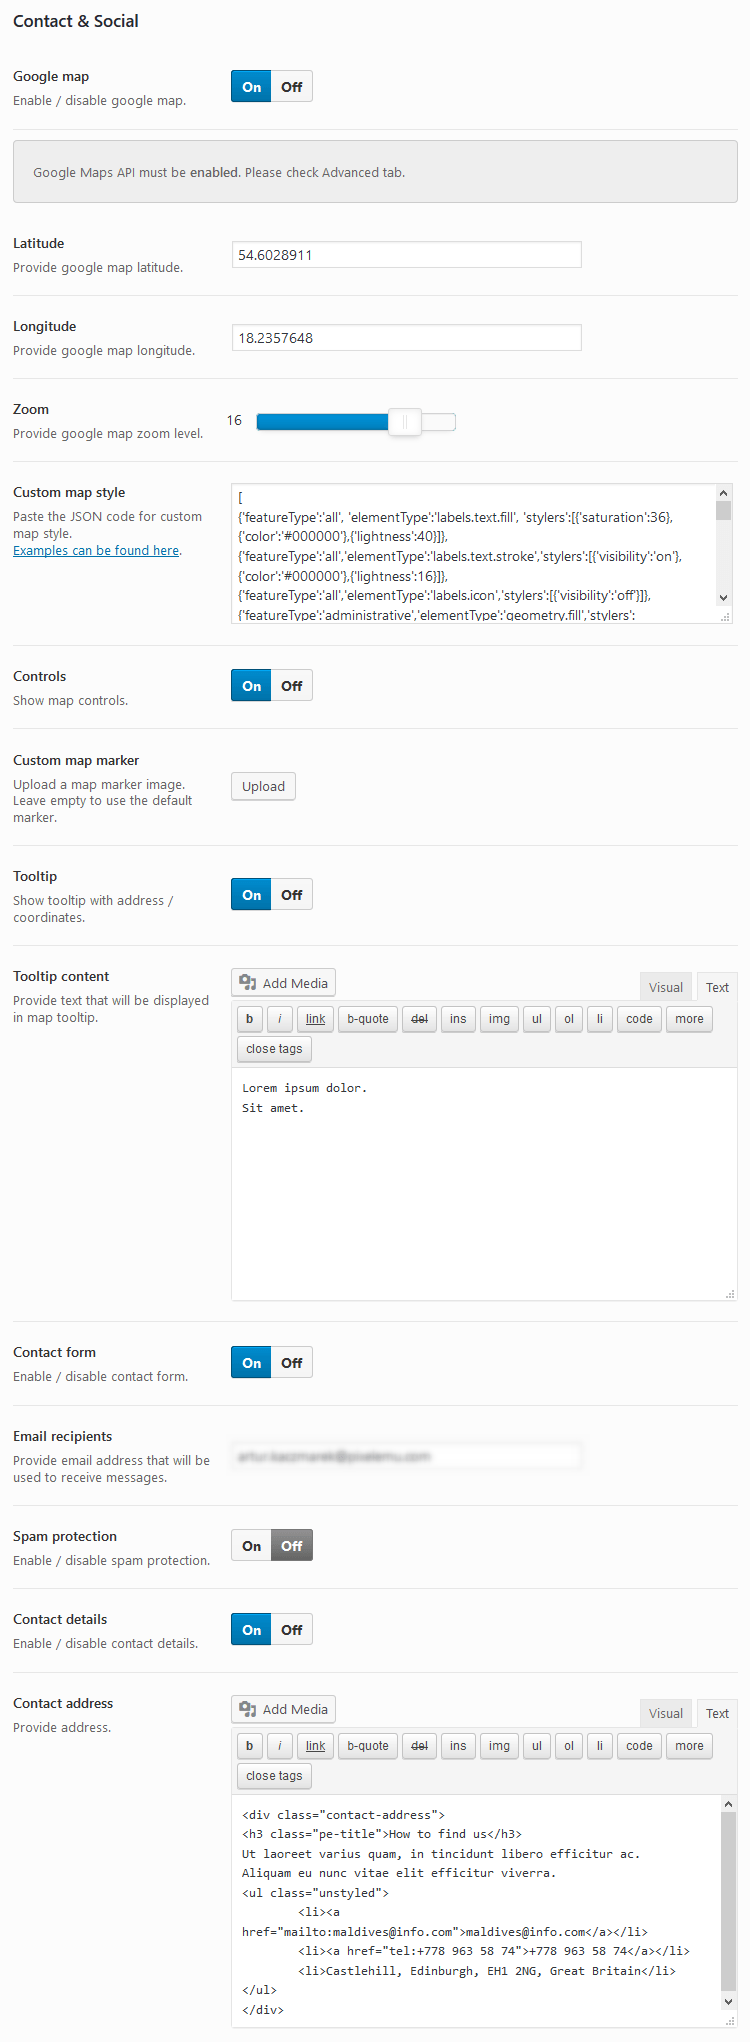
We use custom style for our map. The code which you need to put into the "Custom map style" field in Theme Options > Contact tab:
[
{'featureType':'all', 'elementType':'labels.text.fill', 'stylers':[{'saturation':36},{'color':'#000000'},{'lightness':40}]},
{'featureType':'all','elementType':'labels.text.stroke','stylers':[{'visibility':'on'},{'color':'#000000'},{'lightness':16}]},
{'featureType':'all','elementType':'labels.icon','stylers':[{'visibility':'off'}]},
{'featureType':'administrative','elementType':'geometry.fill','stylers':[{'color':'#000000'},{'lightness':20}]},
{'featureType':'administrative','elementType':'geometry.stroke','stylers':[{'color':'#000000'},{'lightness':17},{'weight':1.2}]},
{'featureType':'landscape','elementType':'geometry','stylers':[{'color':'#000000'},{'lightness':20}]},
{'featureType':'poi','elementType':'geometry','stylers':[{'color':'#000000'},{'lightness':21}]},
{'featureType':'road.highway','elementType':'geometry.fill','stylers':[{'color':'#000000'},{'lightness':17}]},
{'featureType':'road.highway','elementType':'geometry.stroke','stylers':[{'color':'#000000'},{'lightness':29},{'weight':0.2}]},
{'featureType':'road.arterial','elementType':'geometry','stylers':[{'color':'#000000'},{'lightness':18}]},
{'featureType':'road.local','elementType':'geometry','stylers':[{'color':'#000000'},{'lightness':16}]},
{'featureType':'transit','elementType':'geometry','stylers':[{'color':'#000000'},{'lightness':19}]},
{'featureType':'water','elementType':'geometry','stylers':[{'color':'#000000'},{'lightness':17}]}
]
On demo page widget is visible in 'footer' sidebar.
6. PE Members
Built-in widget which allows you to display members (member post type).

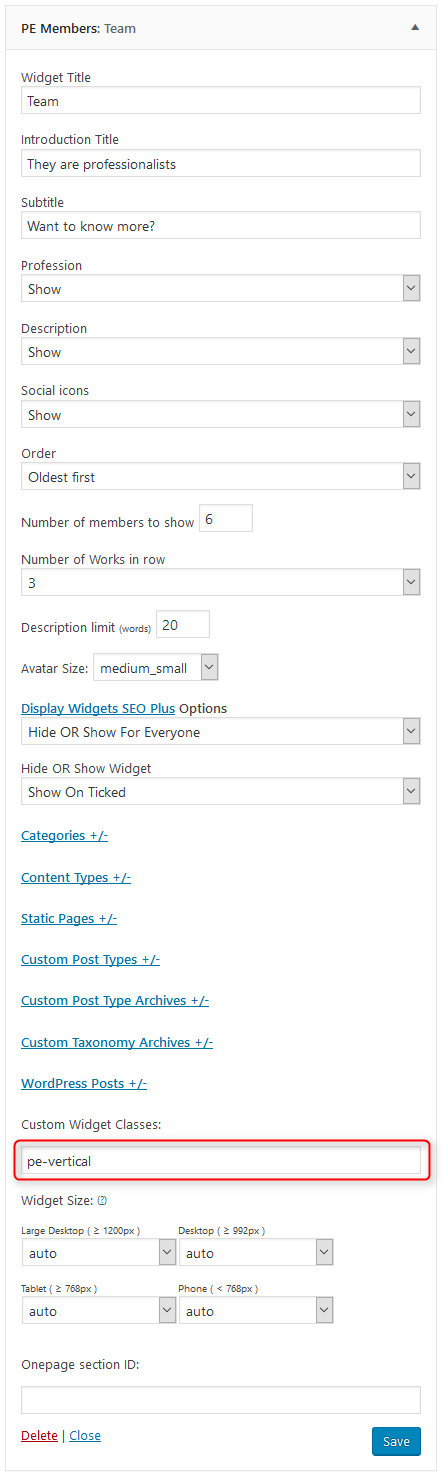
On demo page widget is visible in 'bottom1' sidebar.
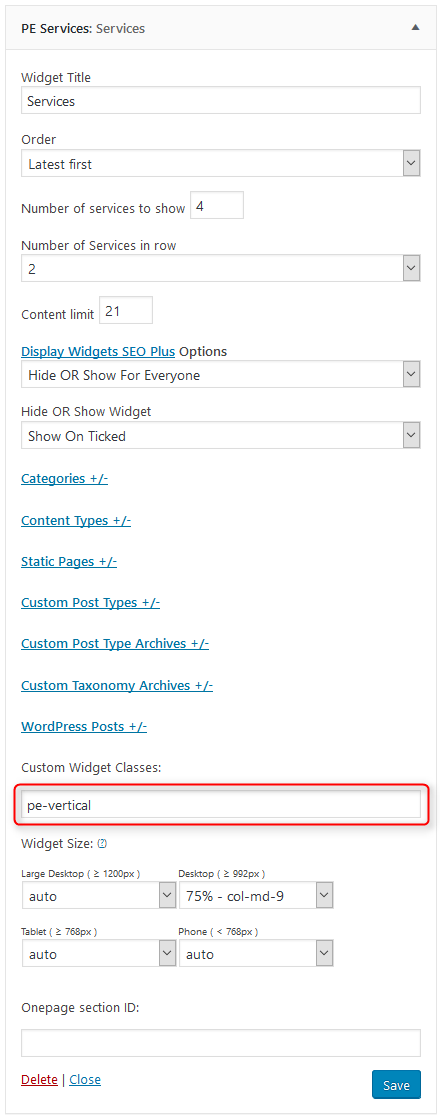
7. PE Services
Built-in widget which allows you to display services (service post type).
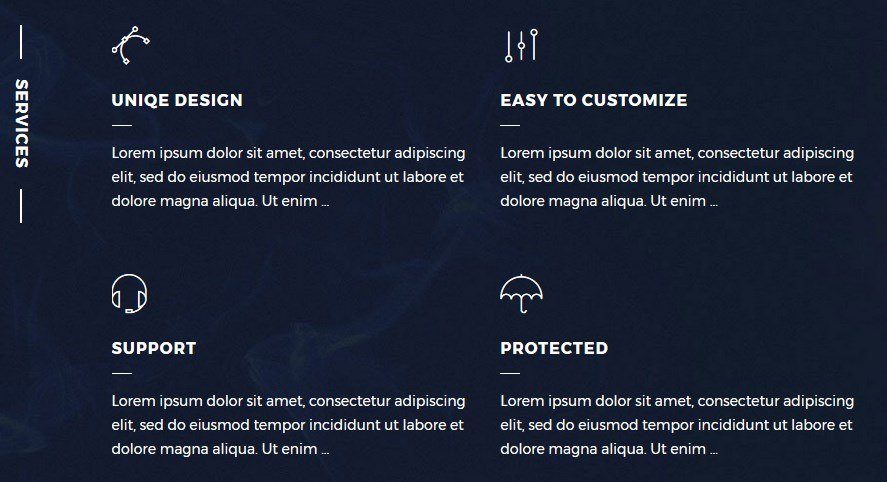
On demo page widget is visible in 'top2' sidebar.
8. PE Works
Built-in widget which allows you to display works (work post type).
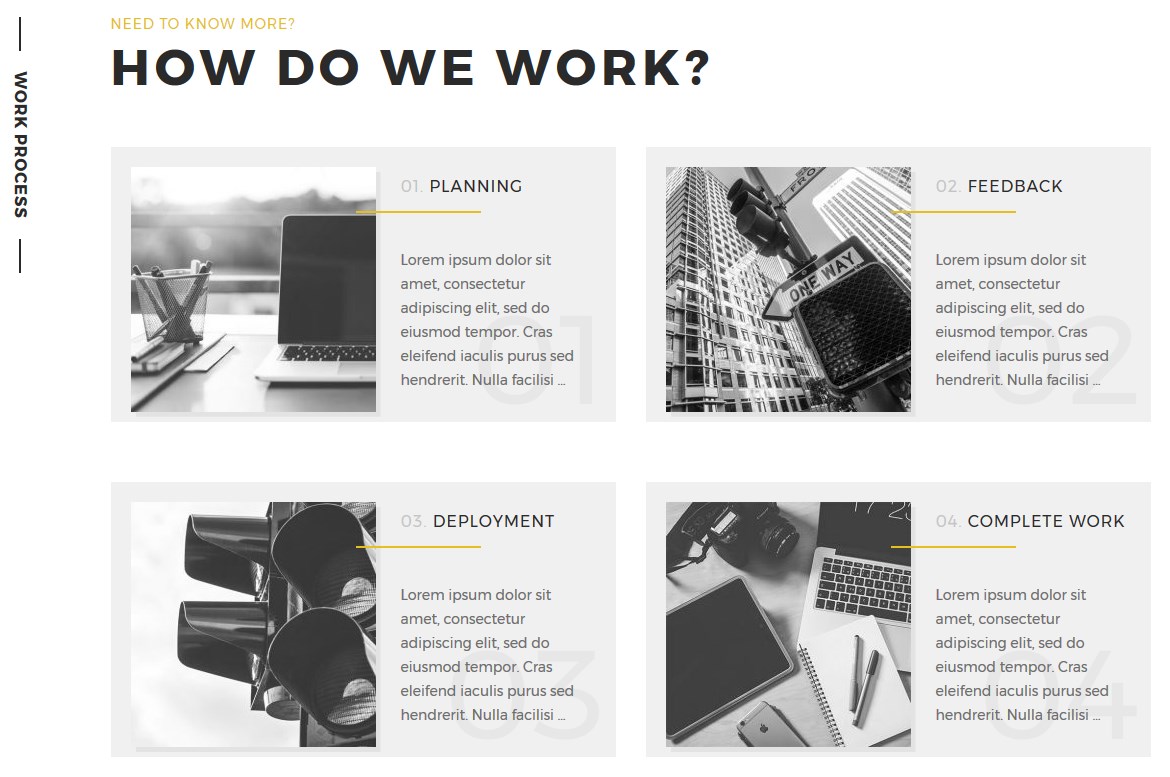
On demo page widget is visible in 'top3' sidebar.
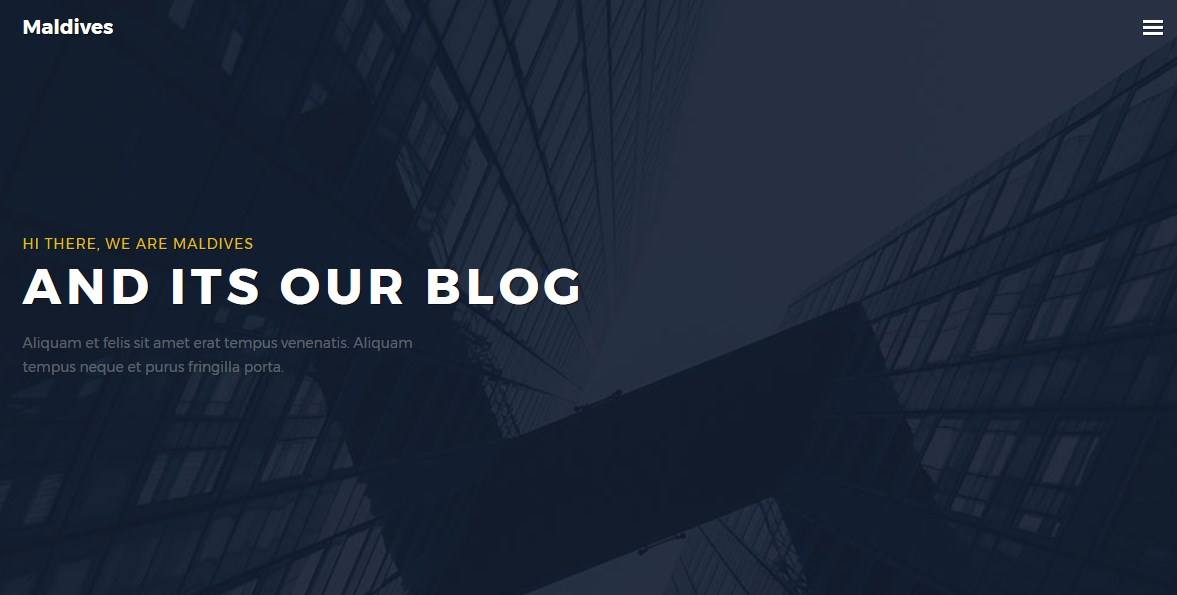
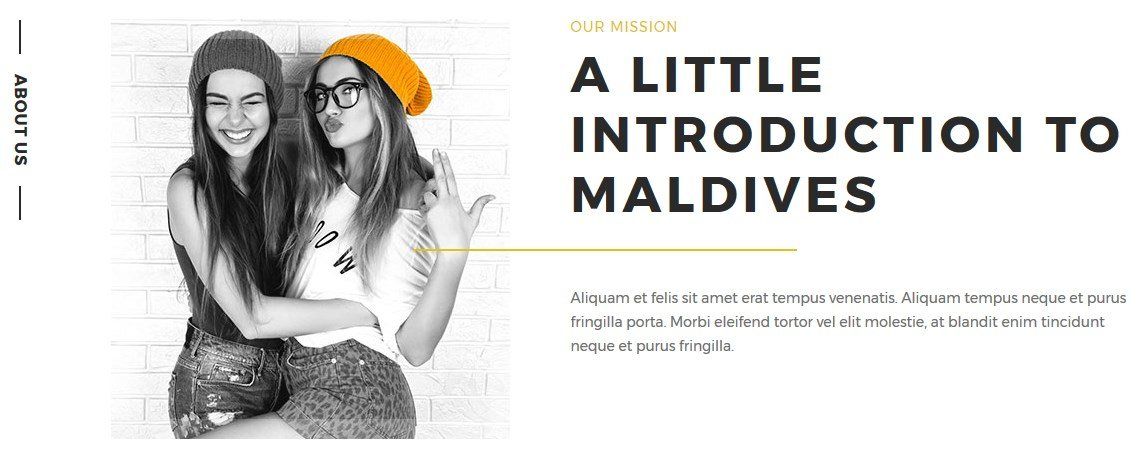
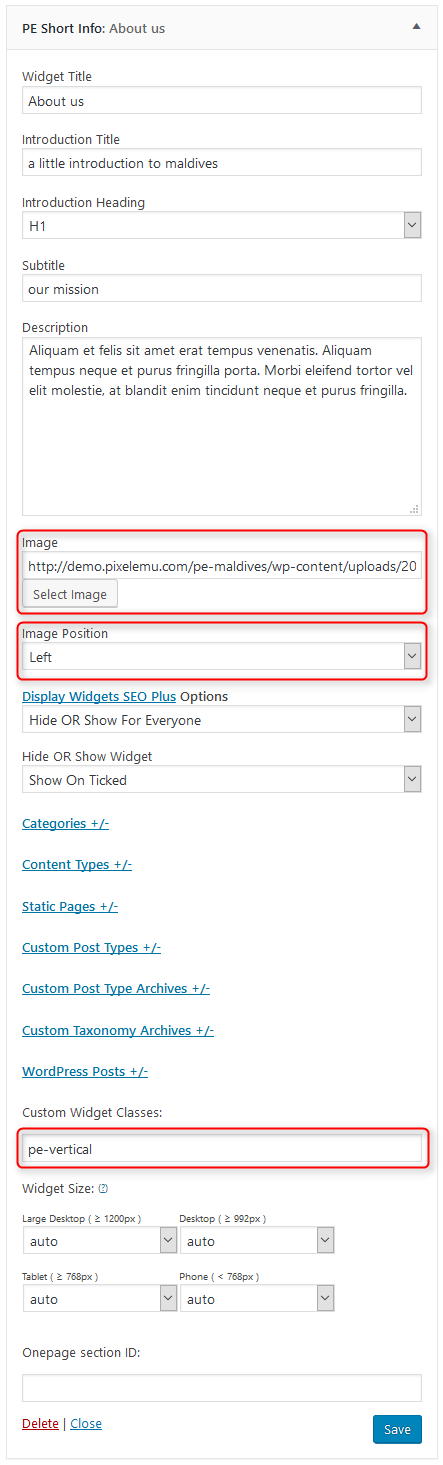
9. PE Short Info
Built-in widget which allows you to display short information.
We display the widget in "header" sidebar to show short info about blog:

We also display the widget in "top1" sidebar to show short info "about us":
10. PE Portfolio
Built-in widget which allows you to display portfolio (portfolio post type).
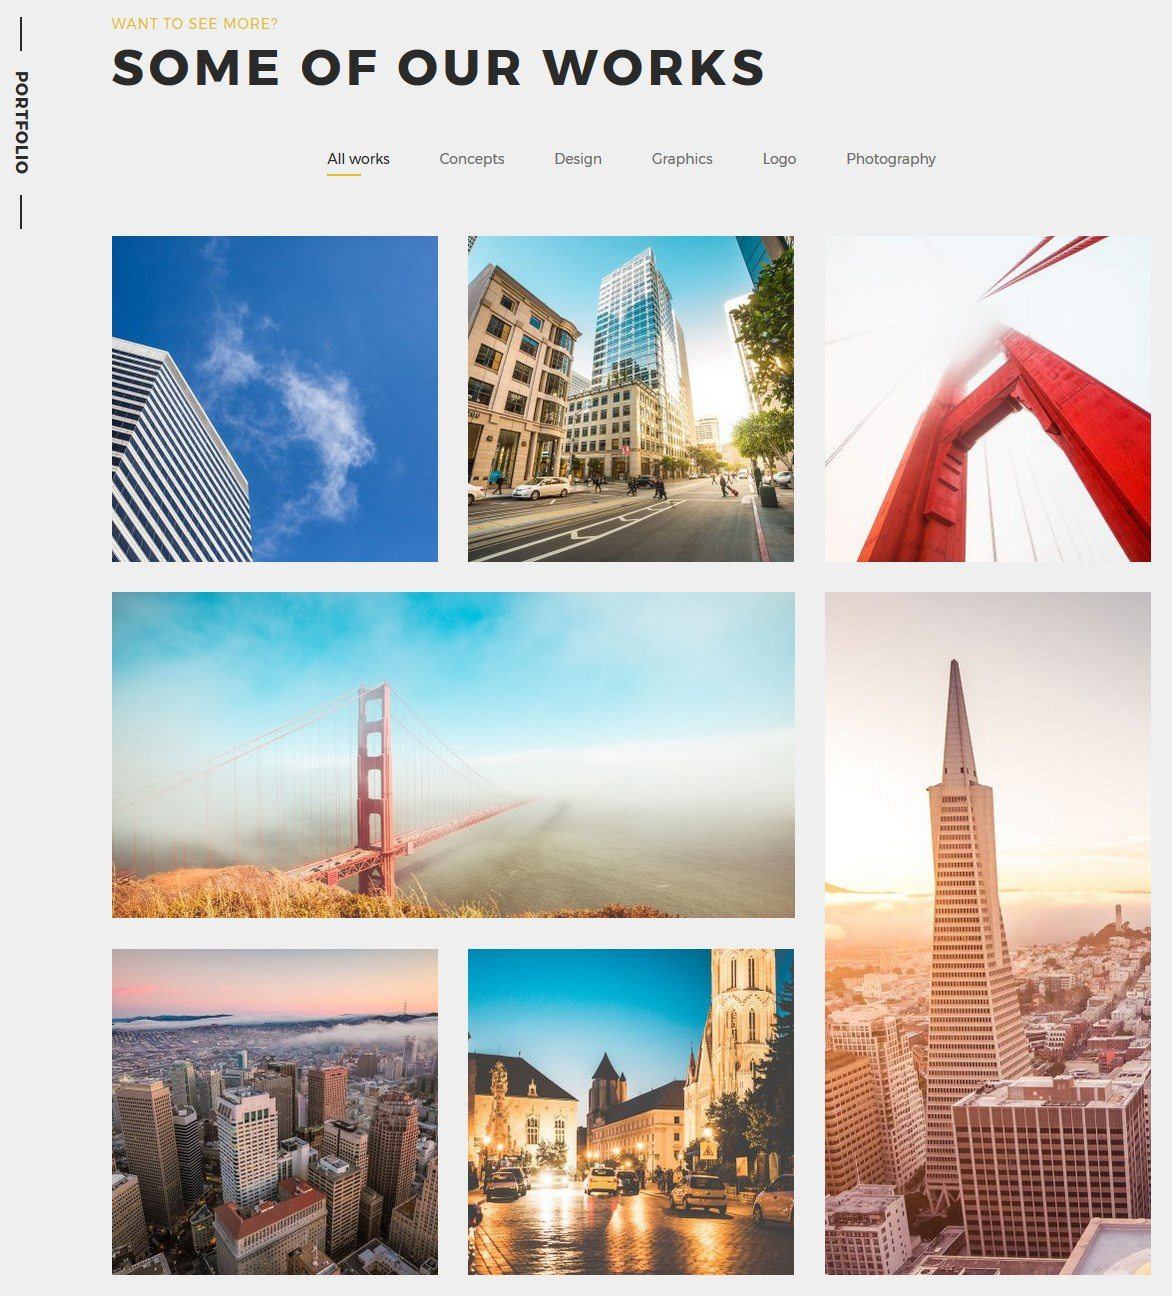
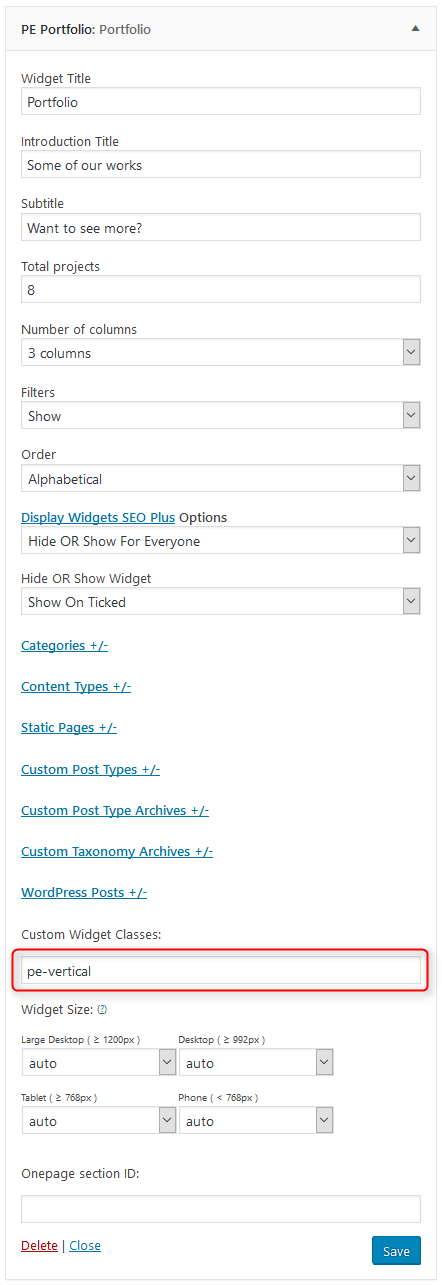
On demo page widget is visible in 'top4' sidebar.
11. PE Testimonial Carousel
Built-in widget which allows you to display testimonials (testimonial post type).

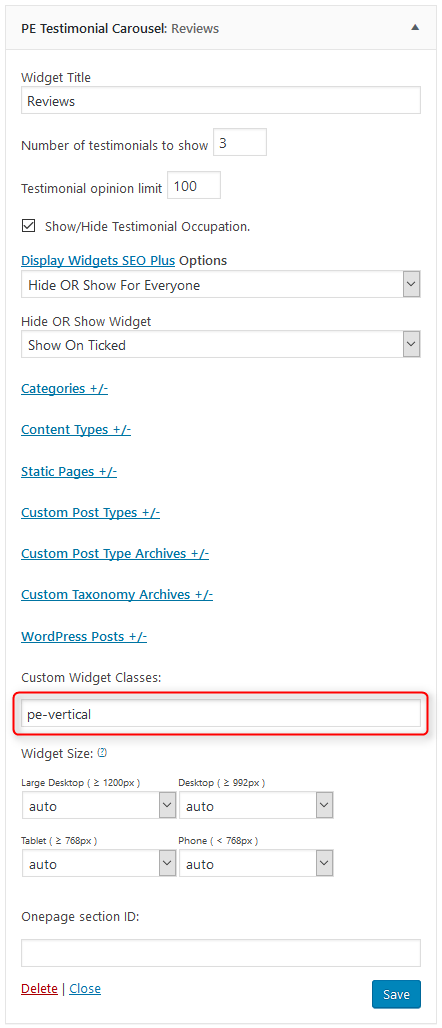
On demo page widget is visible in 'bottom2' sidebar.
12. PE Easy Slider
13. PE Recent Posts
E. ADDING CONTENT
1. Add Post
2. Add Page
3. Add Member
Navigate to Members > Add New. Enter title (member name), description and click Publish. Optionally you can choose featured image (member avatar).
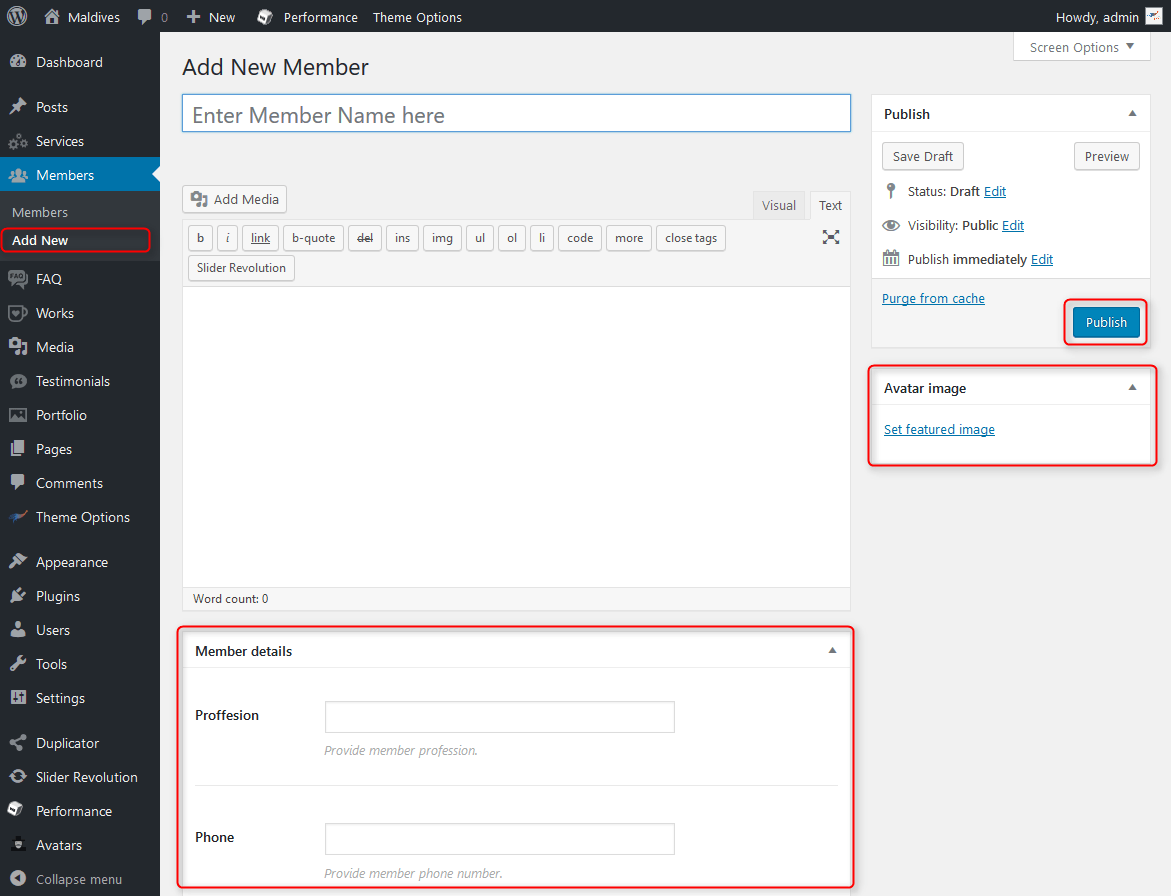
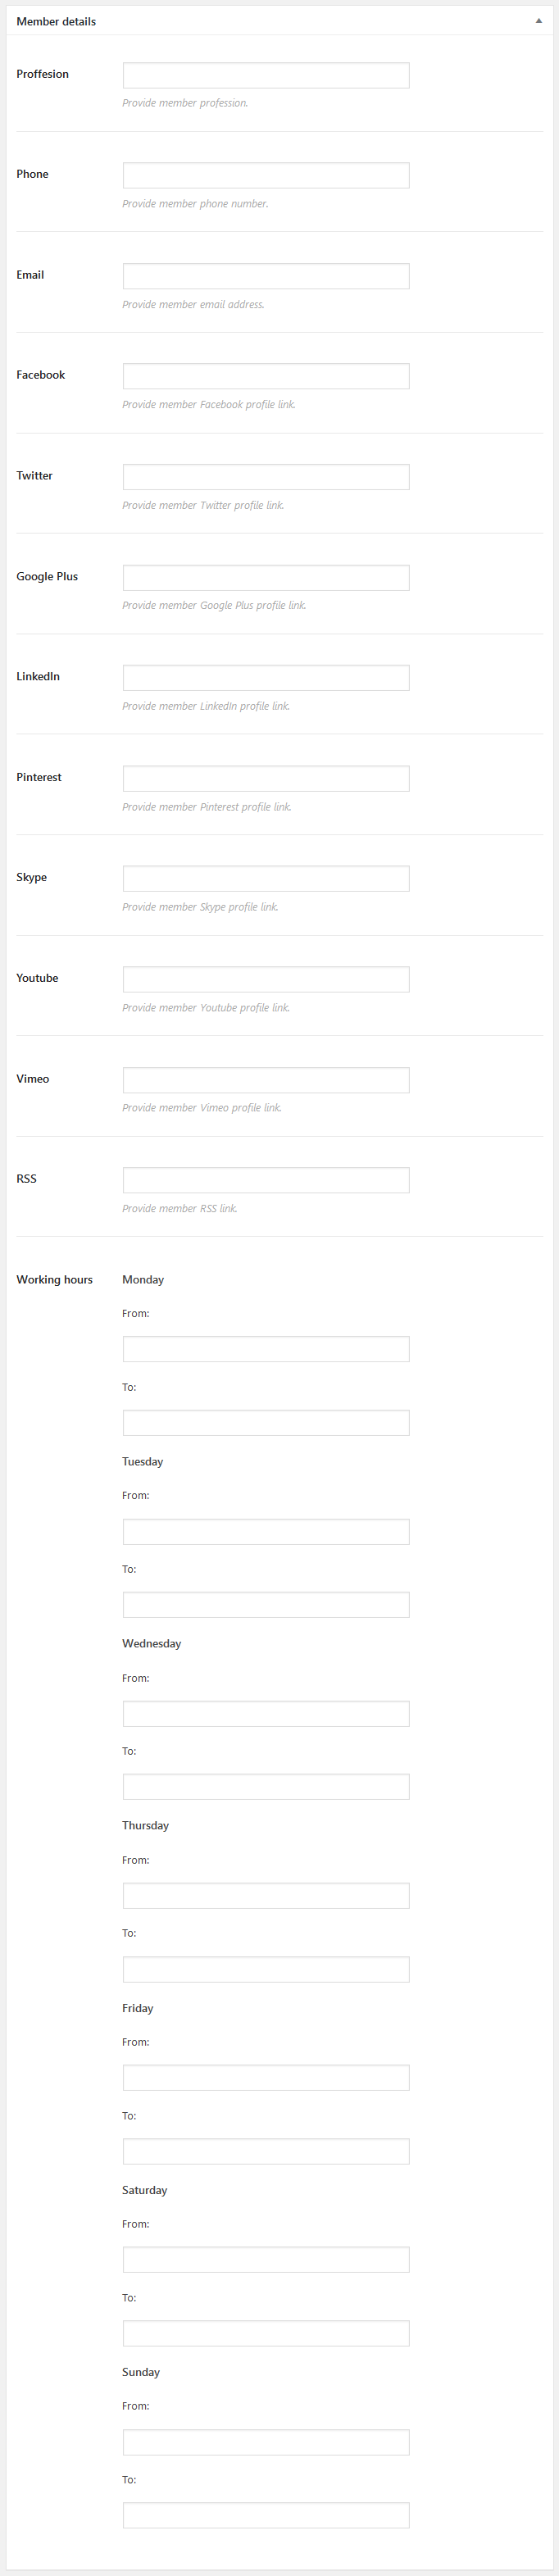
You can also provide:
- Proffesion
- Phone
- Social links
- Working hours
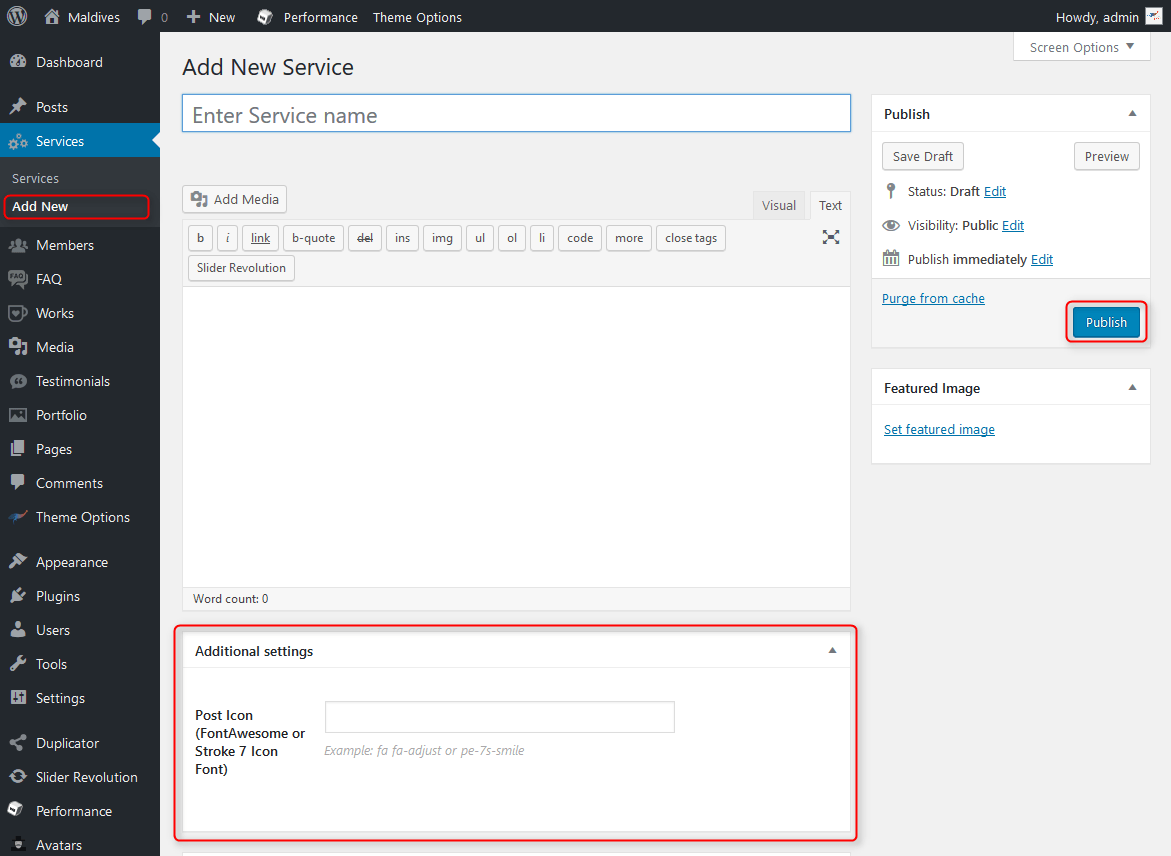
4. Add Service
Navigate to Services > Add New. Enter title (service name), description and click Publish. Optionally you can choose post icon.
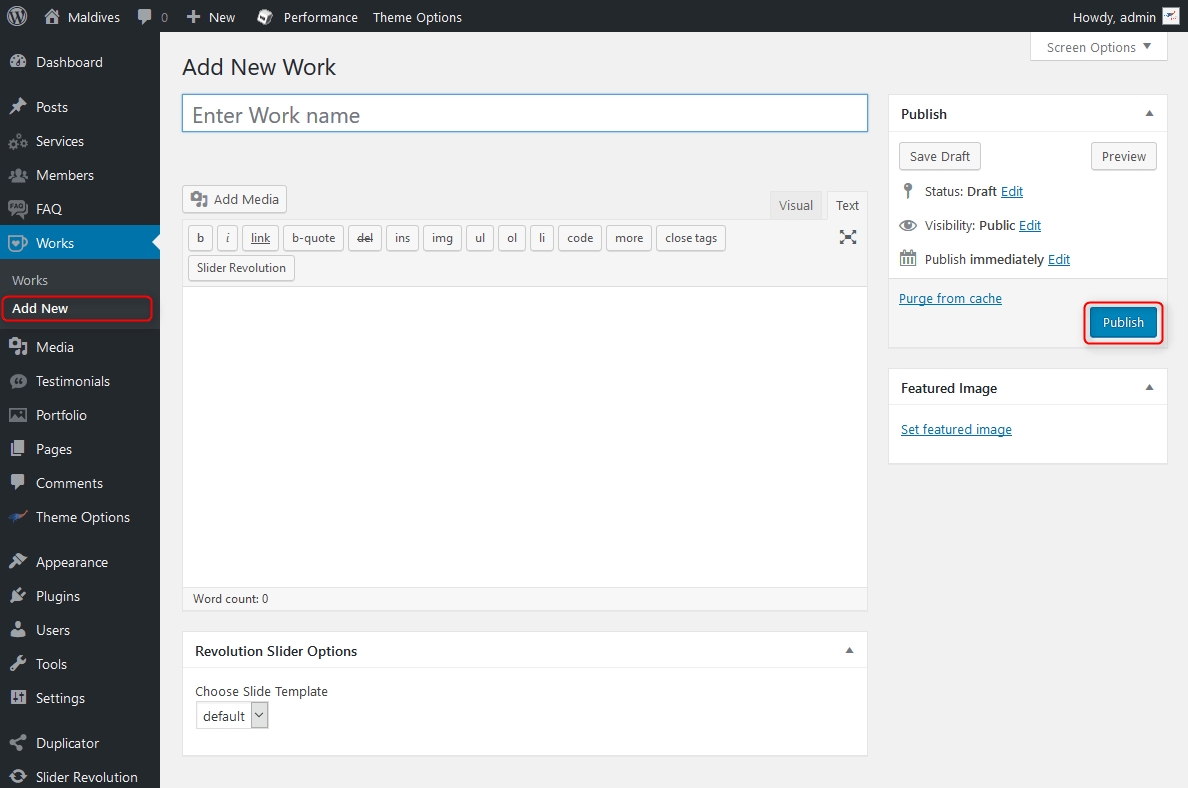
5. Add Work
Navigate to Works > Add New. Enter title (work name), description and click Publish.
6. Add FAQ
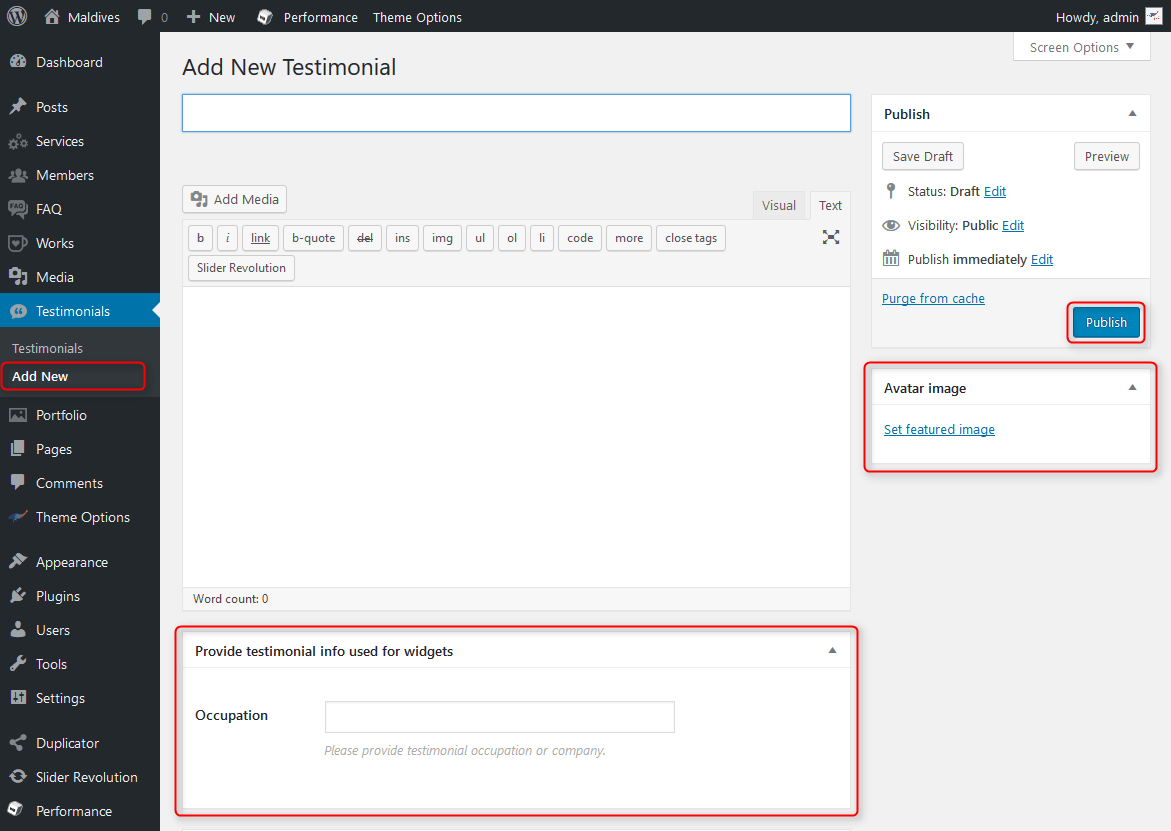
7. Add Testimonial
Navigate to Testimonials > Add New. Enter title, description and click Publish. Optionally you can choose the occupation and avatar image.
8. Add Portfolio Project
Navigate to Portfolio > Project Categories. Enter name, description and click Add New Project Category

Navigate to Portfolio > Add New. Enter title, description, choose Portfolio Categories, Featured Image and click Publish.
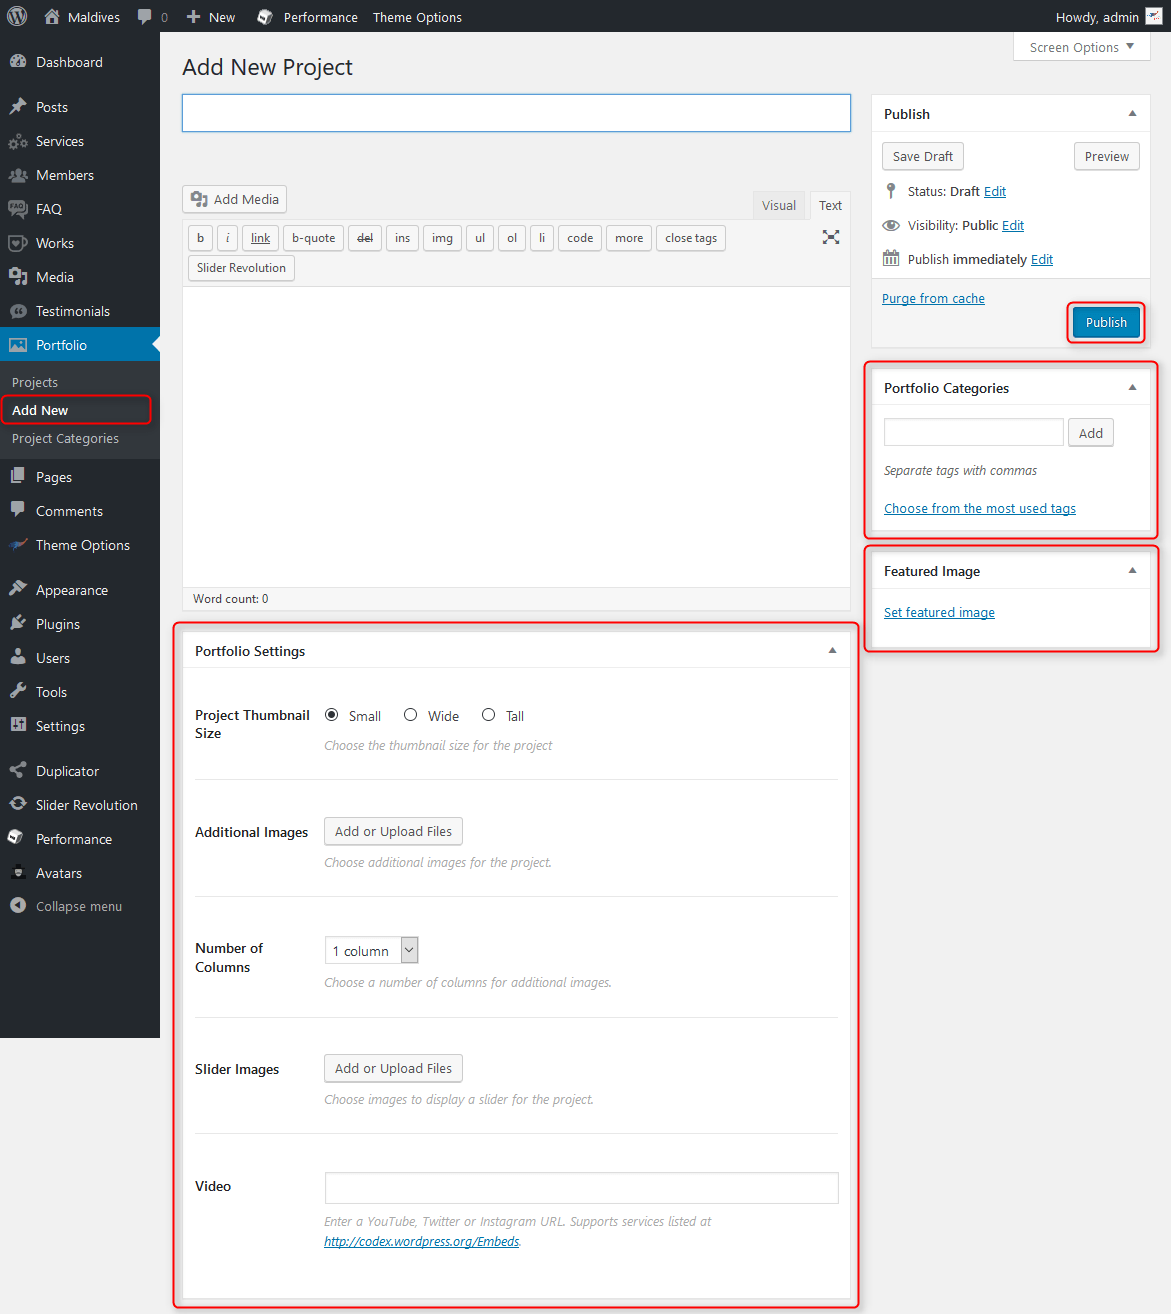
You can also set:
- Project Thumbnail Size - choose the size of thumbnail to display in Portfolio widget or page
- Additional Images - choose additional images to display them on the Single Project page.
- Number of Columns - choose number of columns for additional images.
- Slider Images - choose additional images to display them as animated slider on the Single Project page.
- Video - enter a video url to display a video on the Single Project page.
F. WPML
1. Purchase WPML
2. Initial Setup
3. Translating Pages, Posts and other post types
4. Translating custom post types
5. Translating theme texts and other strings
G. OTHER
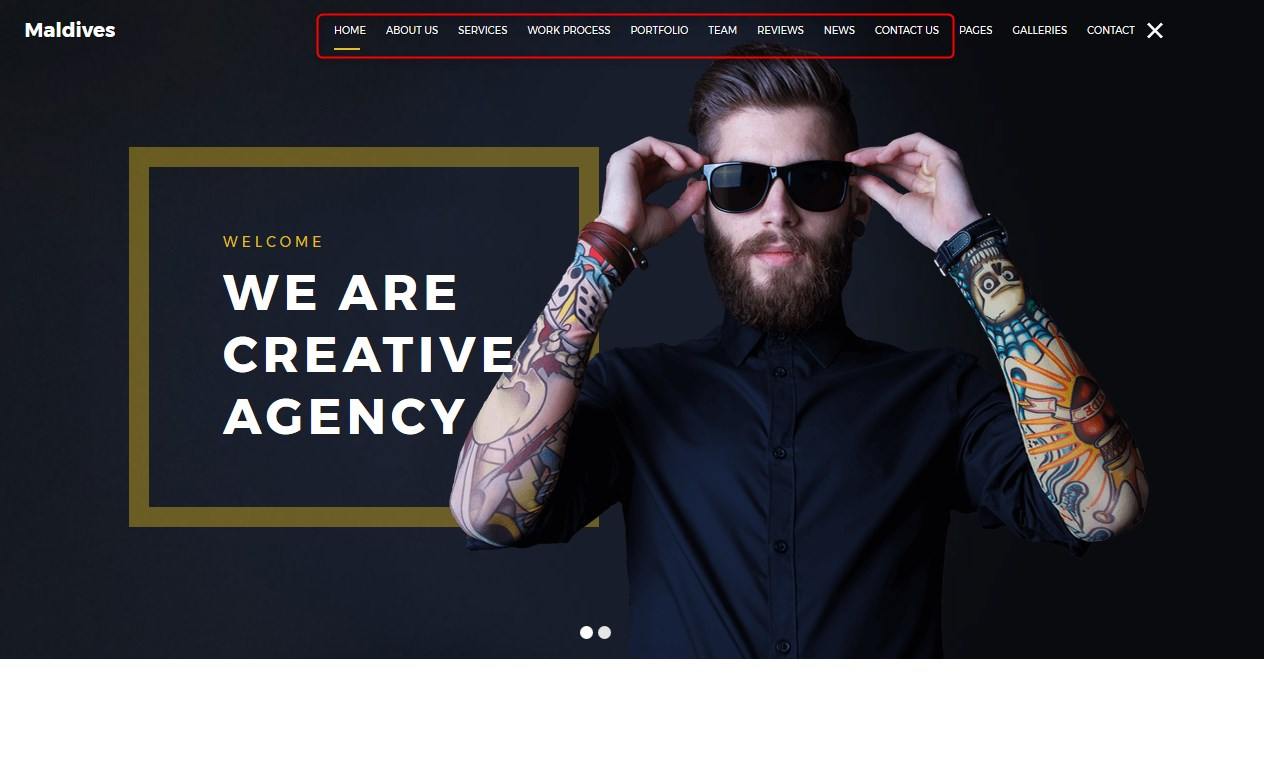
1. One-page menu
PE Maldives theme allows to display a one-page menu. You can see how it works on our demo site by clicking the menu items:
To configure such menu items, you need to follow 3 steps:
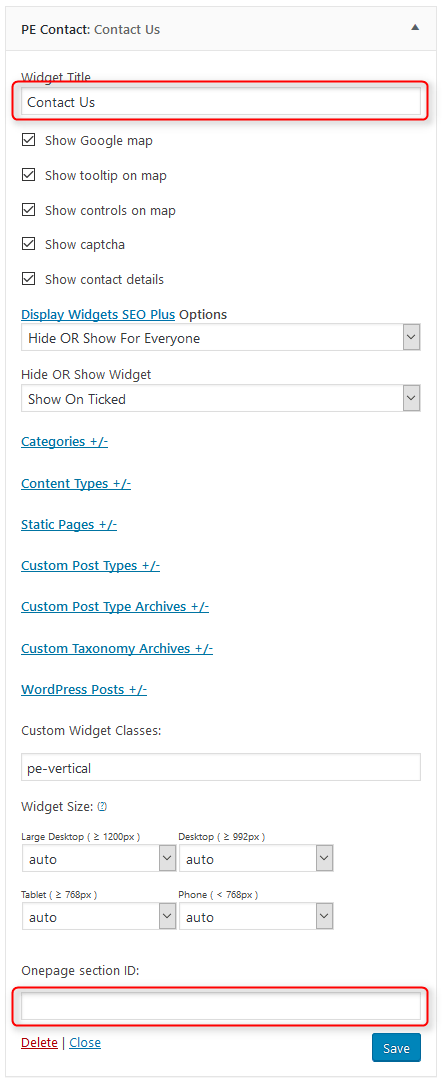
Step1: Define sections ID
First you need decide to which sections you want to scroll your menu items. Each section must have a unique ID which you can control from the widget settings:
- by providing "Onepage section ID"
- if the "Onepage section ID" is empty, then the widget title slug will be taken
- if the widget title is empty, then the widget ID name will be taken
Navigate to Appearance > Widgets and choose a widget. Then decide whether to use the widget title or "Onepage section ID":
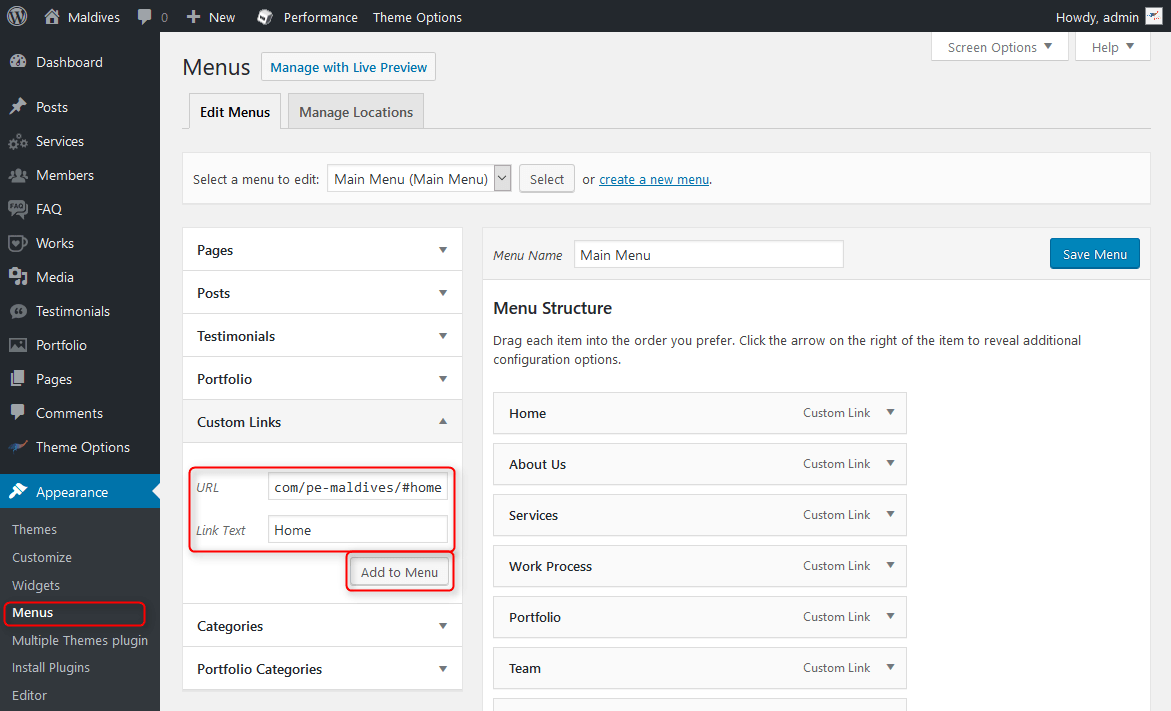
Step2: Configure menu items
Navigate to Appearance > Menus. Click on Custom Links, enter the URL, link text and click on Add to Menu
The URL address must contain the page address and the section ID to which you want to scroll the menu item. For example: www.mydomain.com/#home, where "home" is the widget title or a value from the "Onepage secition ID" field.
Step3: Add "one-page" class to menu items
The last step is to add the "one-page" class for each menu items which you want to work as one-page menu.
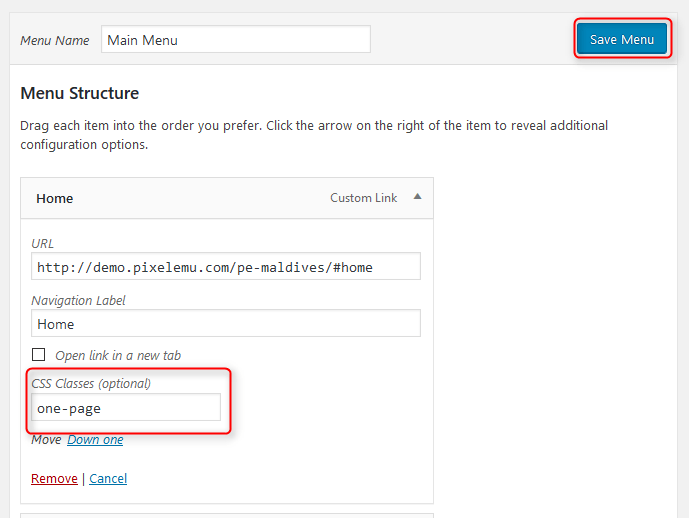
Remember to Save Menu after your changes.
2. Post or page with header image
PE Maldives theme allows to display the post image, title, author in the theme header instead of the post/page content.

You can control that in Theme Options. Navigate to Theme Options > Blog > Single post or Theme Options > Pages > Single page, choose the Header Image for Post/Page layout option.
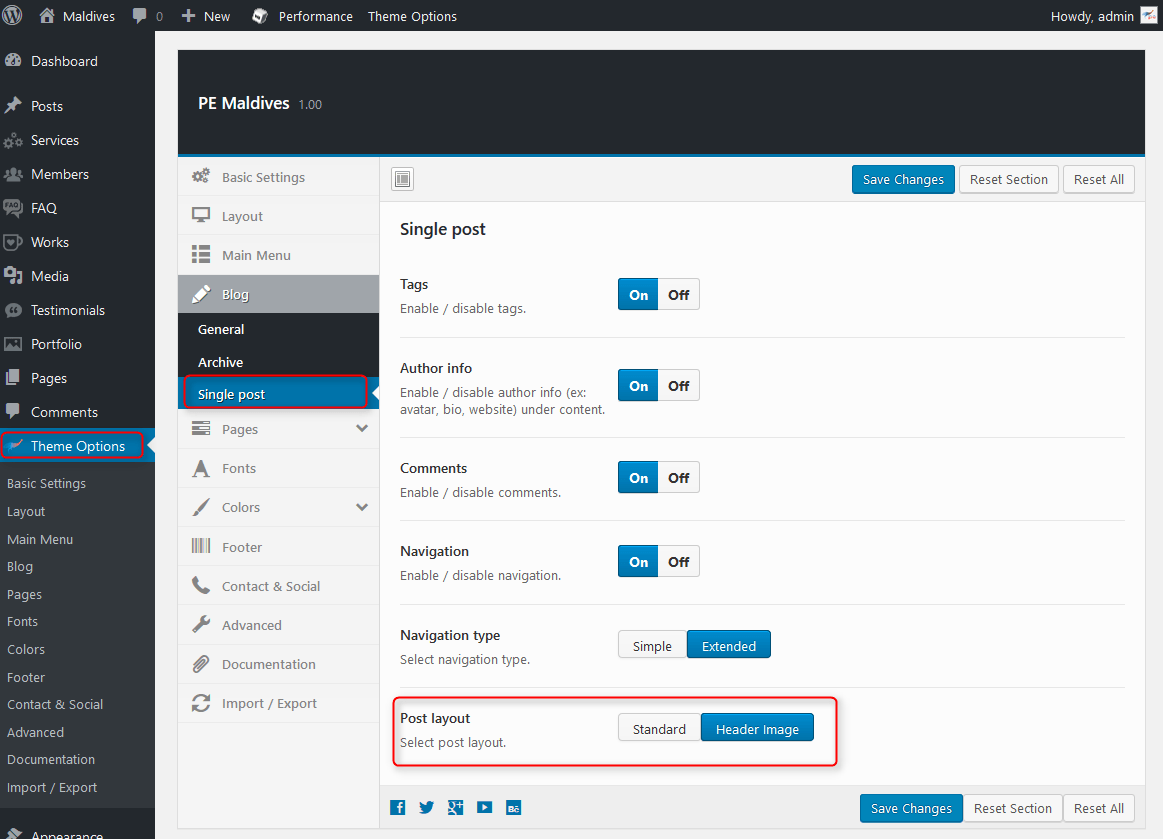
Remember to Save Changes.
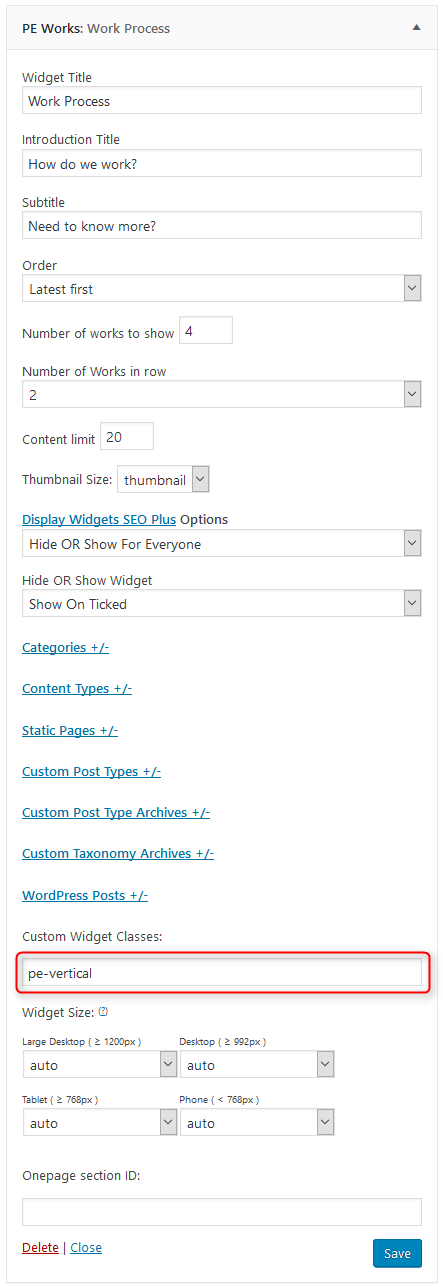
3. Classes for widgets
4. Available classes
pe-color - provides different widget layout
pe-color2 - provides different widget layout
pe-vertical - provides different widget layout
pe-horizontal - provides different widget layout
pe-expand - allow to display a widget on "header" sidebar on full screen
pe-margin - removes all margins for widget.
text-right - aligns text right
text-left - aligns text left
text-center - aligns text center
pe-clean - for Tabs shortcode
pe-section-space - removes space above and below section.
pe-section-space-top - removes space above section.
pe-section-space-bottom - removes space below section.
no-bold - removes bold font weight from string.
5. Bootstrap 3 Grid classes to specify each widget width
6. Available shortcodes
All available shortcodes you will find here.
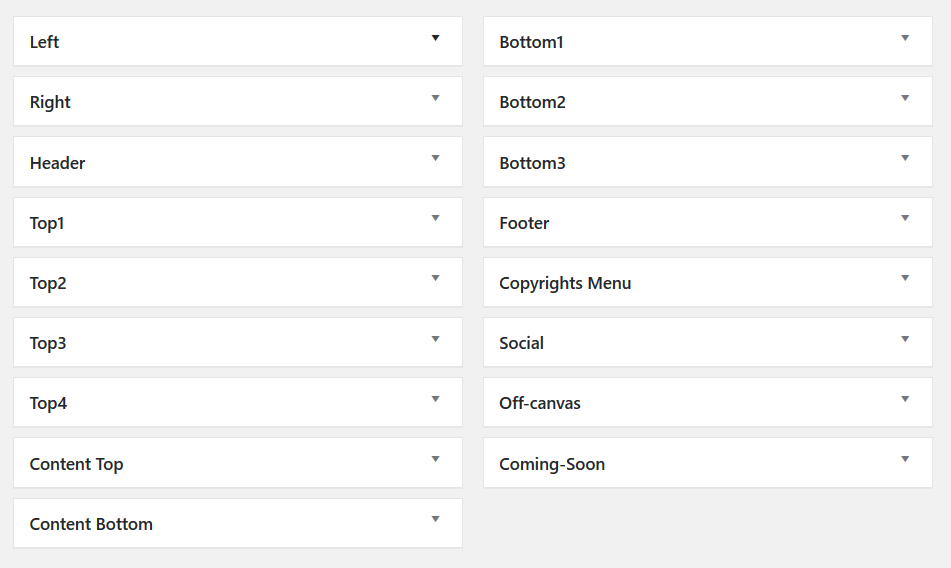
7. All widget positions
All available widget positions in theme :
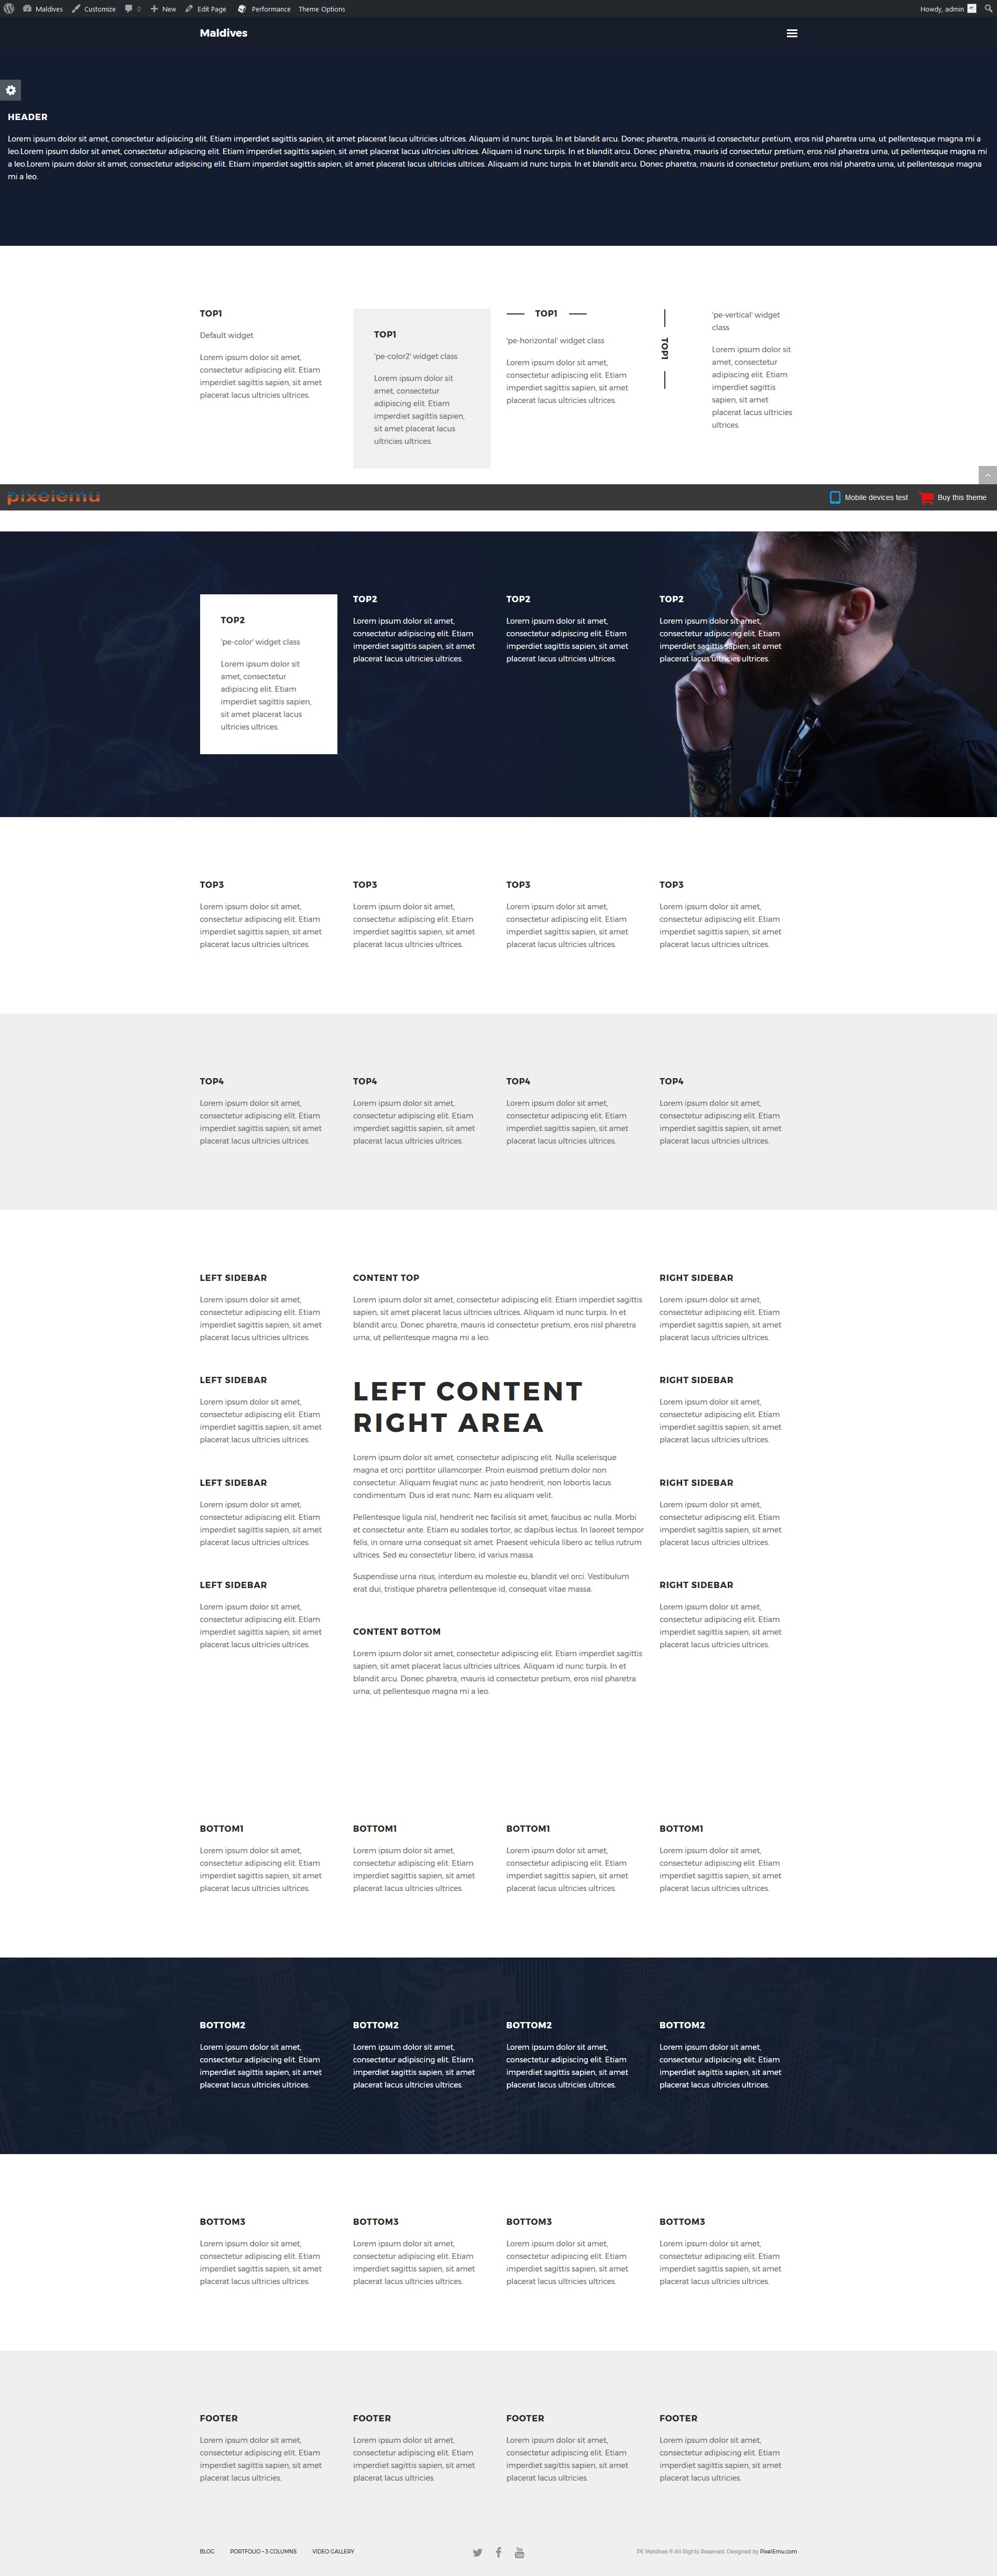
We have also a video tutorial on how to manage the theme layout in WordPress themes:
8. Typography
Typography article you will find here.
On above page you will find some examples of custom classes which you can use in articles.
9. Shortcode Generator
H. STYLES
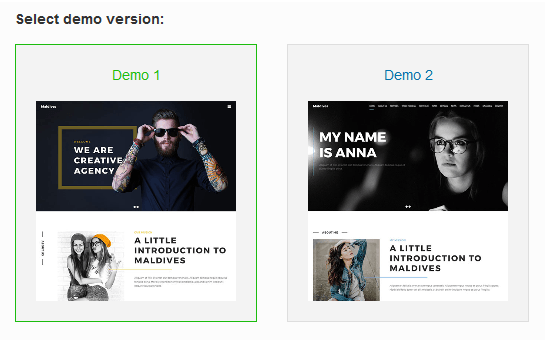
Theme PE Maldives is available in 2 different versions. Each version have own settings and content.
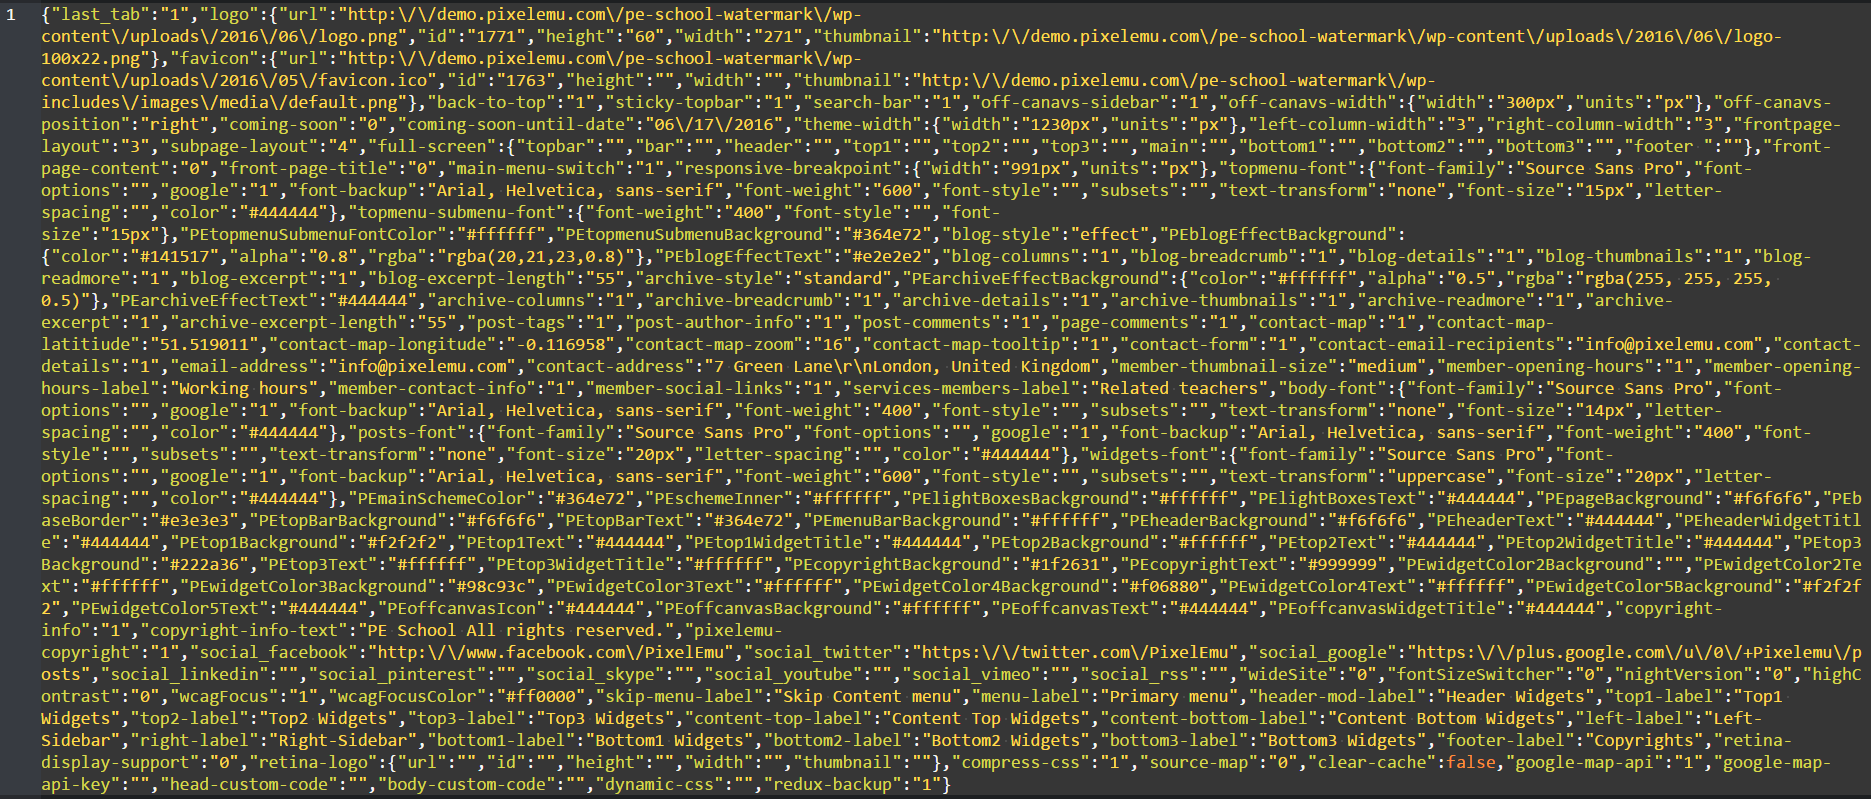
You can import settings in Theme Options using provided in package file options.json
- Go to Theme Options > Import / Export
- Click Import from File

- Open options.json file with Code or Text Editor and copy content.
- Paste content in input.
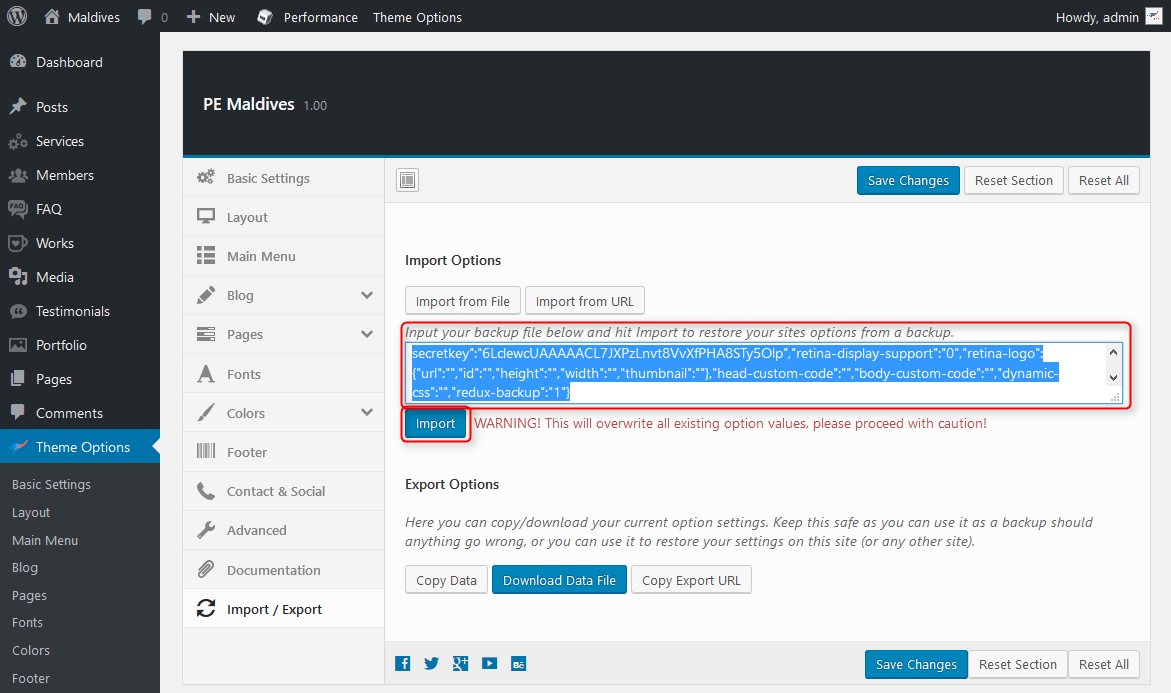
- Click Import
Remeber: All of your previous settings will be overrided.
Content can be imported in Tools > Import. More details in Demo Site Configuration
I. OPTIMIZE YOUR SITE
J. SOURCES AND CREDITS
Commercial images and videos used on the demo page:
http://pl.depositphotos.com/54498291/stock-photo-dhipster-portrait-with-black-backround.htmlhttp://pl.depositphotos.com/75375679/stock-photo-hipster-girls-posing-at-wall.html
http://pl.depositphotos.com/54498285/stock-photo-hipster-smoker.html
http://pl.depositphotos.com/43181627/stock-photo-cute-teenage-hipster-girl-with.html
http://pl.depositphotos.com/124700016/stock-photo-bearded-hipster-taking-selfie.html
http://pl.depositphotos.com/86964792/stock-photo-fashion-portrait-pretty-woman-with.html
http://pl.depositphotos.com/124063412/stock-photo-beautiful-hipster-girl.html
http://pl.depositphotos.com/54499585/stock-photo-portrait-of-a-stylish-hipster.html
http://pl.depositphotos.com/109581360/stock-photo-hipster-girl-holding-a-skateboard.html
https://picjumbo.com/category/architecture/page/3/
https://picjumbo.com/colorful-golden-gate-bridge-in-foggy-but-sunny-weather/
https://picjumbo.com/pillar-of-the-golden-gate-bridge-covered-in-fog/
https://picjumbo.com/rush-streets-of-budapest-hungary-at-night/
https://picjumbo.com/busy-street-in-the-center-of-san-francisco/
https://picjumbo.com/sunset-over-the-skyscrapers-in-san-francisco/
https://picjumbo.com/clean-skyscraper-view-from-below-against-blue-sky-and-clouds/
https://picjumbo.com/sunset-view-over-san-francisco-skyscrapers-in-financial-district/
https://picjumbo.com/bumps-yellow-sidewalk-road-marking/
https://picjumbo.com/traffic-lights-in-pragues-narrowest-street/
https://picjumbo.com/no-way-sign-on-traffic-light-pole-in-the-city/
https://picjumbo.com/traffic-lights-and-sky-with-clouds-2/
https://picjumbo.com/sunset-home-office-working-with-laptop-on-the-garden/
https://picjumbo.com/creative-designer-photographer-workspace/
https://picjumbo.com/vranov-nad-dyji-town-czech-republic/
https://picjumbo.com/san-francisco-evening-skyline-and-bay-bridge-at-sunset/
https://picjumbo.com/marina-lights-dubai/
https://picjumbo.com/evening-san-francisco-hills-with-the-golden-gate-bridge-in-the-distance/
https://picjumbo.com/bay-bridge-with-treasure-island-in-san-francisco-at-night/